Kermit the Frog Replica Puppet Build
Replica Builds, The Muppet ShowThis is a quick image guide on how I built my Kermit the frog puppet replica. I tried to provide a lot of pictures for you to give you ideas on how you can build your own. Enjoy and feel free to ask me anything.
Design mouth plate pattern.
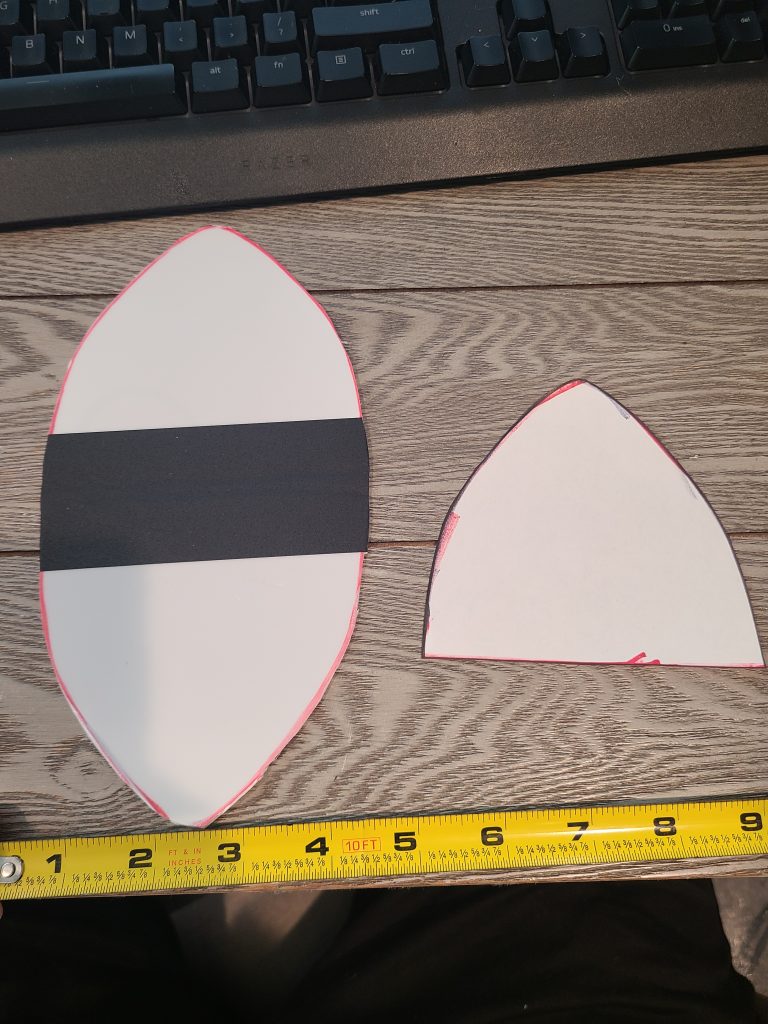
I ended up using an old Cricut mat for the mouth plate. As it’s strong but very bendy and flexible. I used Gaffer’s tape to combine the two pieces together.
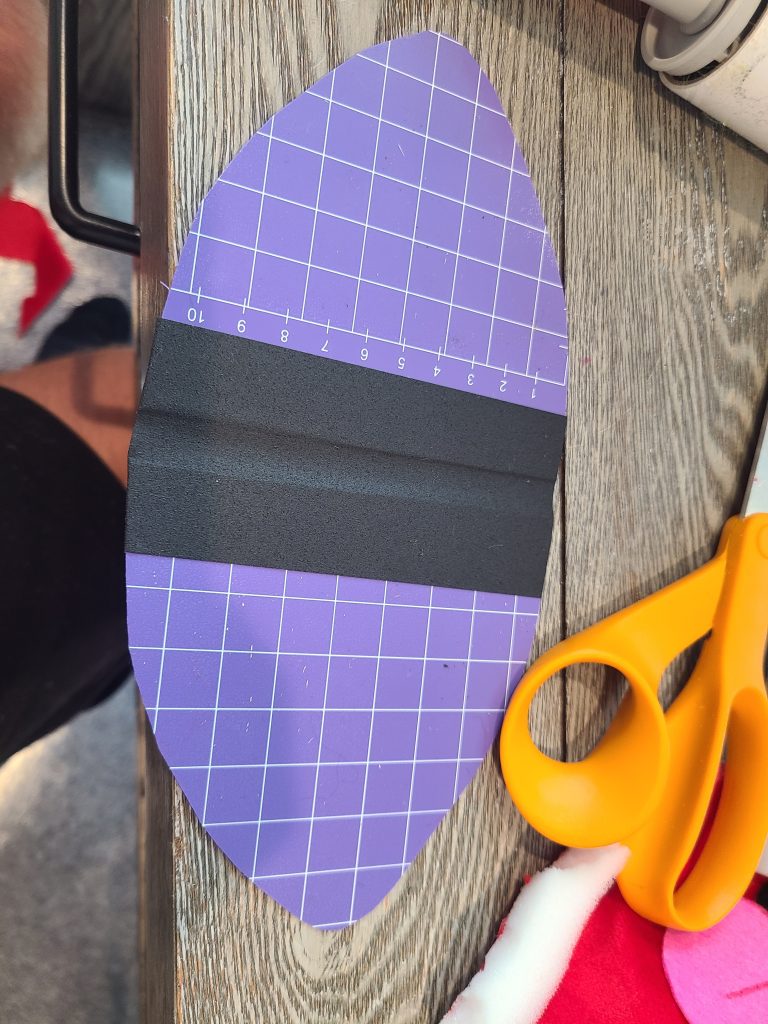
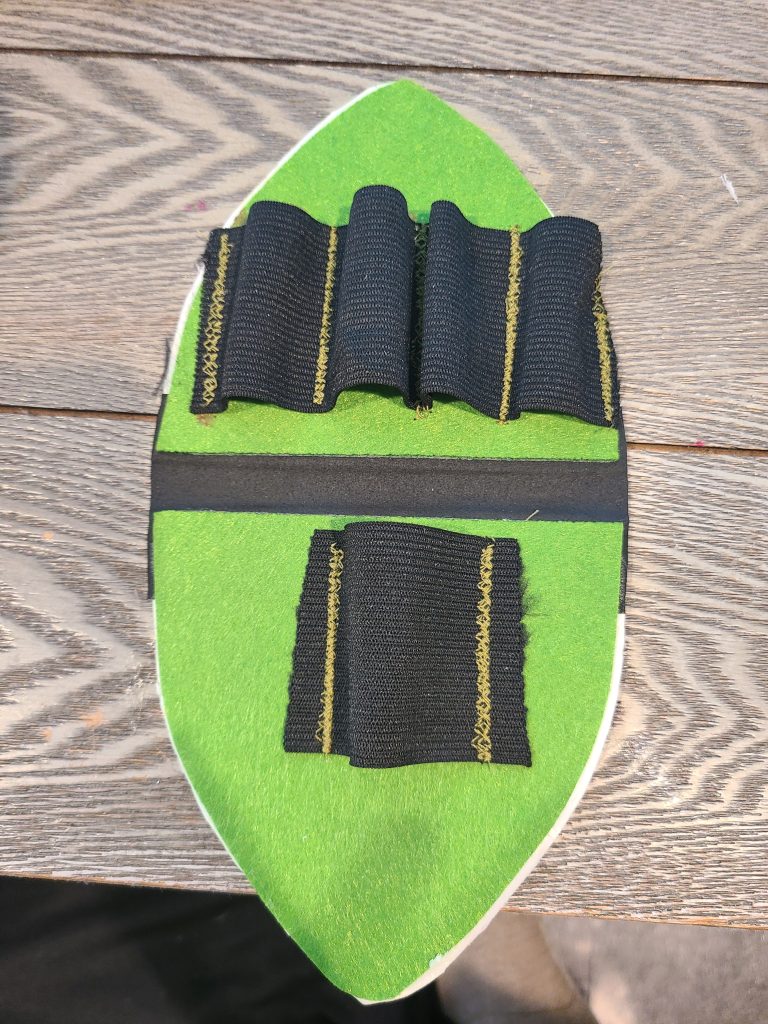
Built finger loops for mouth plate with elastic bands.
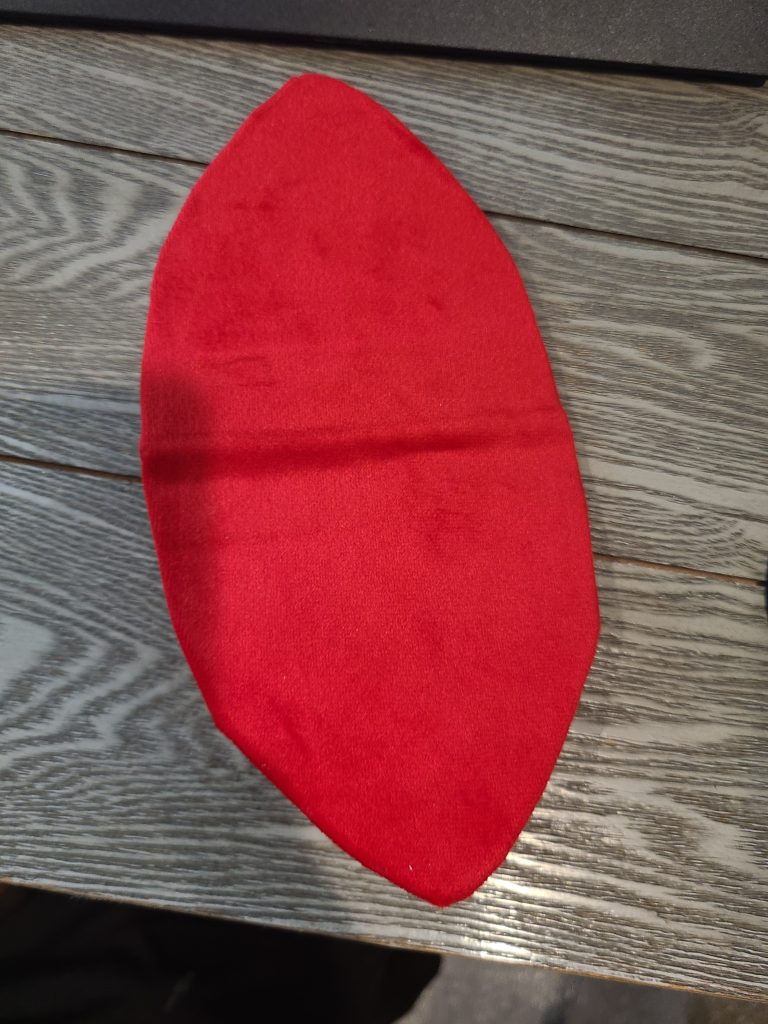
Added red velvet fabric to mouth plate. Used super 77 adhesive spray to attach it.
Designed uvula and tongue pattern on Cricut.
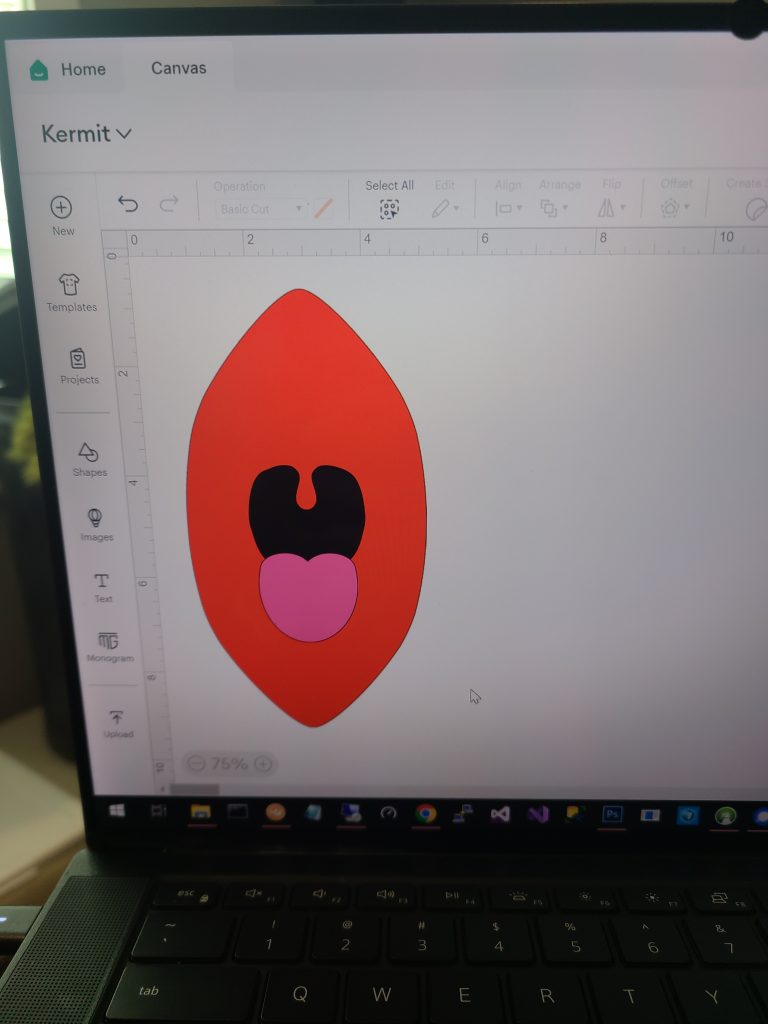
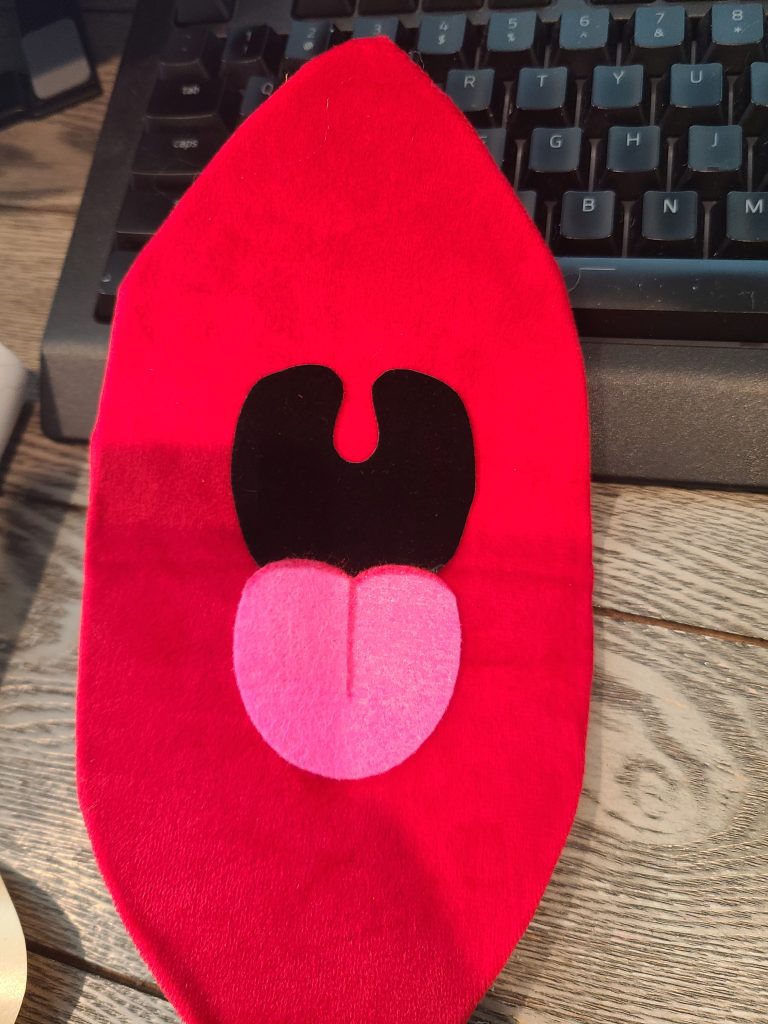
Had Cricut cut out the tongue and uvula pattern from sticky velvet paper for a perfect cut. I attached that to the mouth plate. I used red permanent marker to add detail to the tongue.
I know the true Kermit the Frog puppet is basically a sock puppet and does not have a foam skull. I do not have very large hands and I did not want to scale the puppet down to my hand as it would be way too small looking. The puppets I make are basically display pieces only, so I decided to create a foam skull to fill the head fabric to make it look nice at all times. To create this I copied the head fabric pattern (shown later below) and used the top piece to create two foam pieces where I glue them together with contact cement and trimmed appropriately.
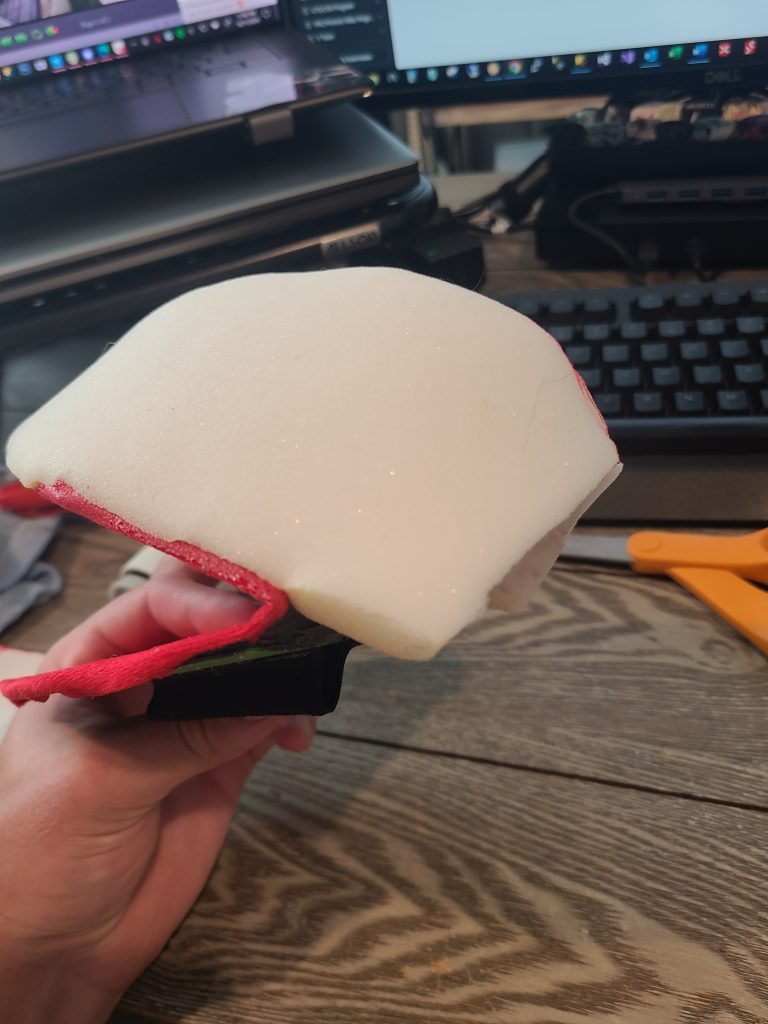
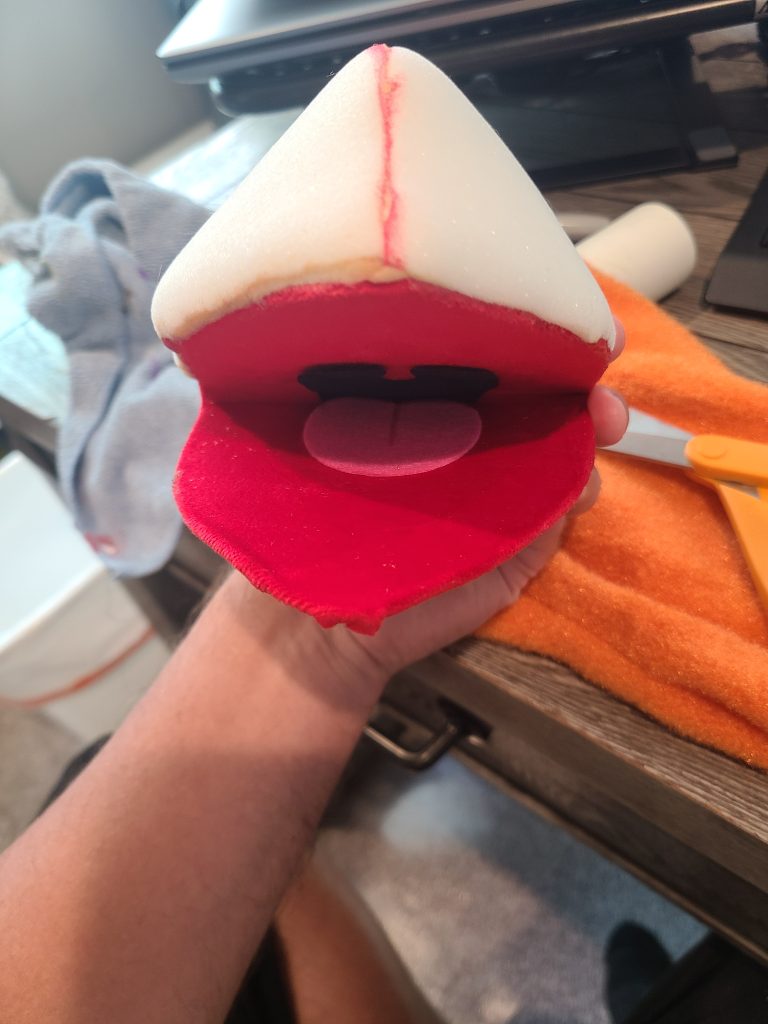
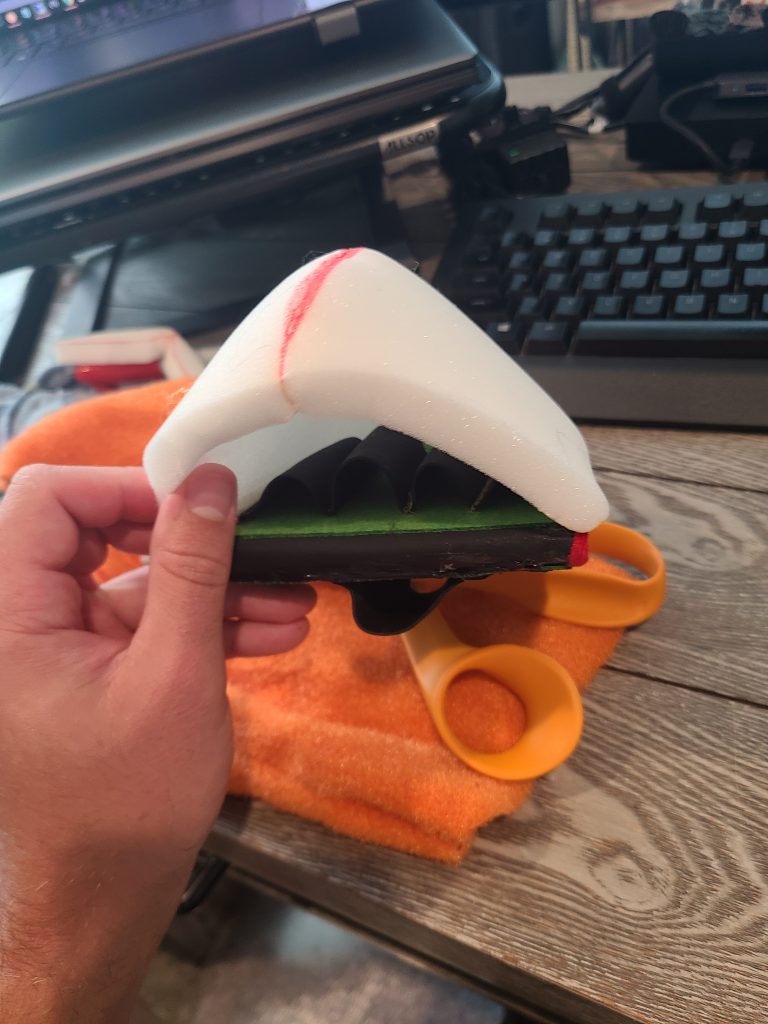
I added a small piece of foam on the bottom mouth plate to have more surface to attach the fabric to. I trimmed this much thinner than what you see in this picture later.
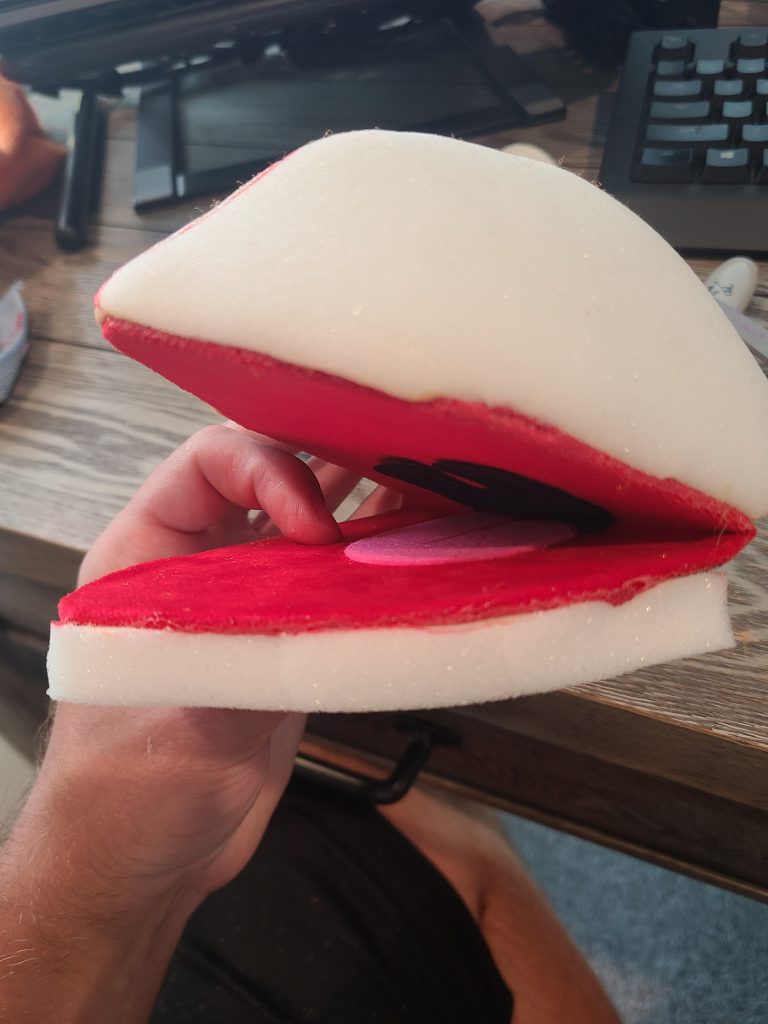
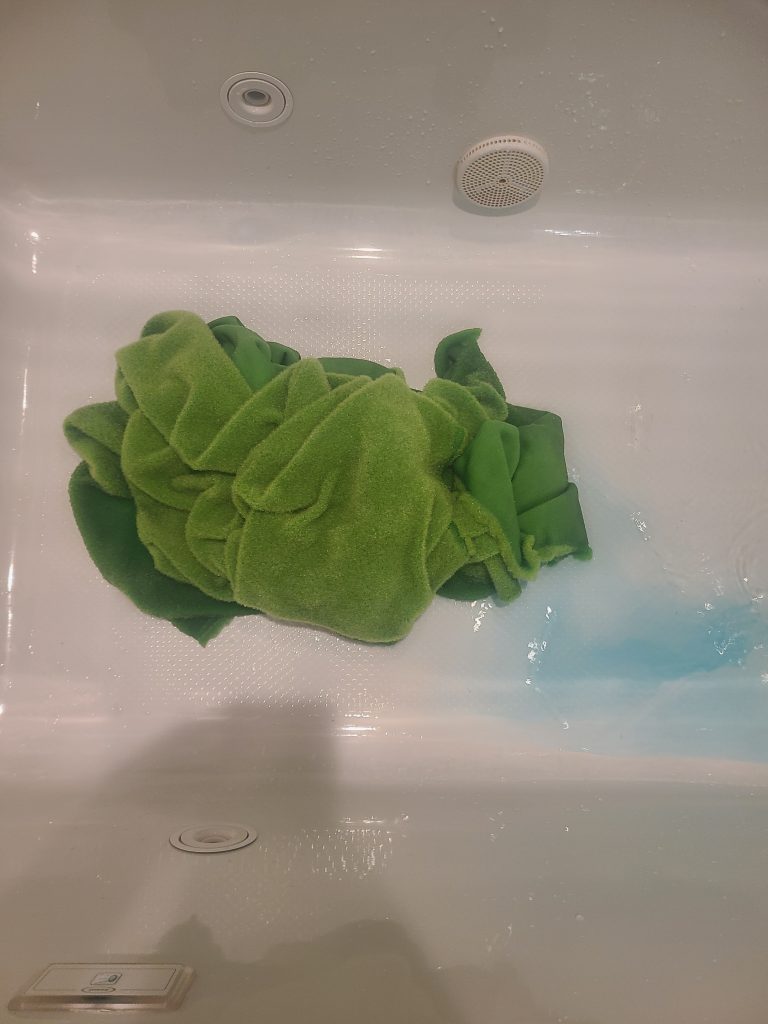
I dyed the antron fleece with kelly green and lemon yellow Rit dye. The mixture is 90% green and 10% yellow.
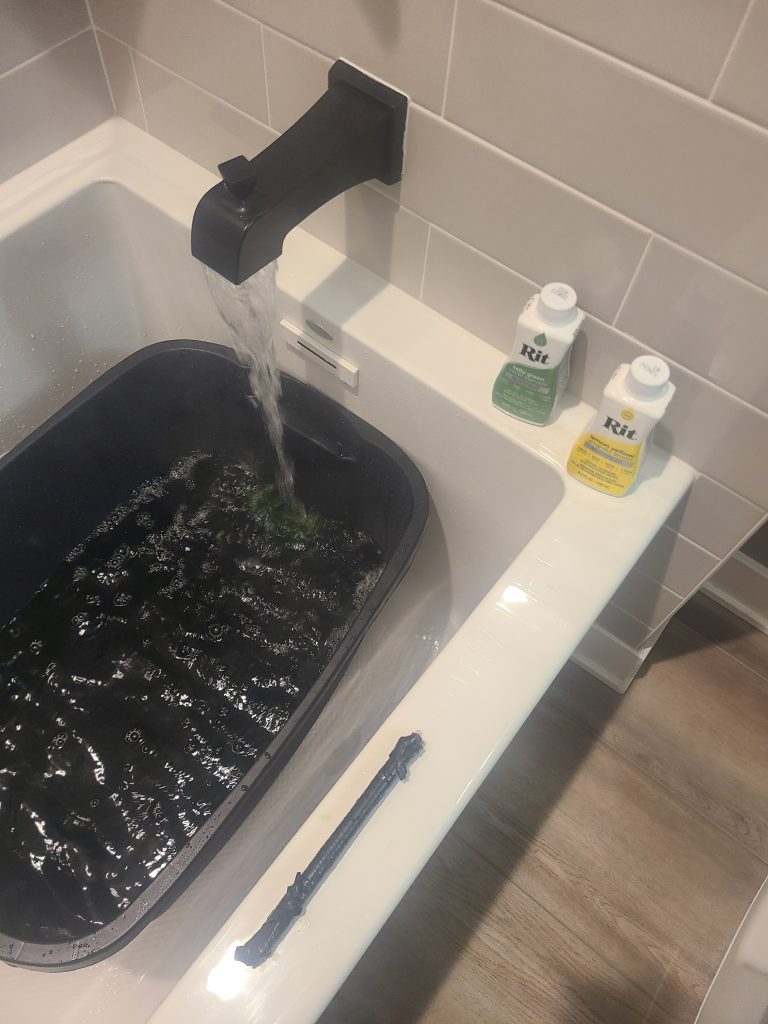
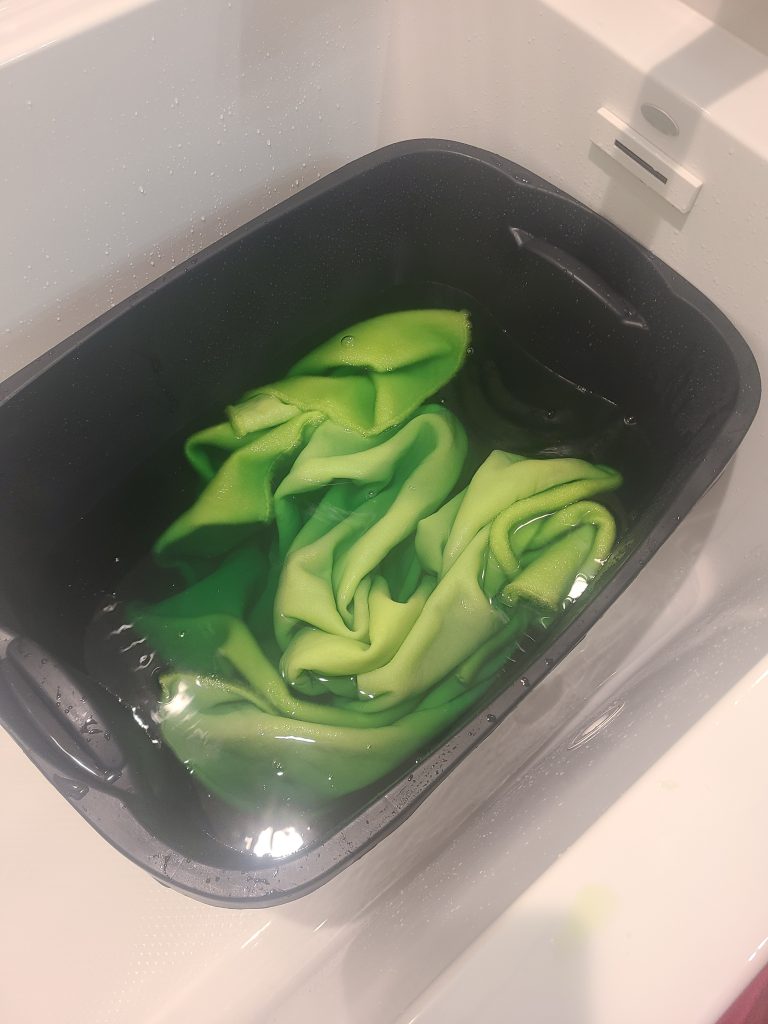
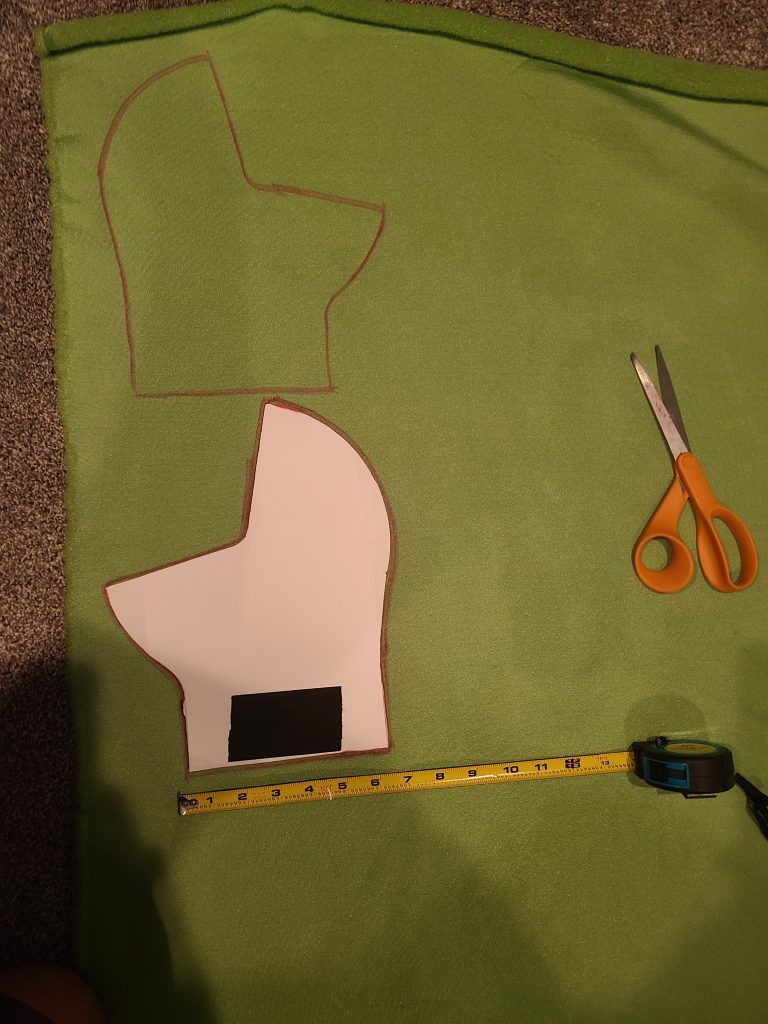
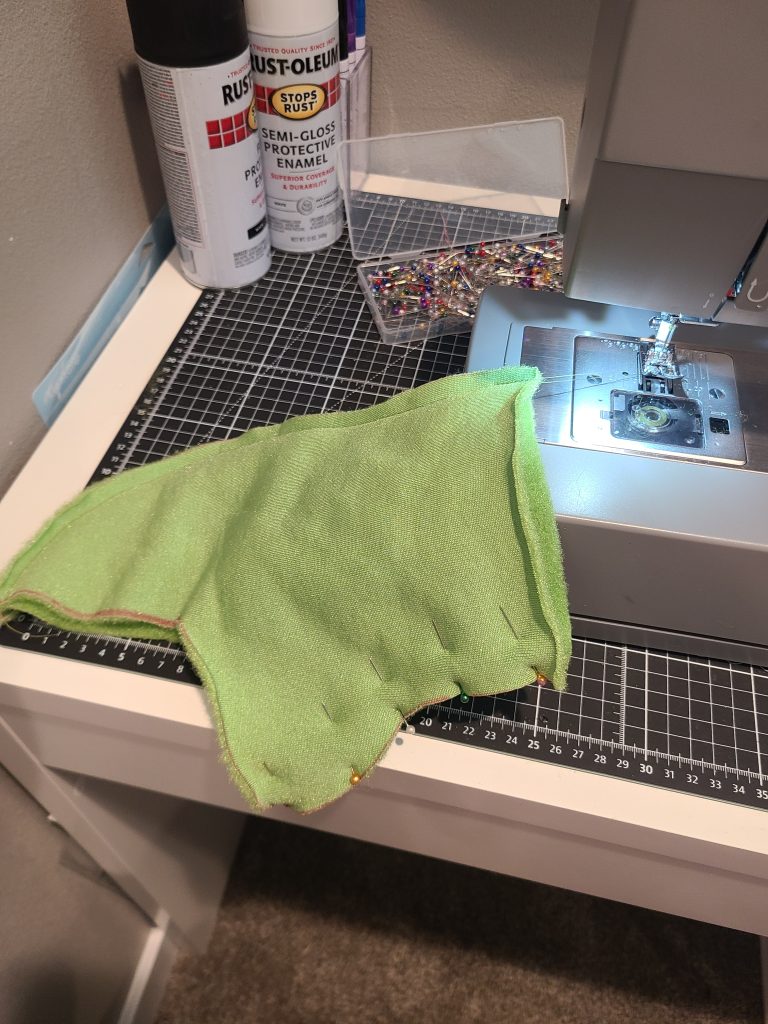
I created the head fabric pattern and sewed it together.
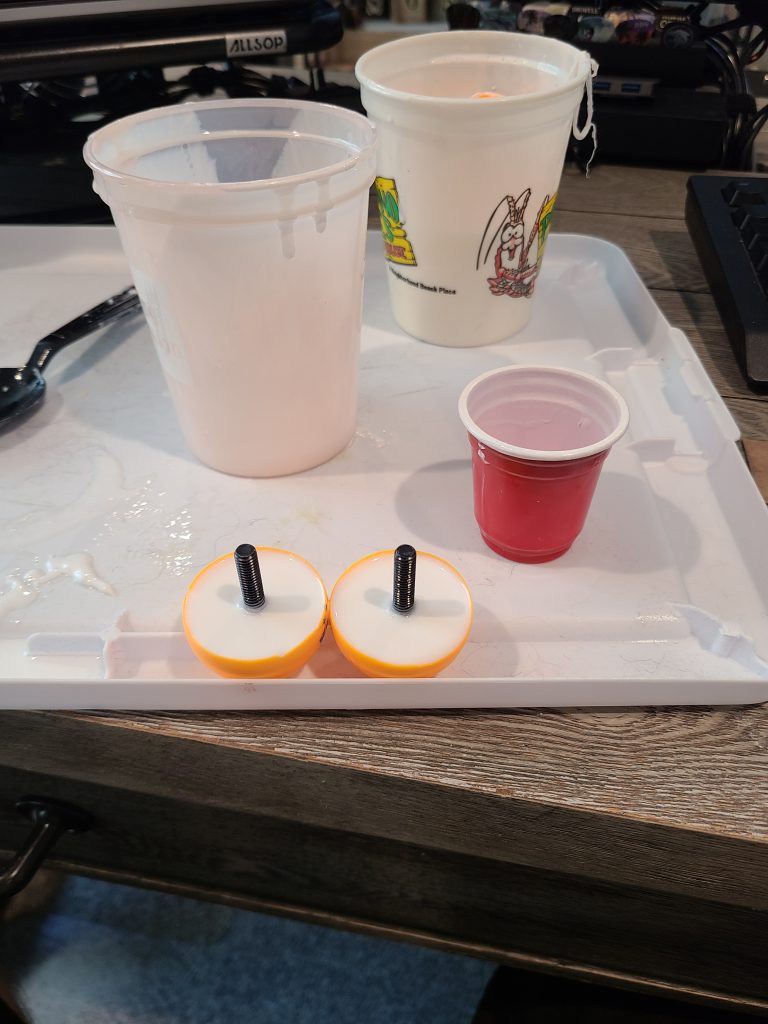
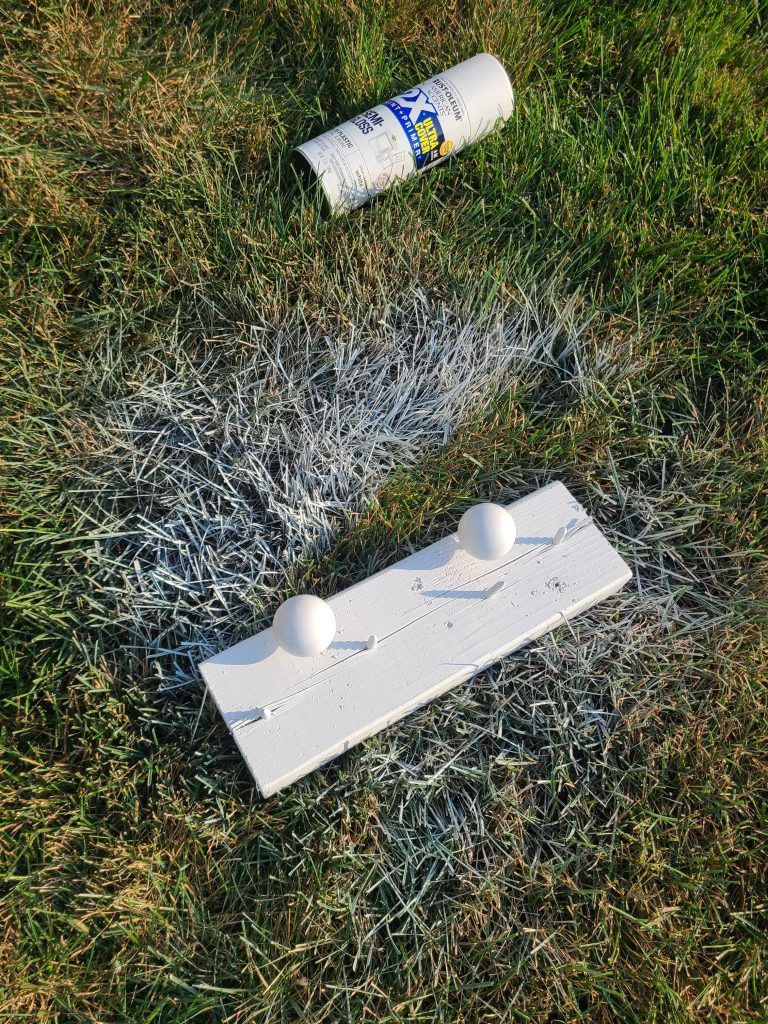
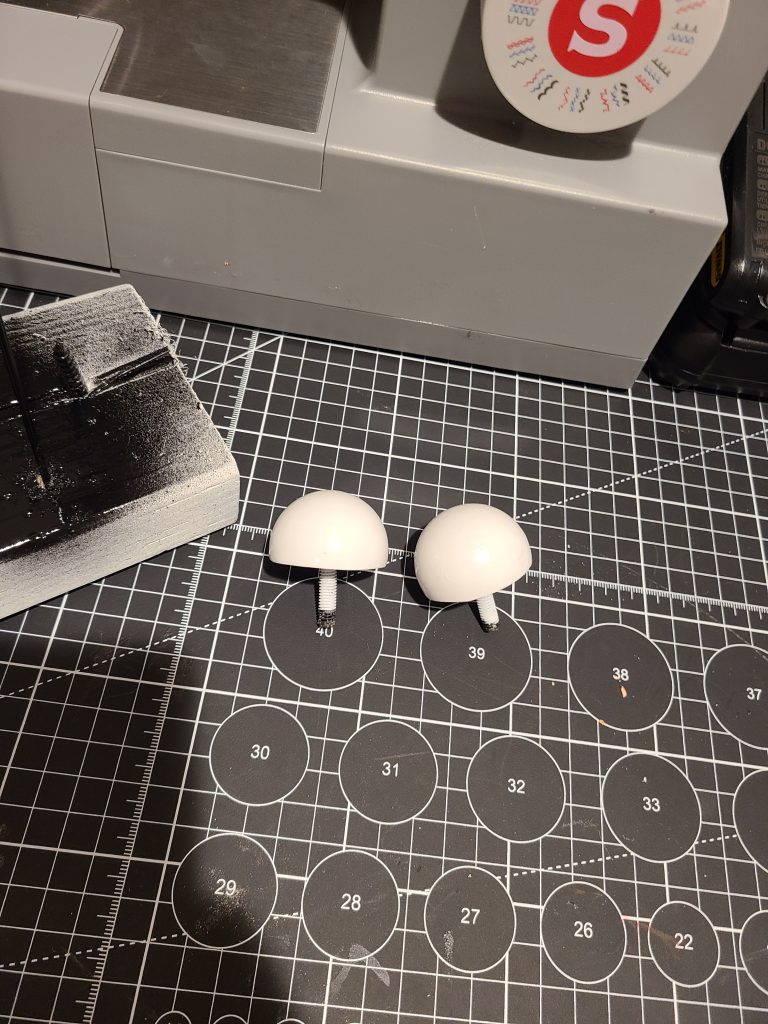
I started working on the eyes. I made my eyes by cutting a little over half a regular sized ping pong ball. I then filled the two larger halves of the ping pong balls with liquid plastic. Before the plastic set I placed bolts in the center to create a way to attach the eyes to the head later. I then painted the entire eye with white paint.
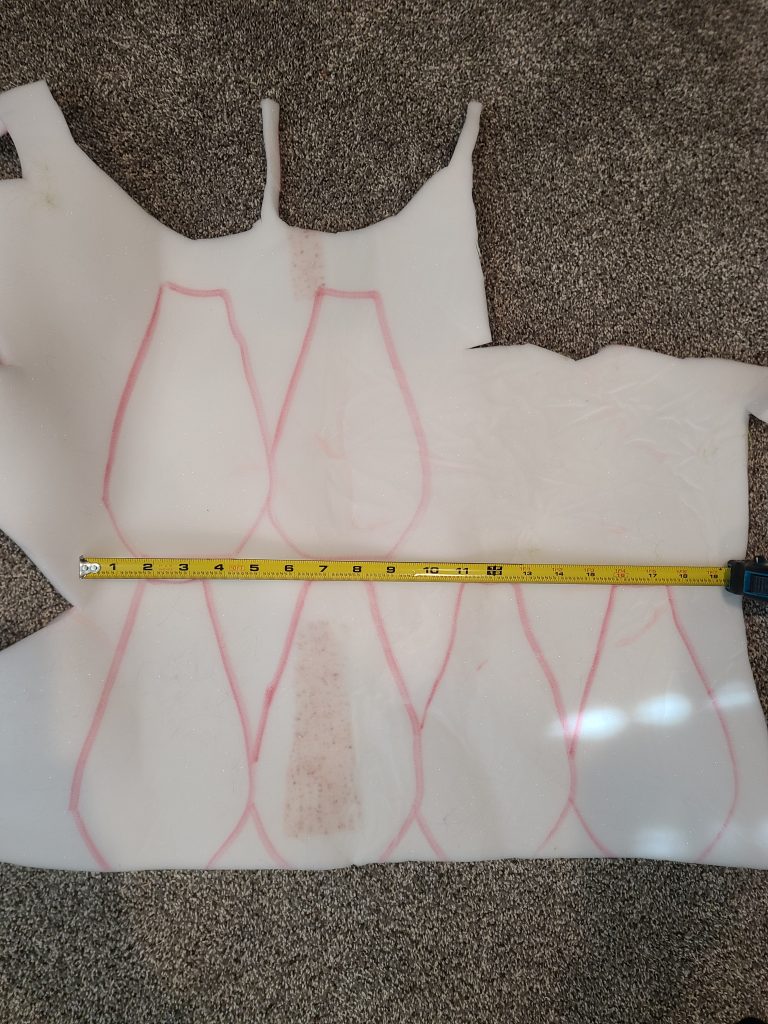
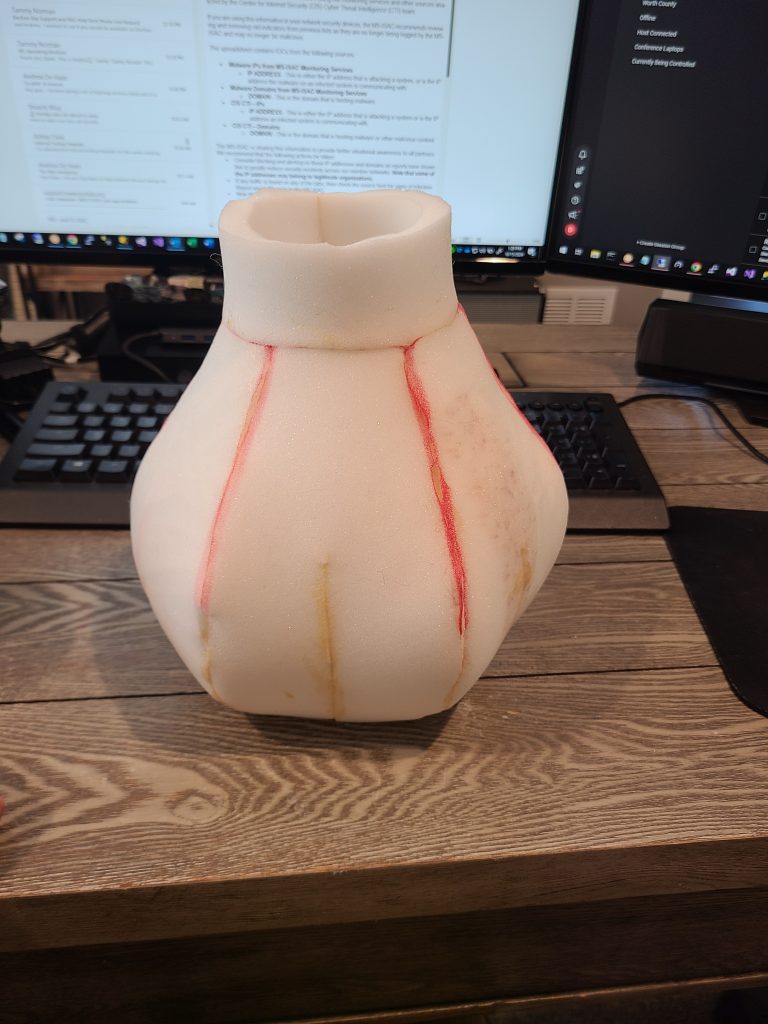
I built the foam body pattern and used contact cement to glue it together. I added a neck piece to the foam body to heighten it after. I also trimmed the body down a lot after putting it together.
I started temporarily putting him together to see what I got. I was working on building the other body patterns and features on the Cricut and mocking them up with cardstock to see what I had. After seeing what I had I did decide to dye the fabric darker as it was just too light. I also adjusted the foam body more. I also increased the size of the fingers and feet after this as well.
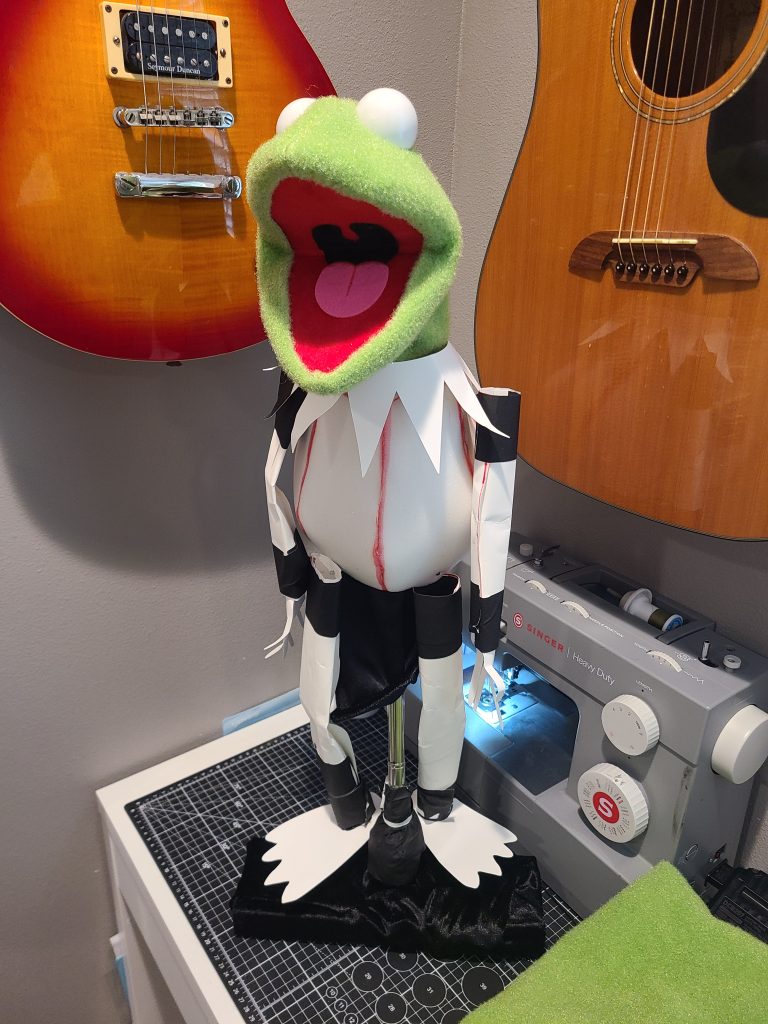
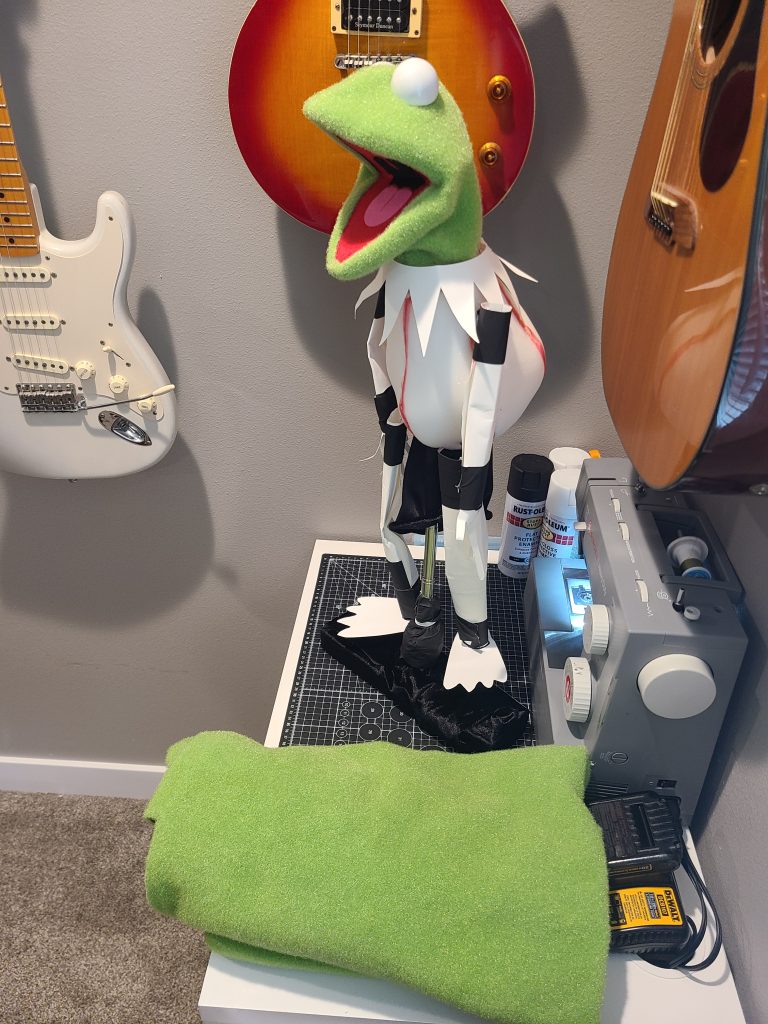
To create the fabric body pattern I just wrapped a chunk of the fleece around the body and pinned it inside out so it was snug. I just sewed the pin lines that I created.
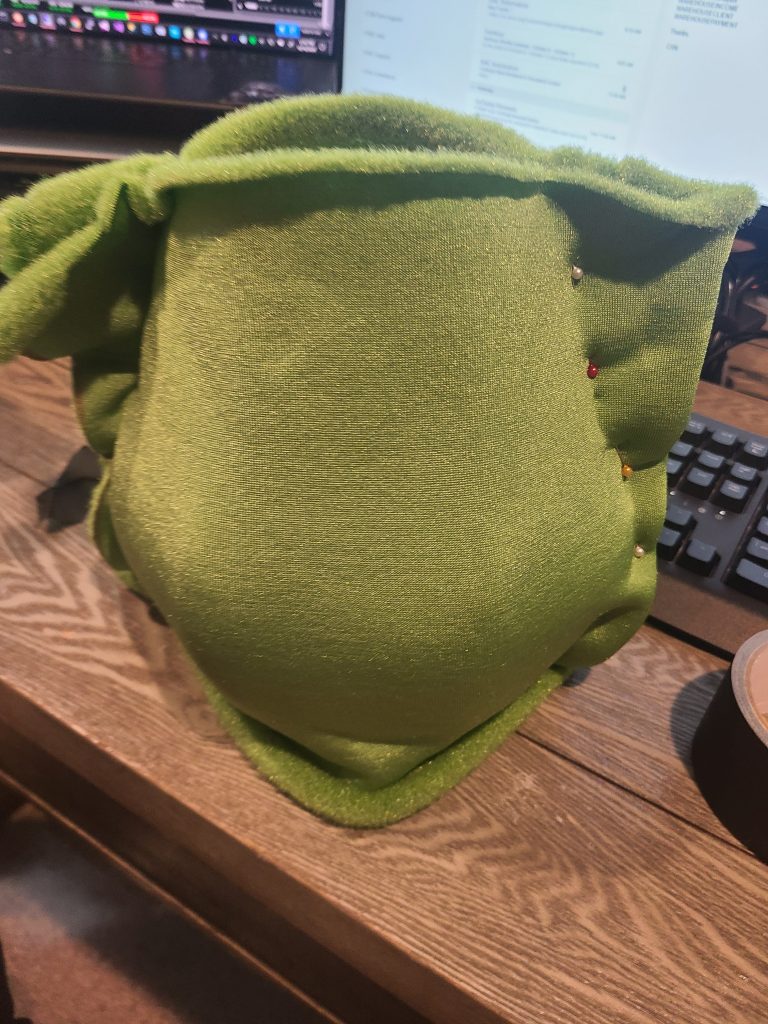
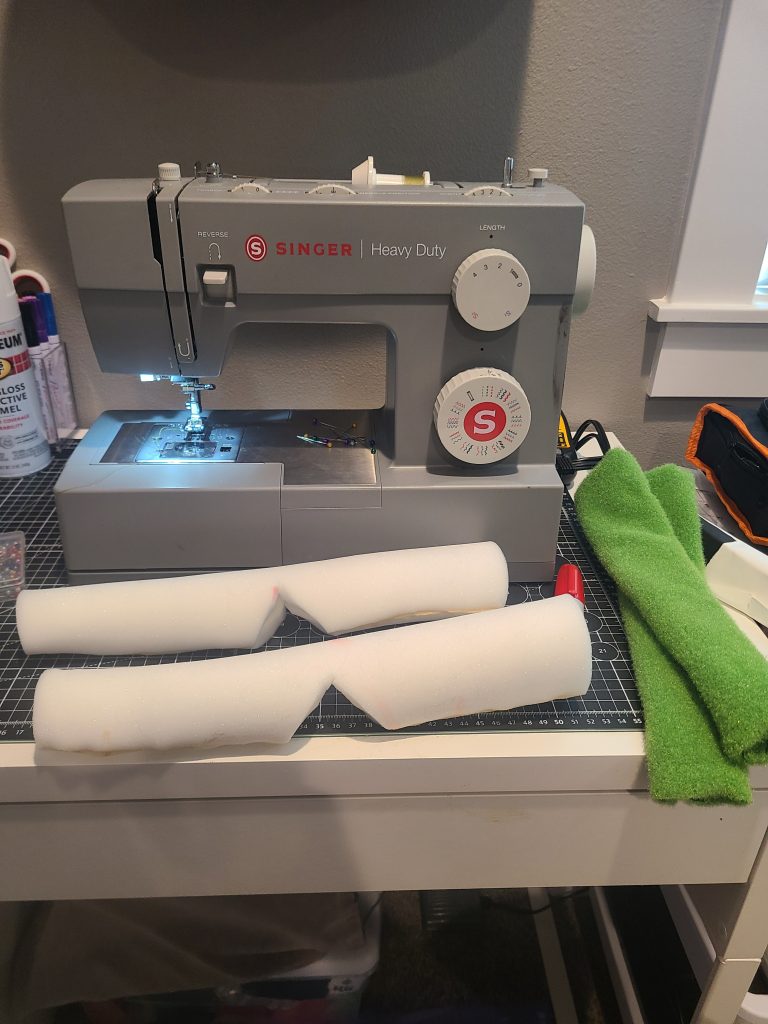
I started working on the legs. I used the fabric pattern for the legs to create the foam pattern. I used contact cement to glue the foam into cylinders and then cut out the backside of the knees to allow flexibility. I also added bendable wire that runs in the center of the foam to allow posing him.
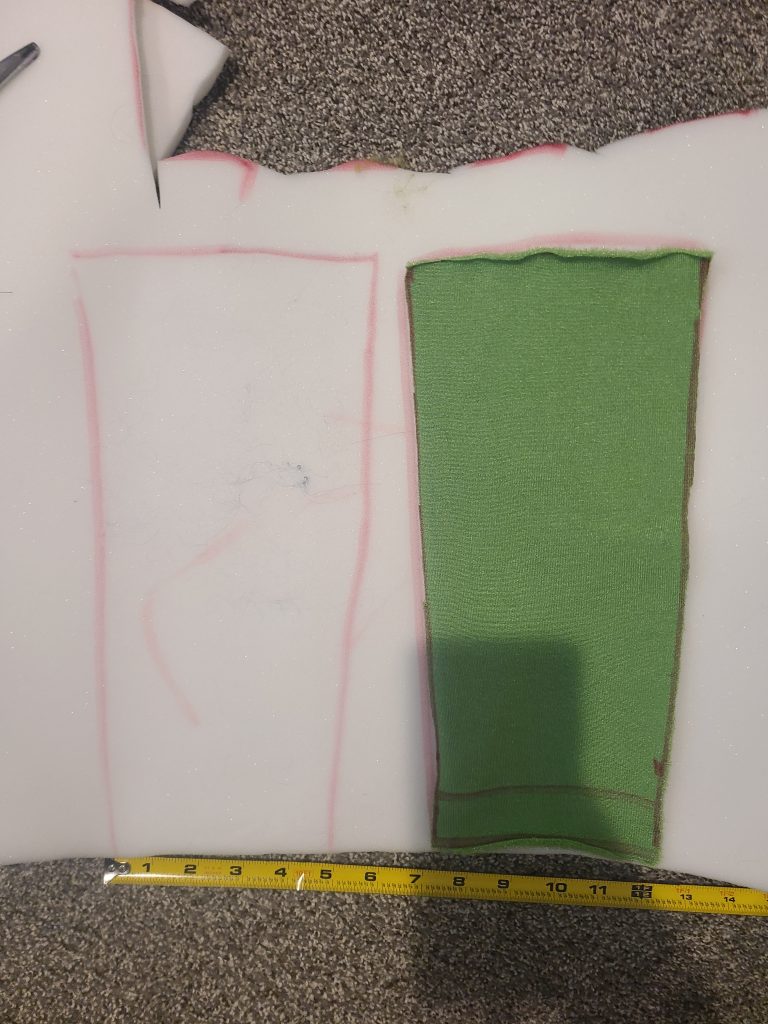
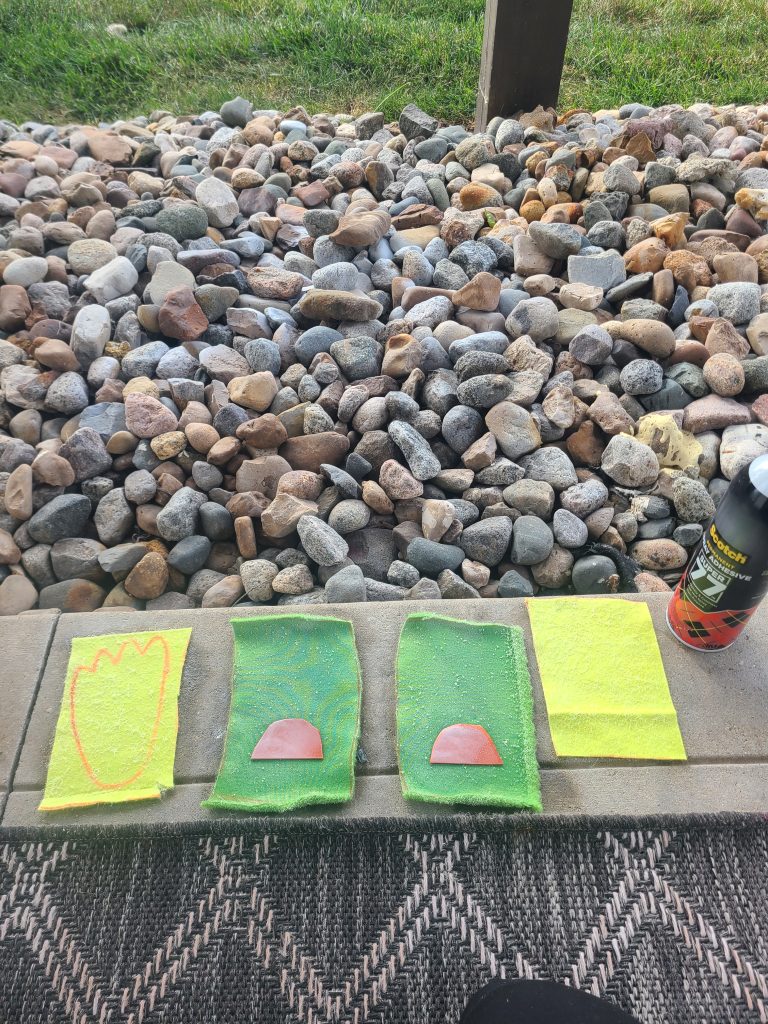
For the feet I cut out squares from the antron fleece for the top of the feet and then cut out squares from the yellow/green wool felt used for his collar for the bottom of the feet. I put a piece of rubber in the center to have thicker part of the foot where the leg would attach. I just glued the top and bottom pieces of the foot together with super 77 adhesive spray. After it dried I then cut out the foot pattern.
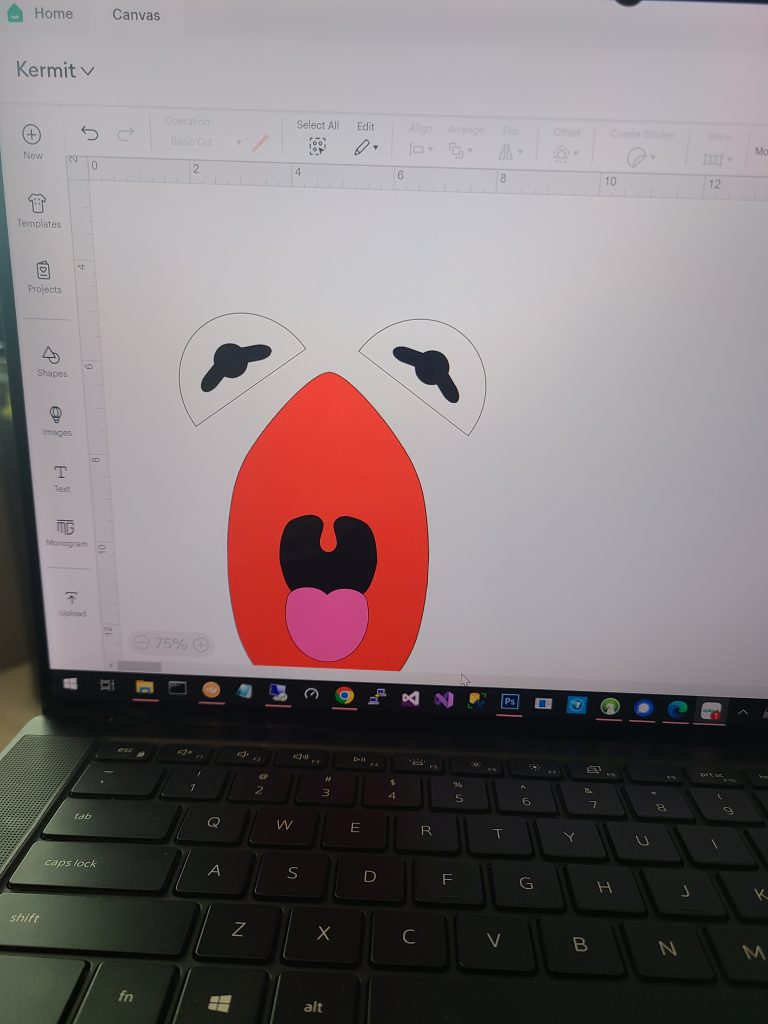
I used the Cricut to design and cut out the collar from the yellow/green wool felt as well as the eye pupils from the black velvet sticky paper.
I put the pupils on. I attached the eyes to the head with nuts and lock washers on the inside of the foam skull. I created a plastic spacer for the eye plate for the bolt from the eyes to go through. I sewed the head fabric to the body, sewed the legs to the body, and sewed the feet to the legs. I added the collar to the neck with some sewing and fabric glue to keep it in place. I also created a sleeve from black velvet fabric to make the inside of him more comfortable and look nice. I ended up making his feet again to make them larger as they looked to small in this photo.
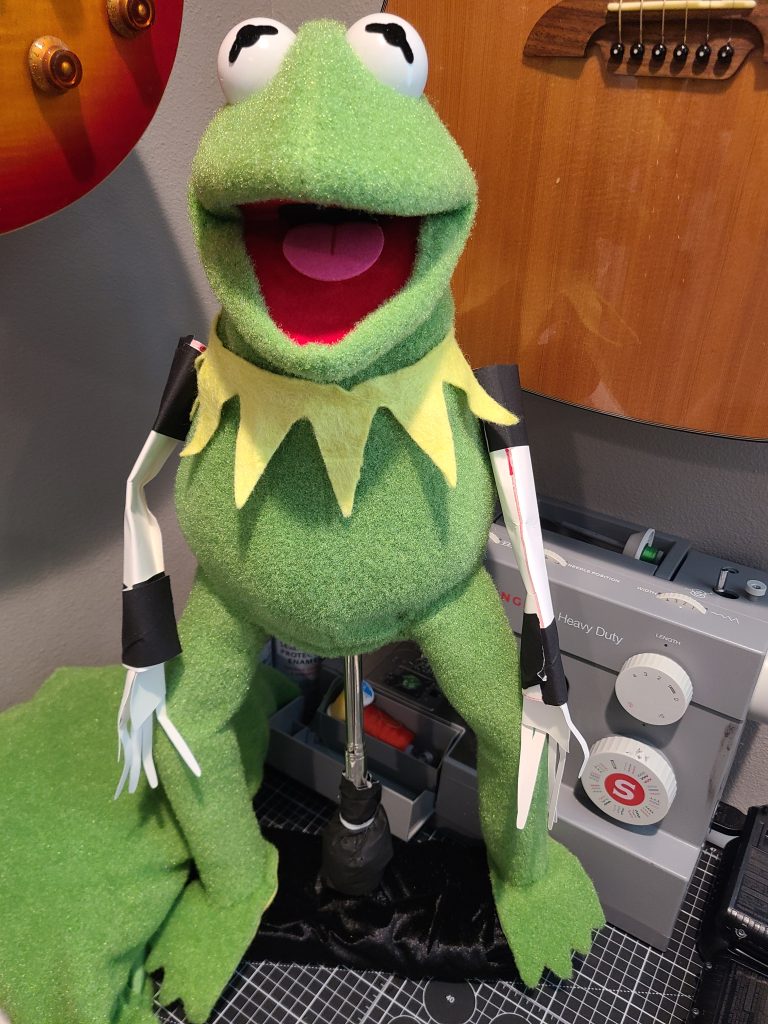
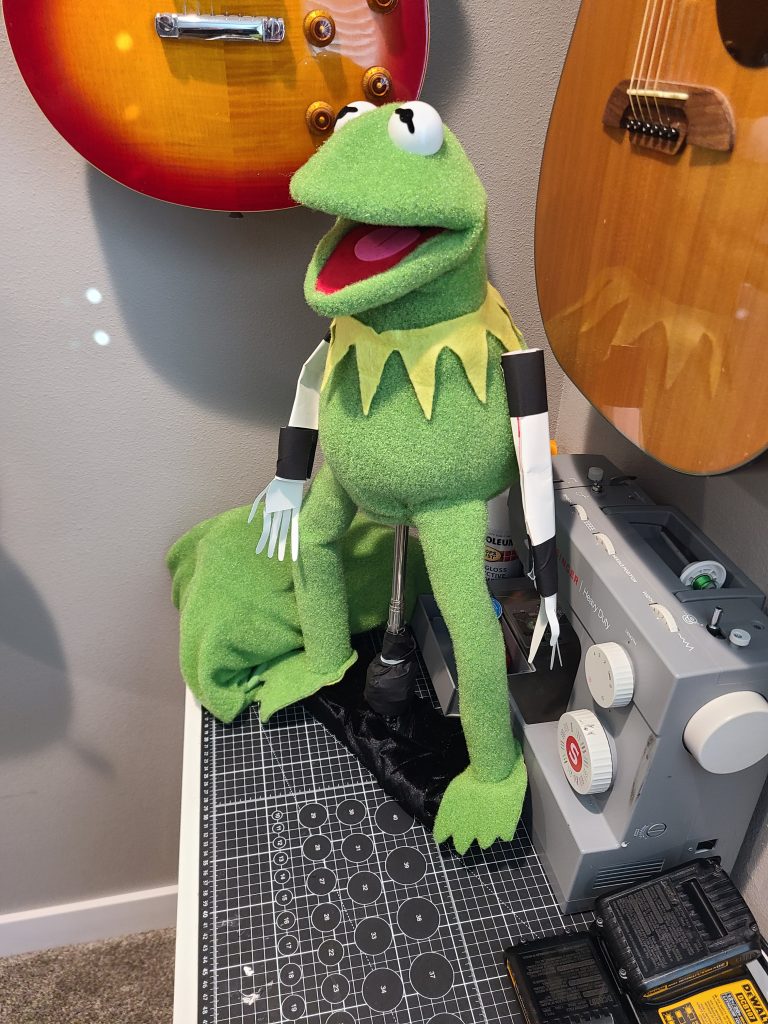
I then started working on the arms using the same exact concept as the legs. The arms are 9″ long.
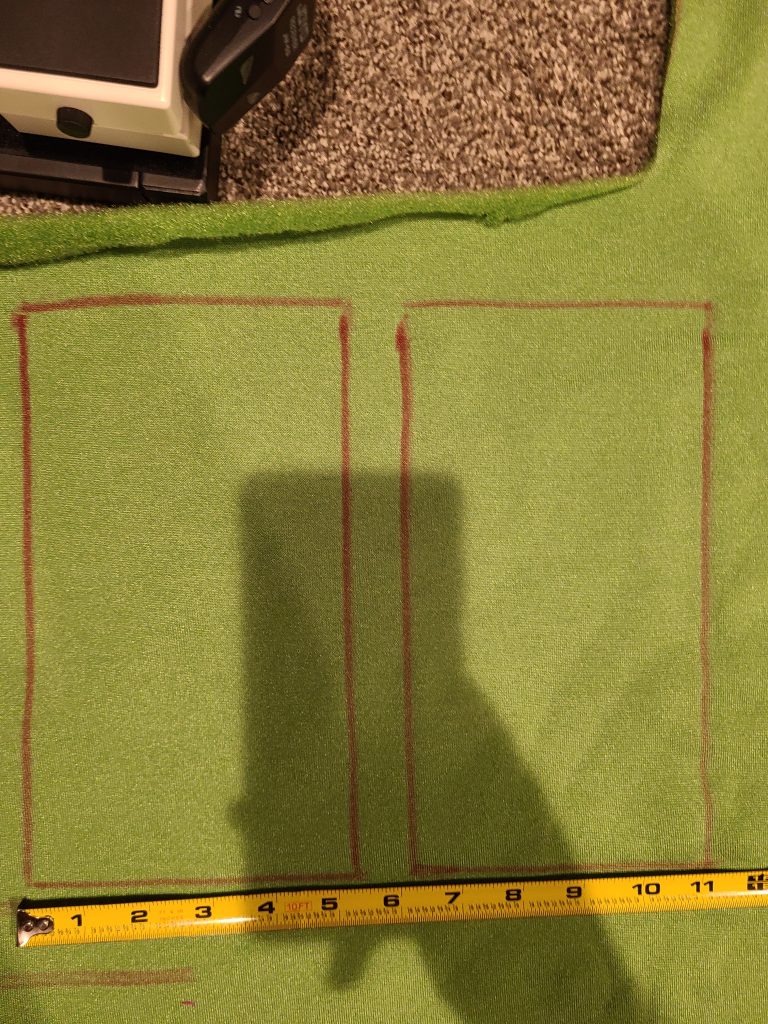
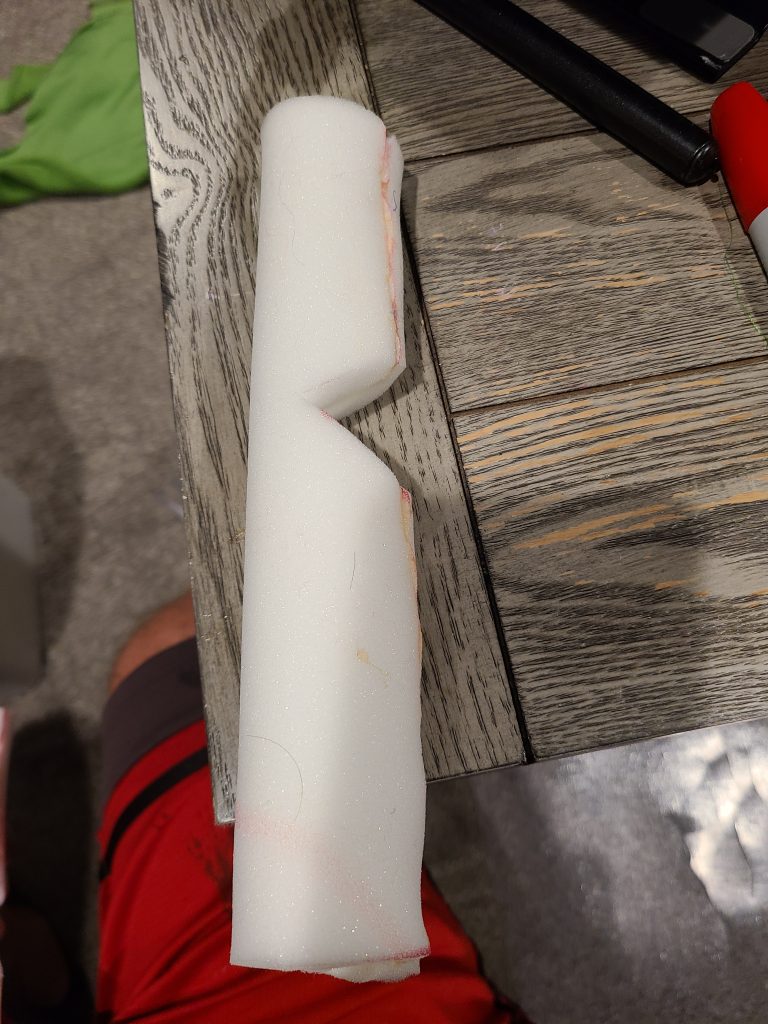
I hand sewed the arms to the body.
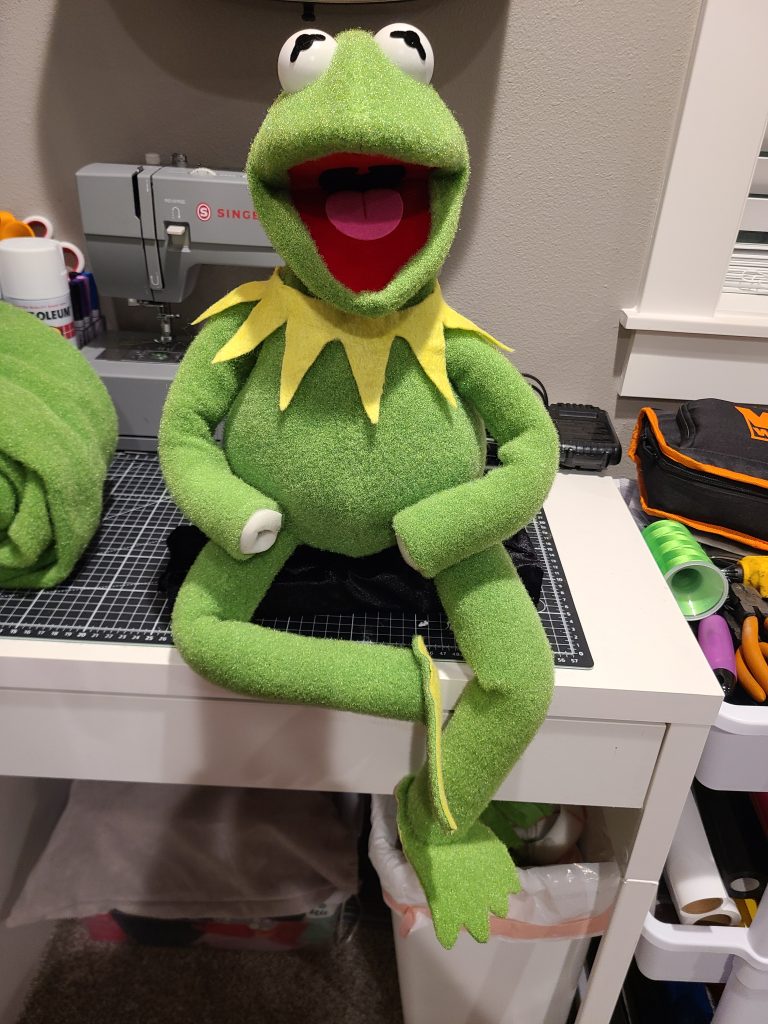
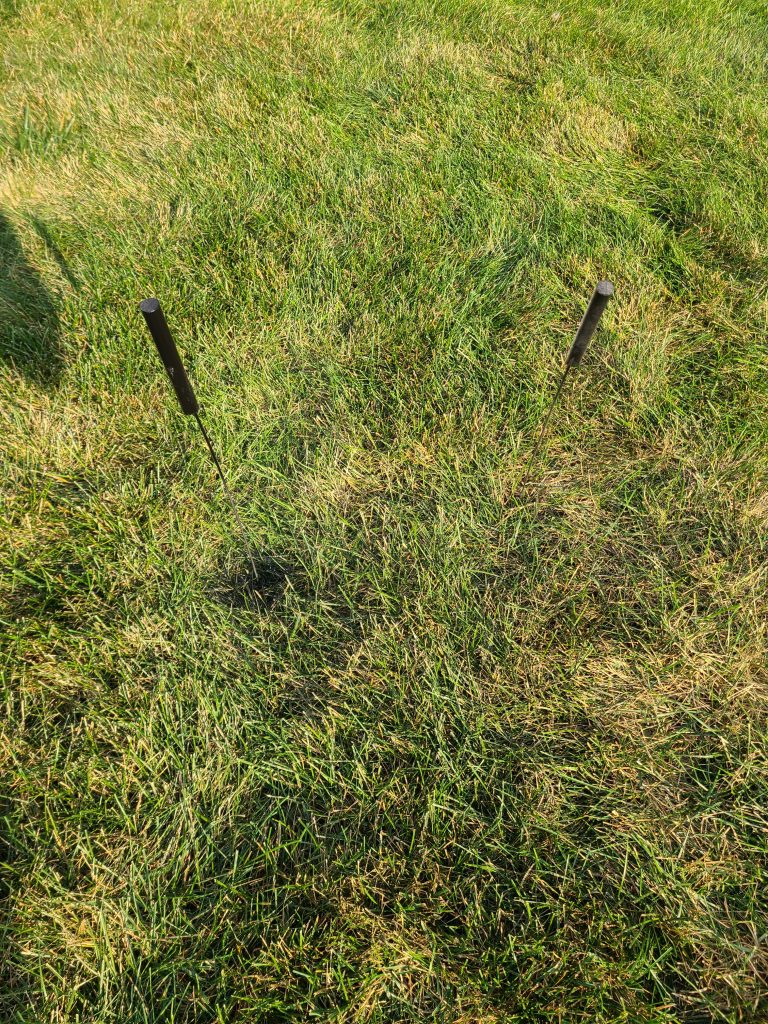
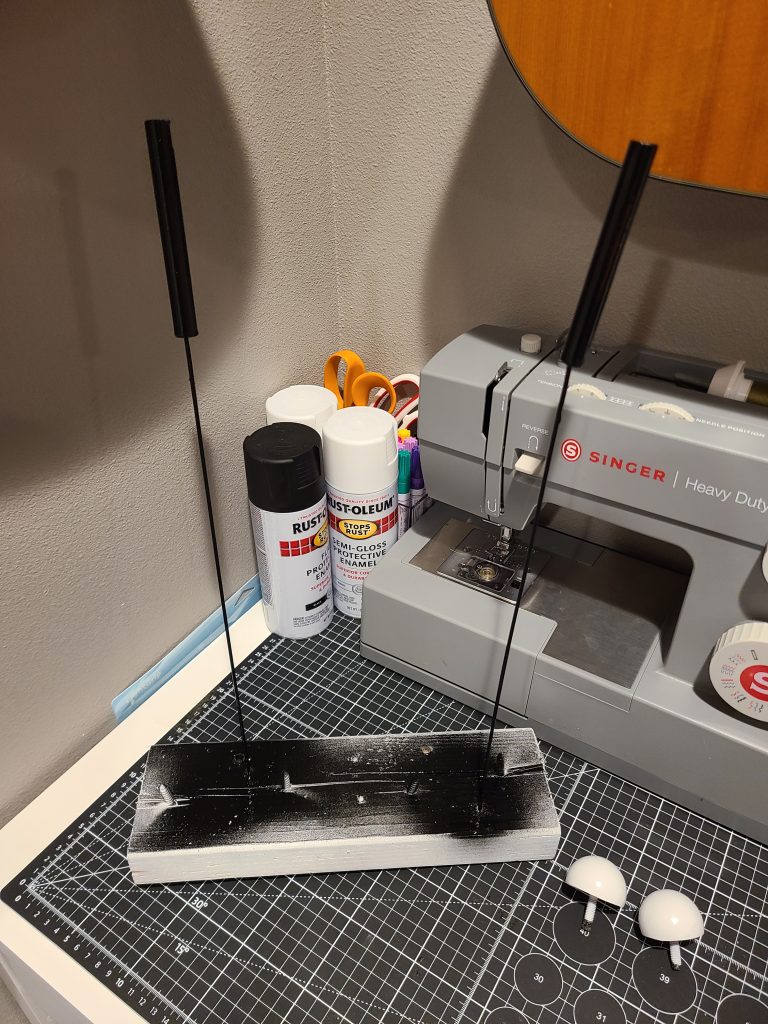
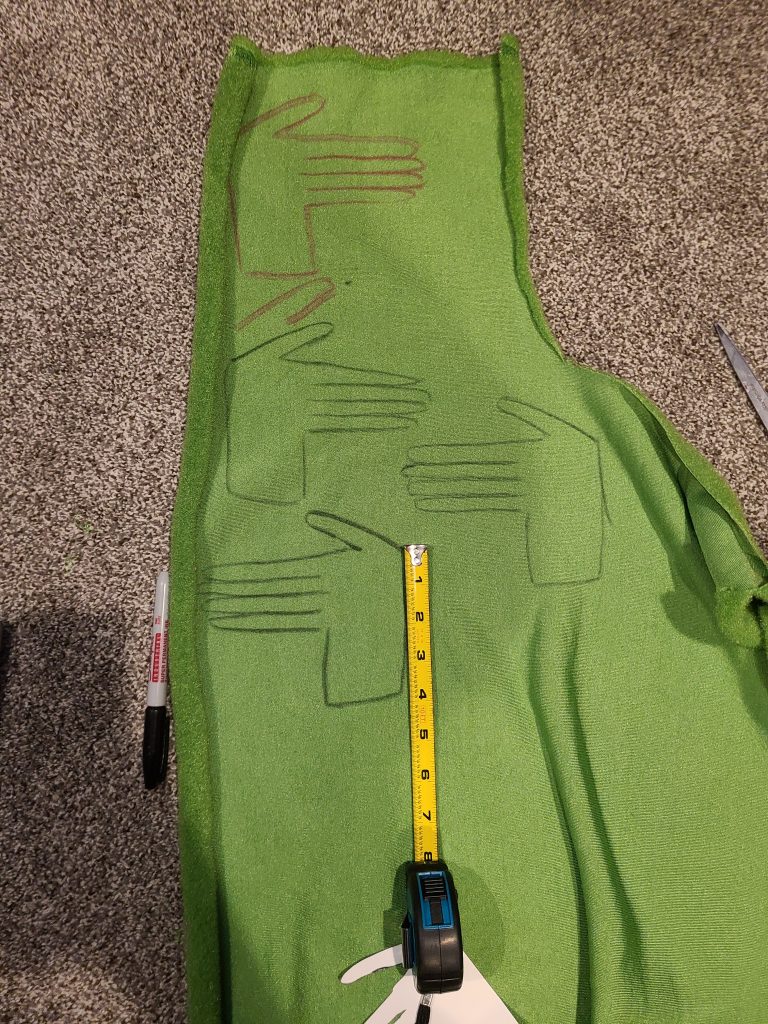
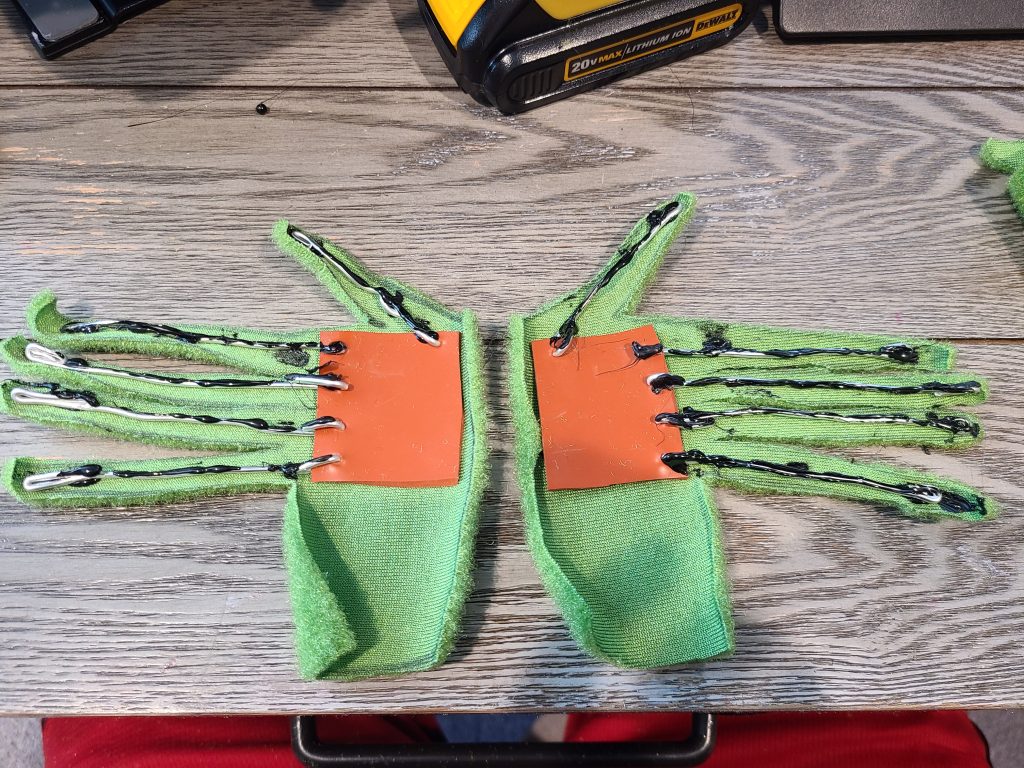
I started working on the hands. I created the arm rods from steel wire and wood dowels painted black. I used square pieces of rubber to attach the wire to. I covered the wire with hot glue for more support. After adding the wire, I glued the two hand pieces together with super adhesive spray 77 to keep it all together and lined up. I then hand sewed the hands and fingers for extra support.
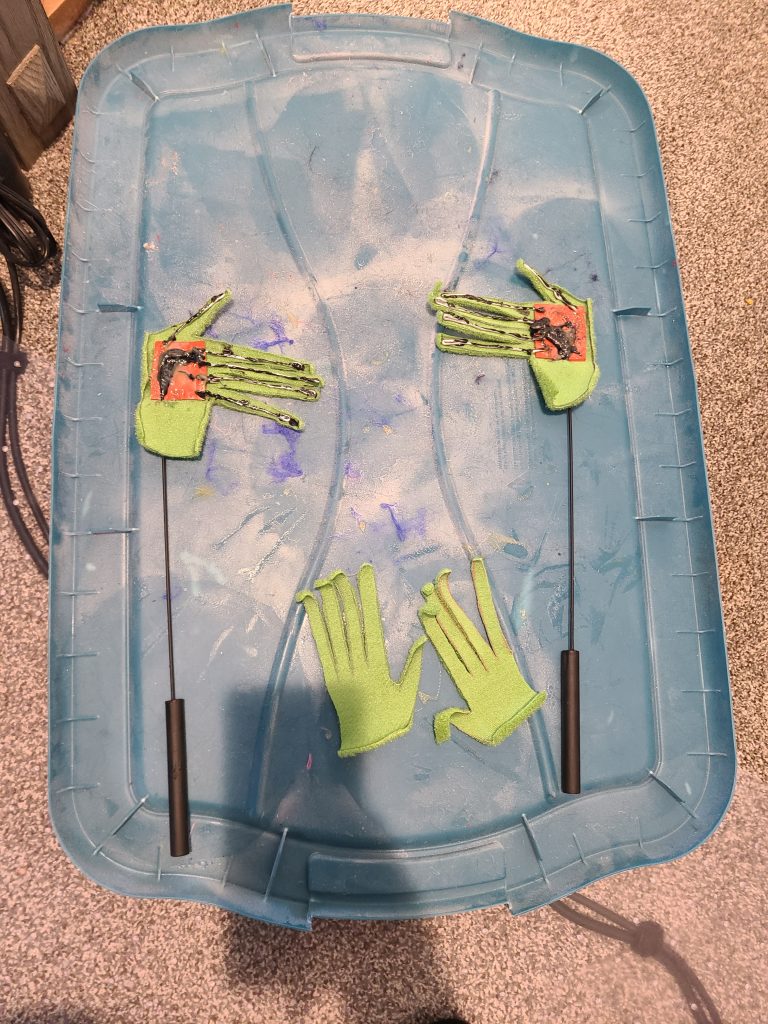
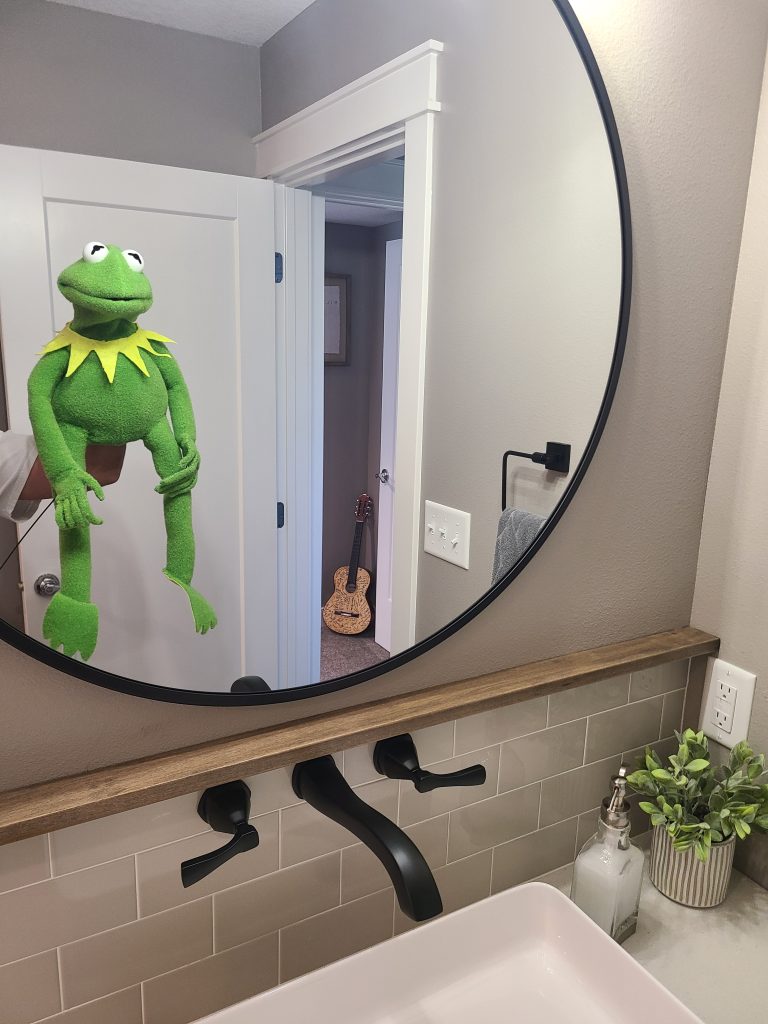
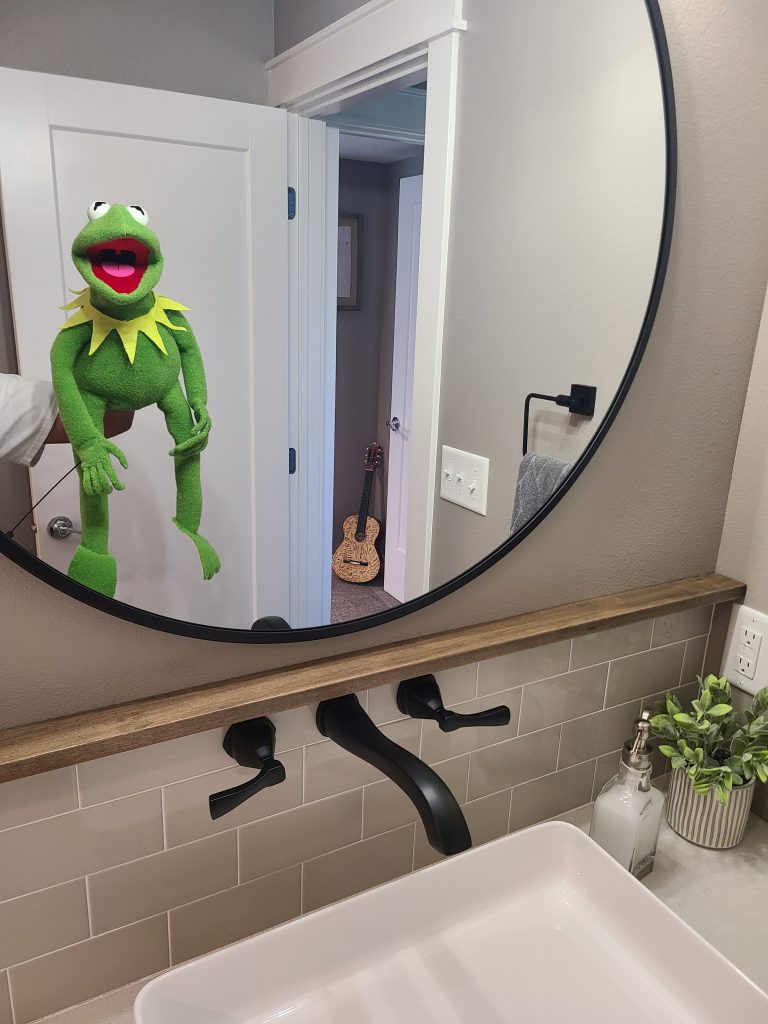
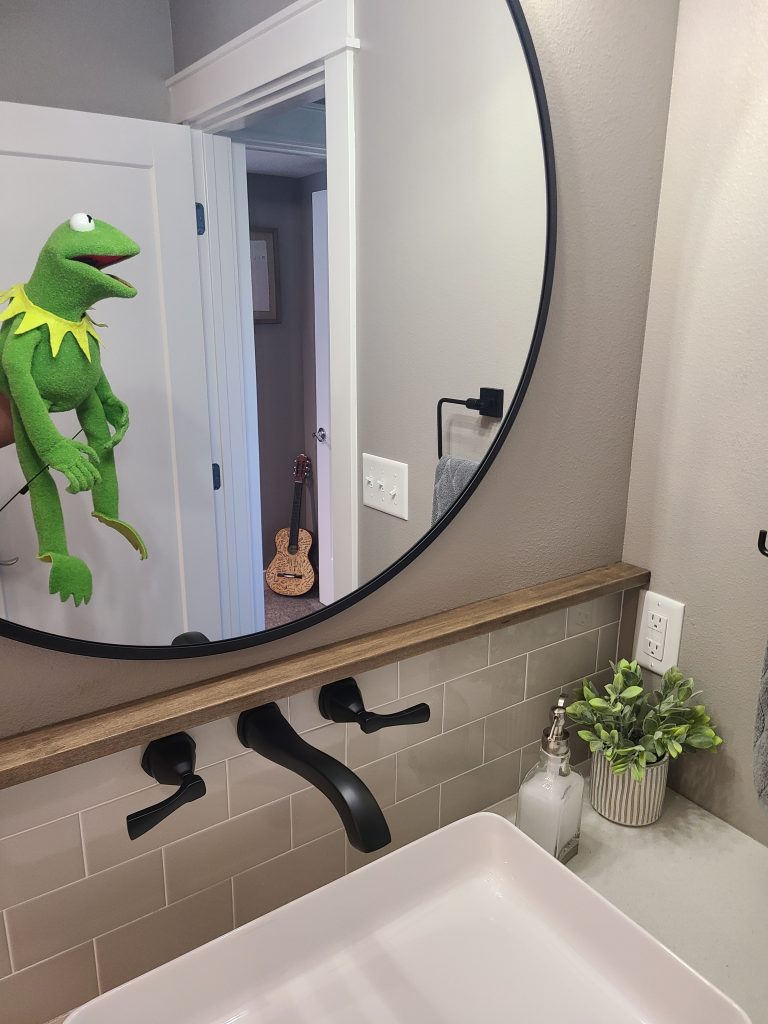
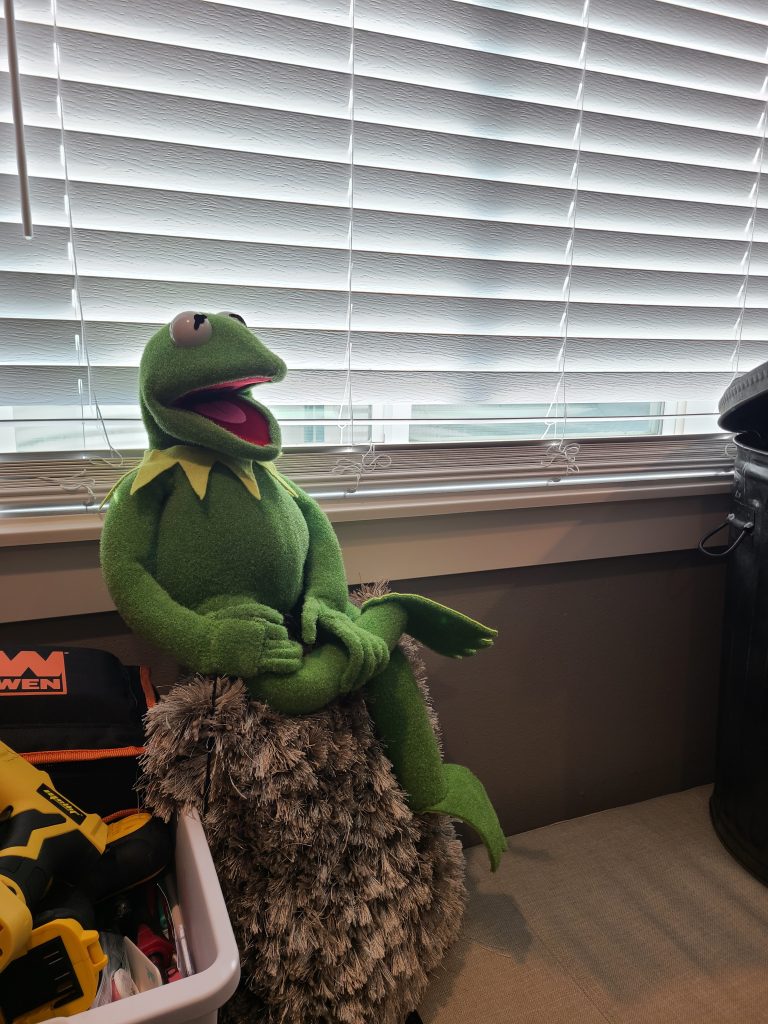
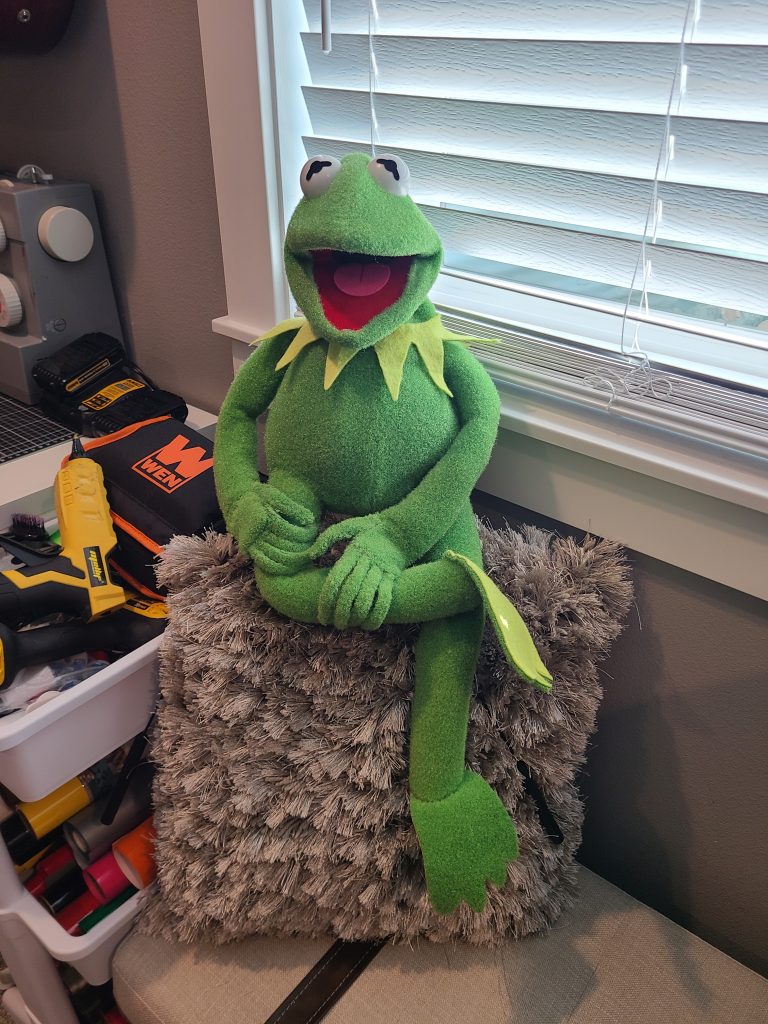
I then finished him up by hand sewing the hands to the arms. I also made some final adjustments by slimming his arms a little bit, making his feet larger, and slimming his body up a little more.



this looks really good im making a kermit puppet and its looking good thank you plz do fozzie bear.