Cookie Monster Puppet Replica v2
Replica Builds, Sesame StreetThis is a quick image guide on how I built my Cookie Monster from Sesame Street puppet replica. This is my second version with new materials and patterns. The first one I built as always bugged me, and it has been on my list to create a more accurate version. The fabric color I received on the first one did not show up looking like it did online, and I wasn’t patient enough to send it back and try again. So, now I found some time to do this again, and I am hoping for a much more accurate result.
I tried to provide a lot of pictures for you to give you ideas on how you can build your own. Enjoy and feel free to ask me anything.
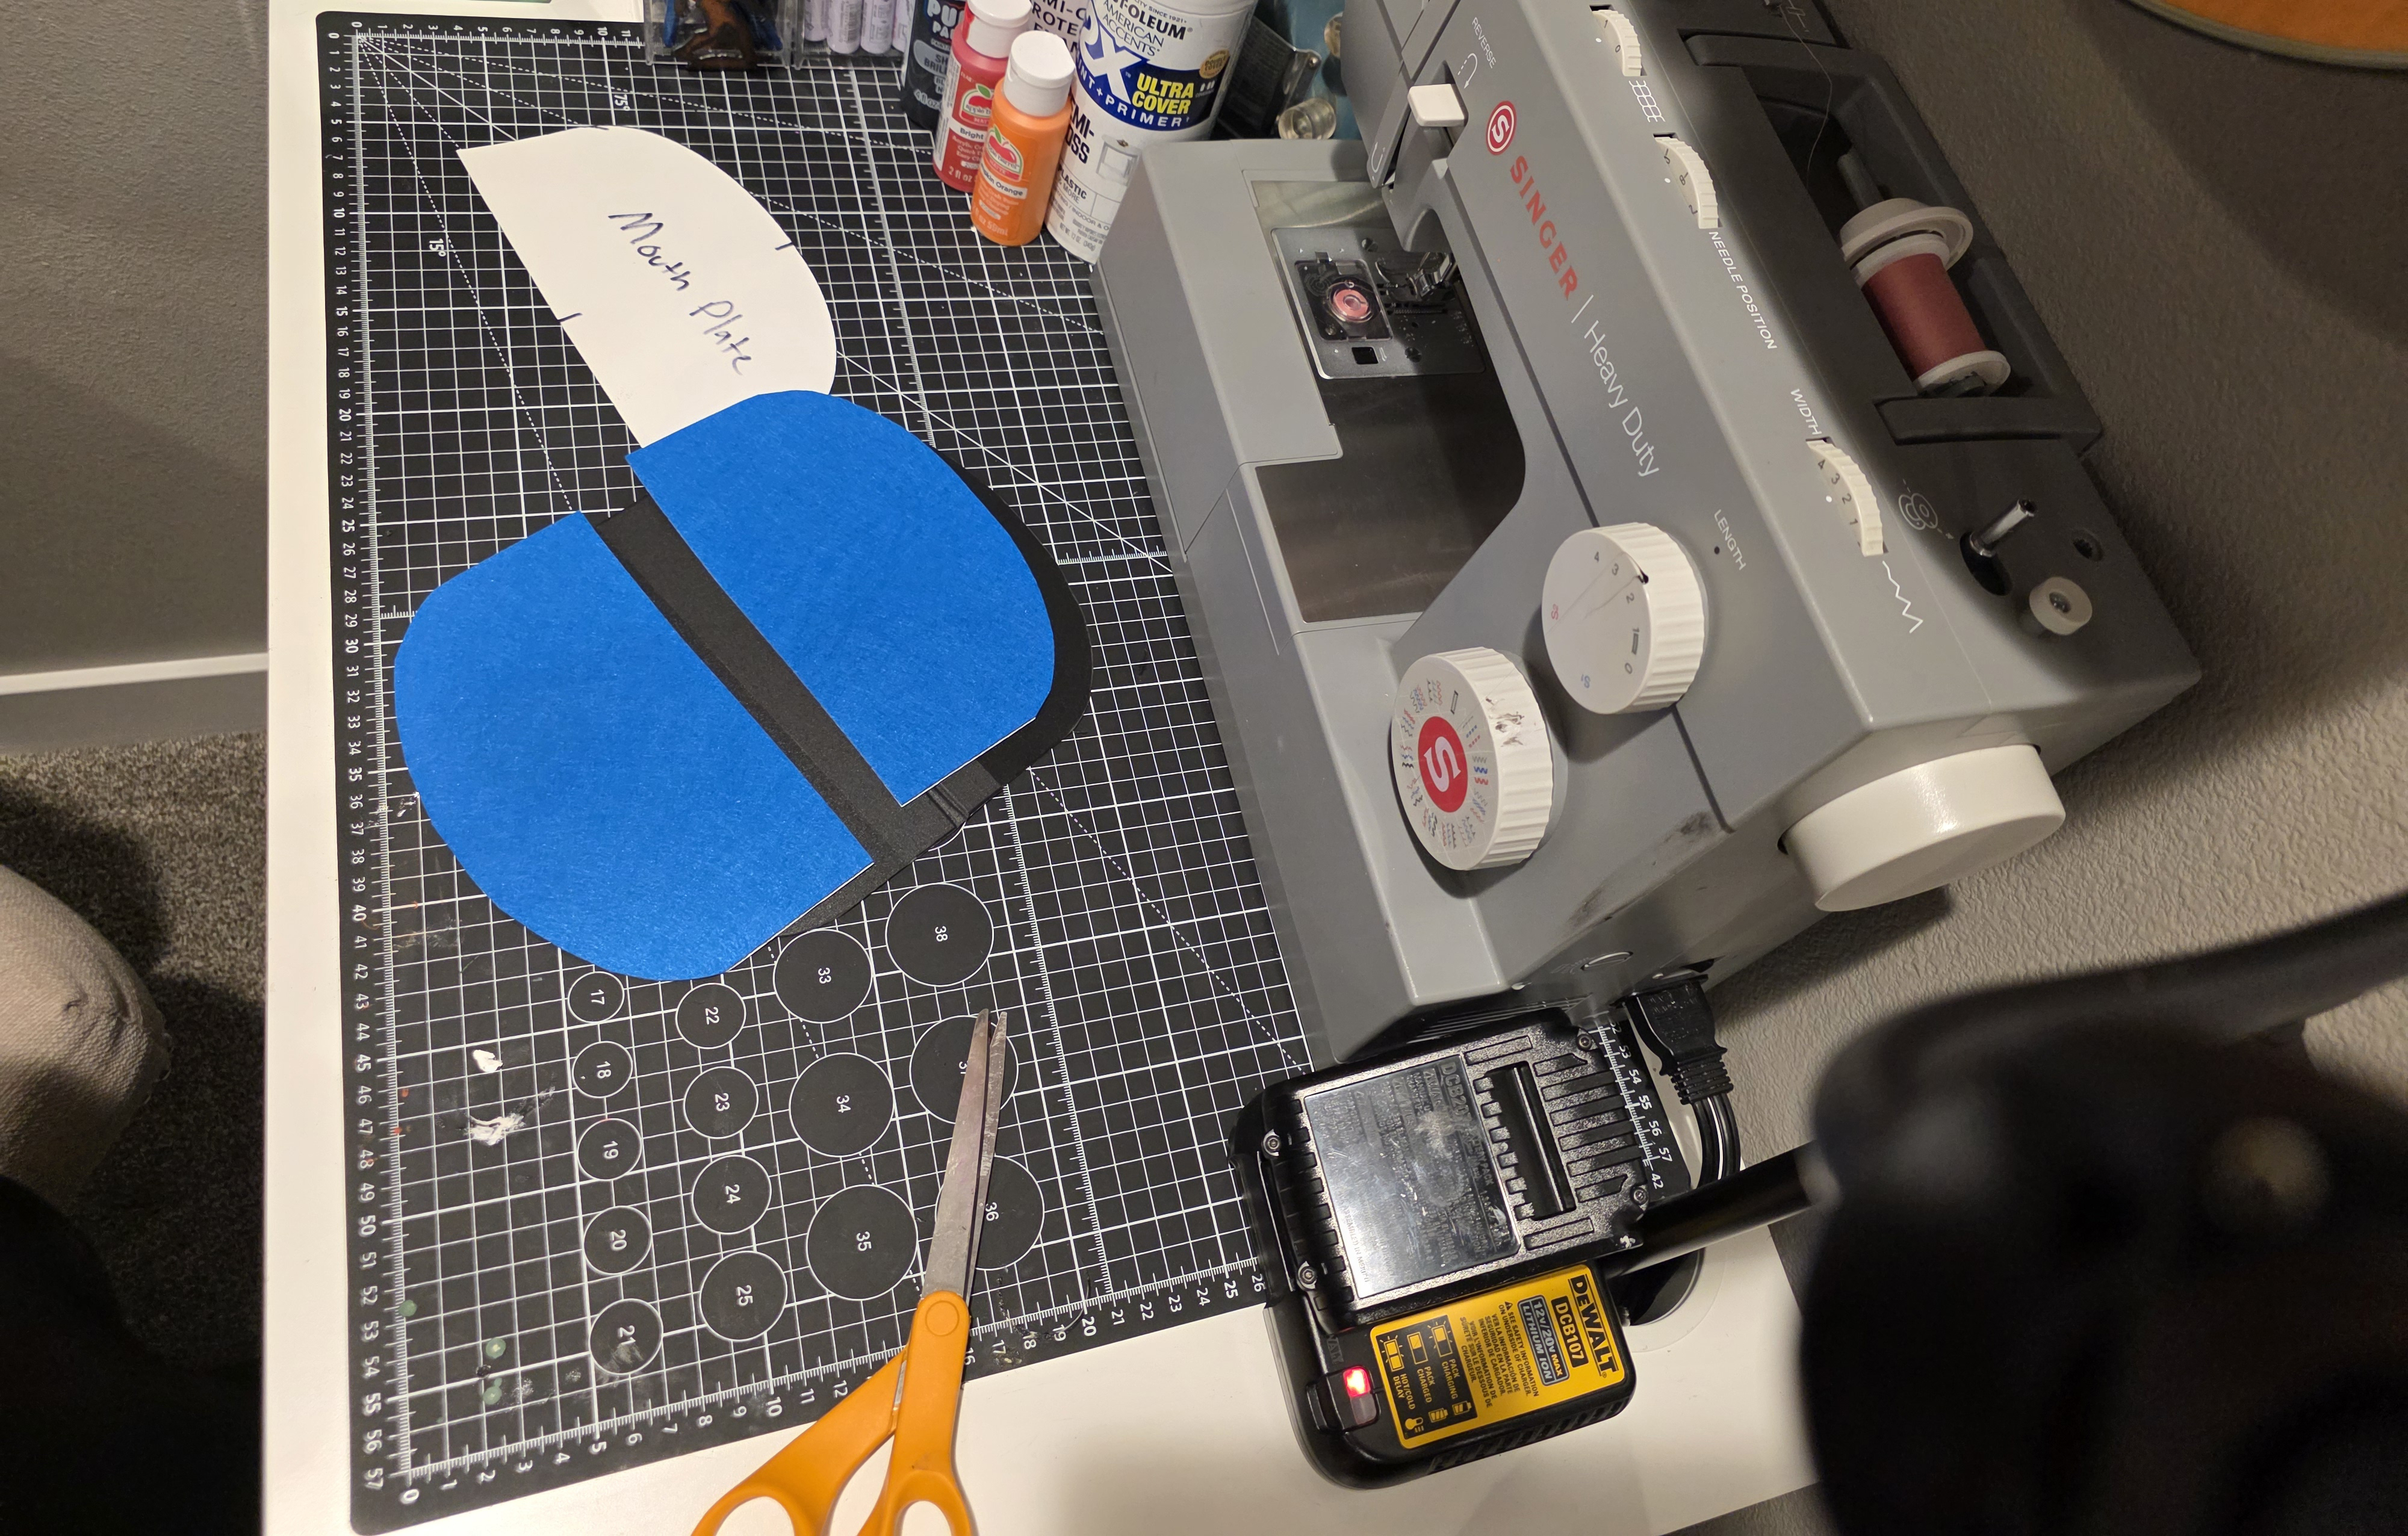
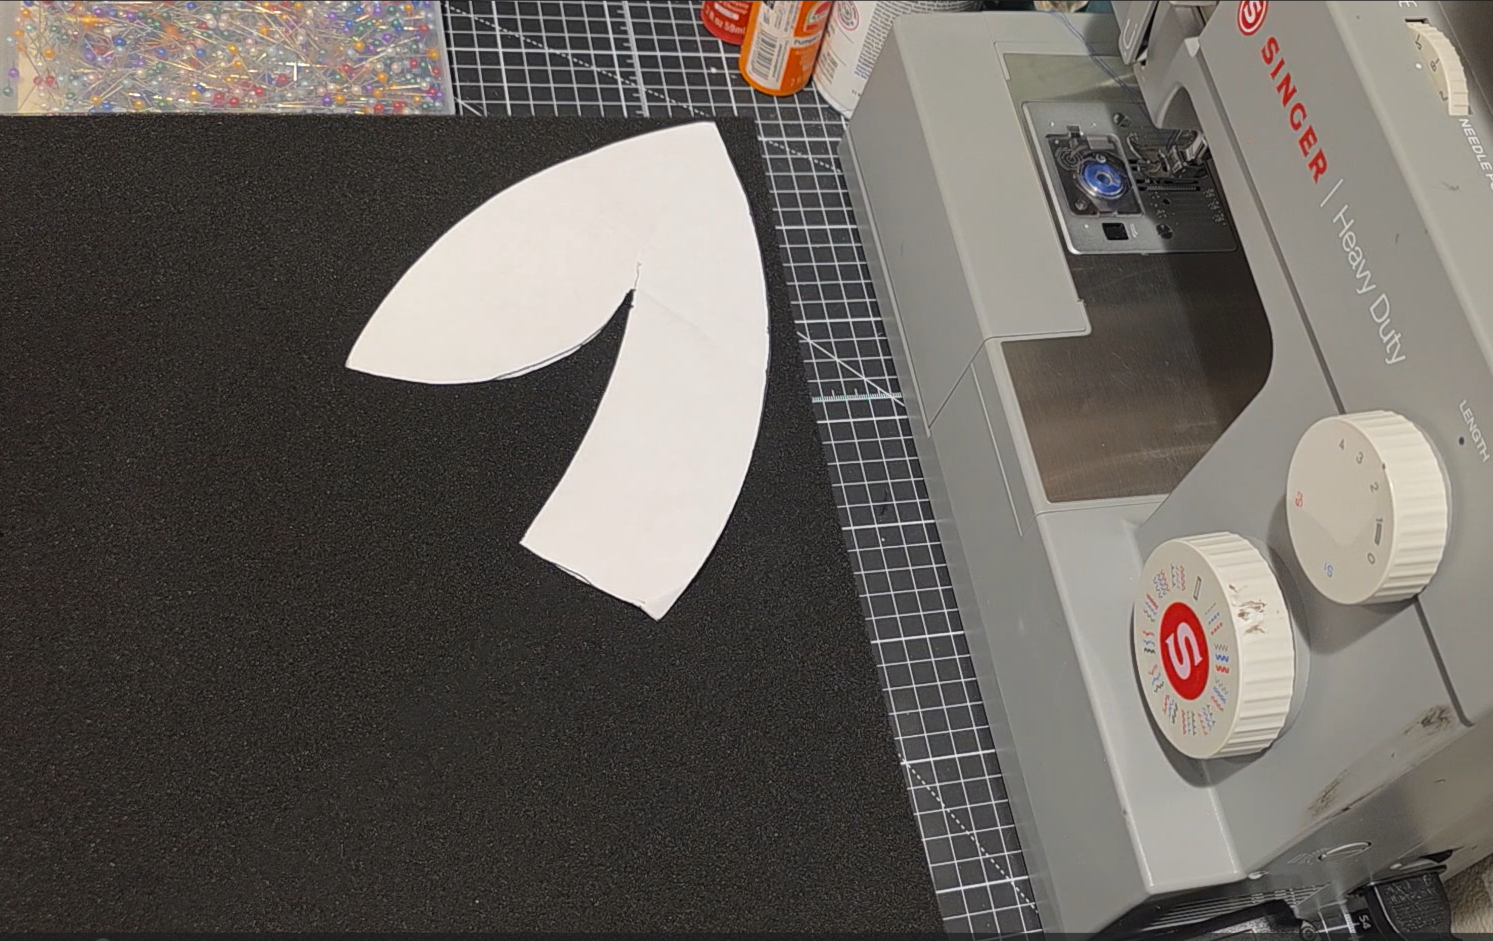
Designing mouth plate template from cardstock.
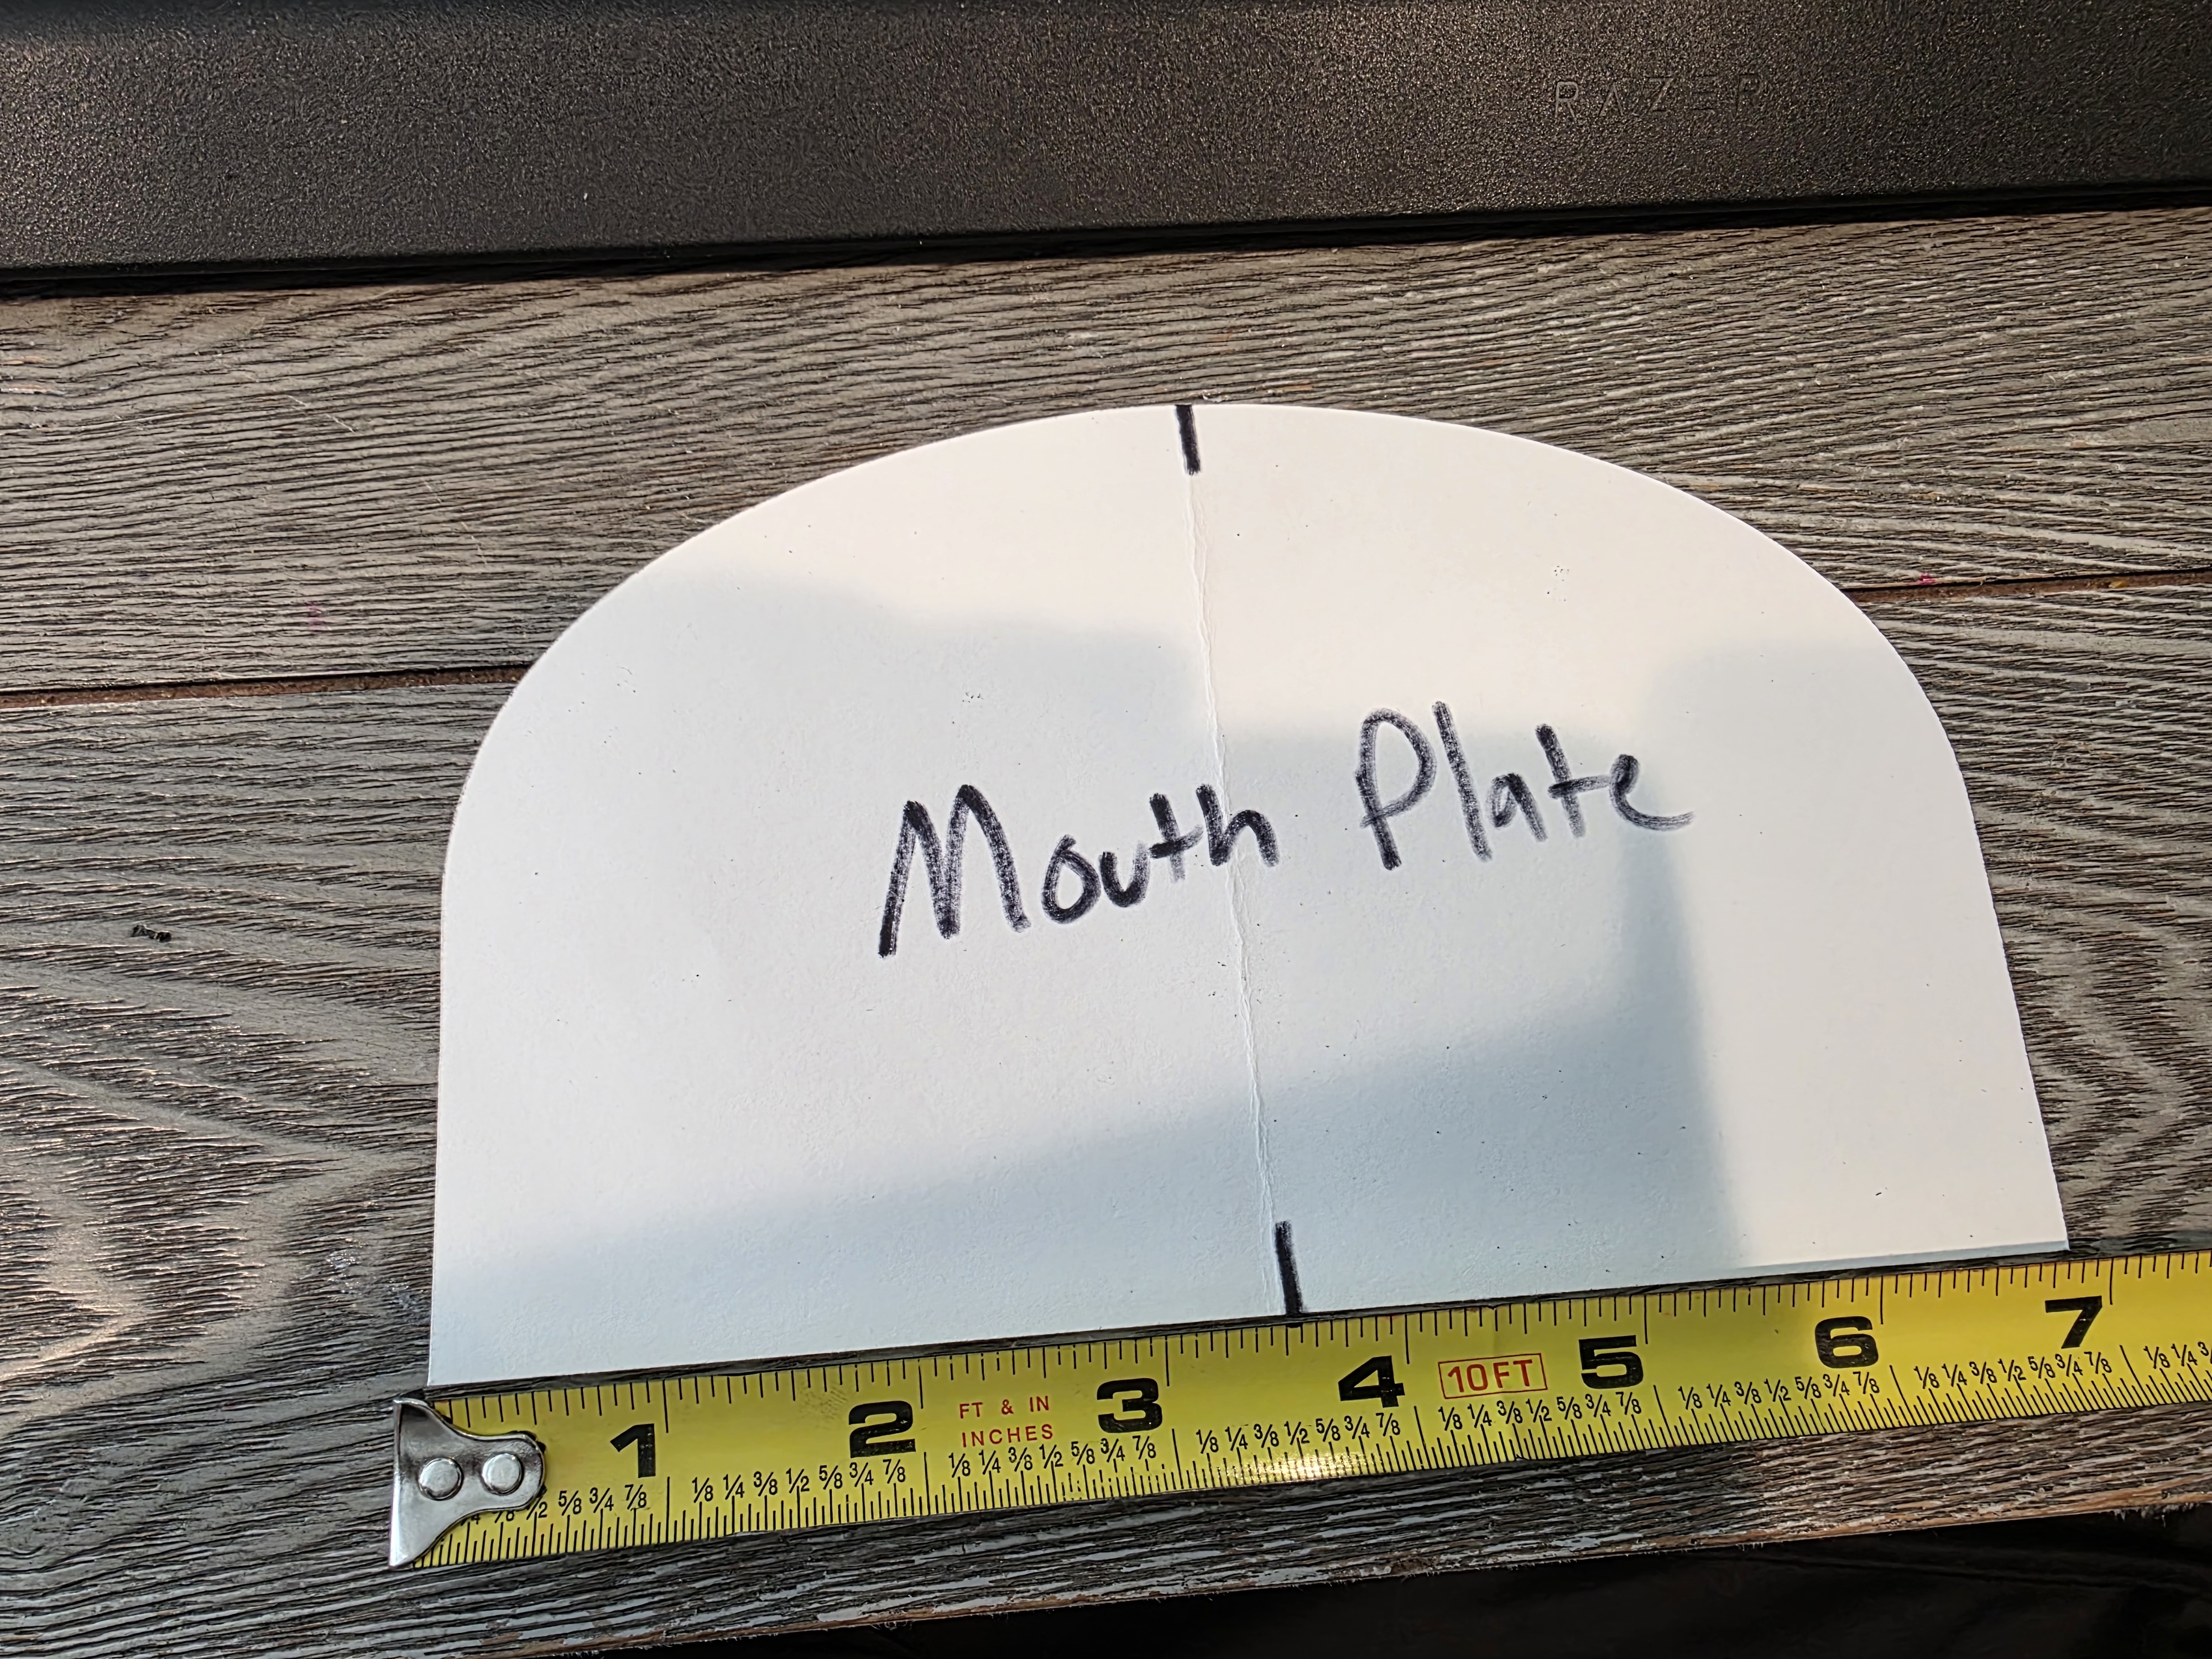
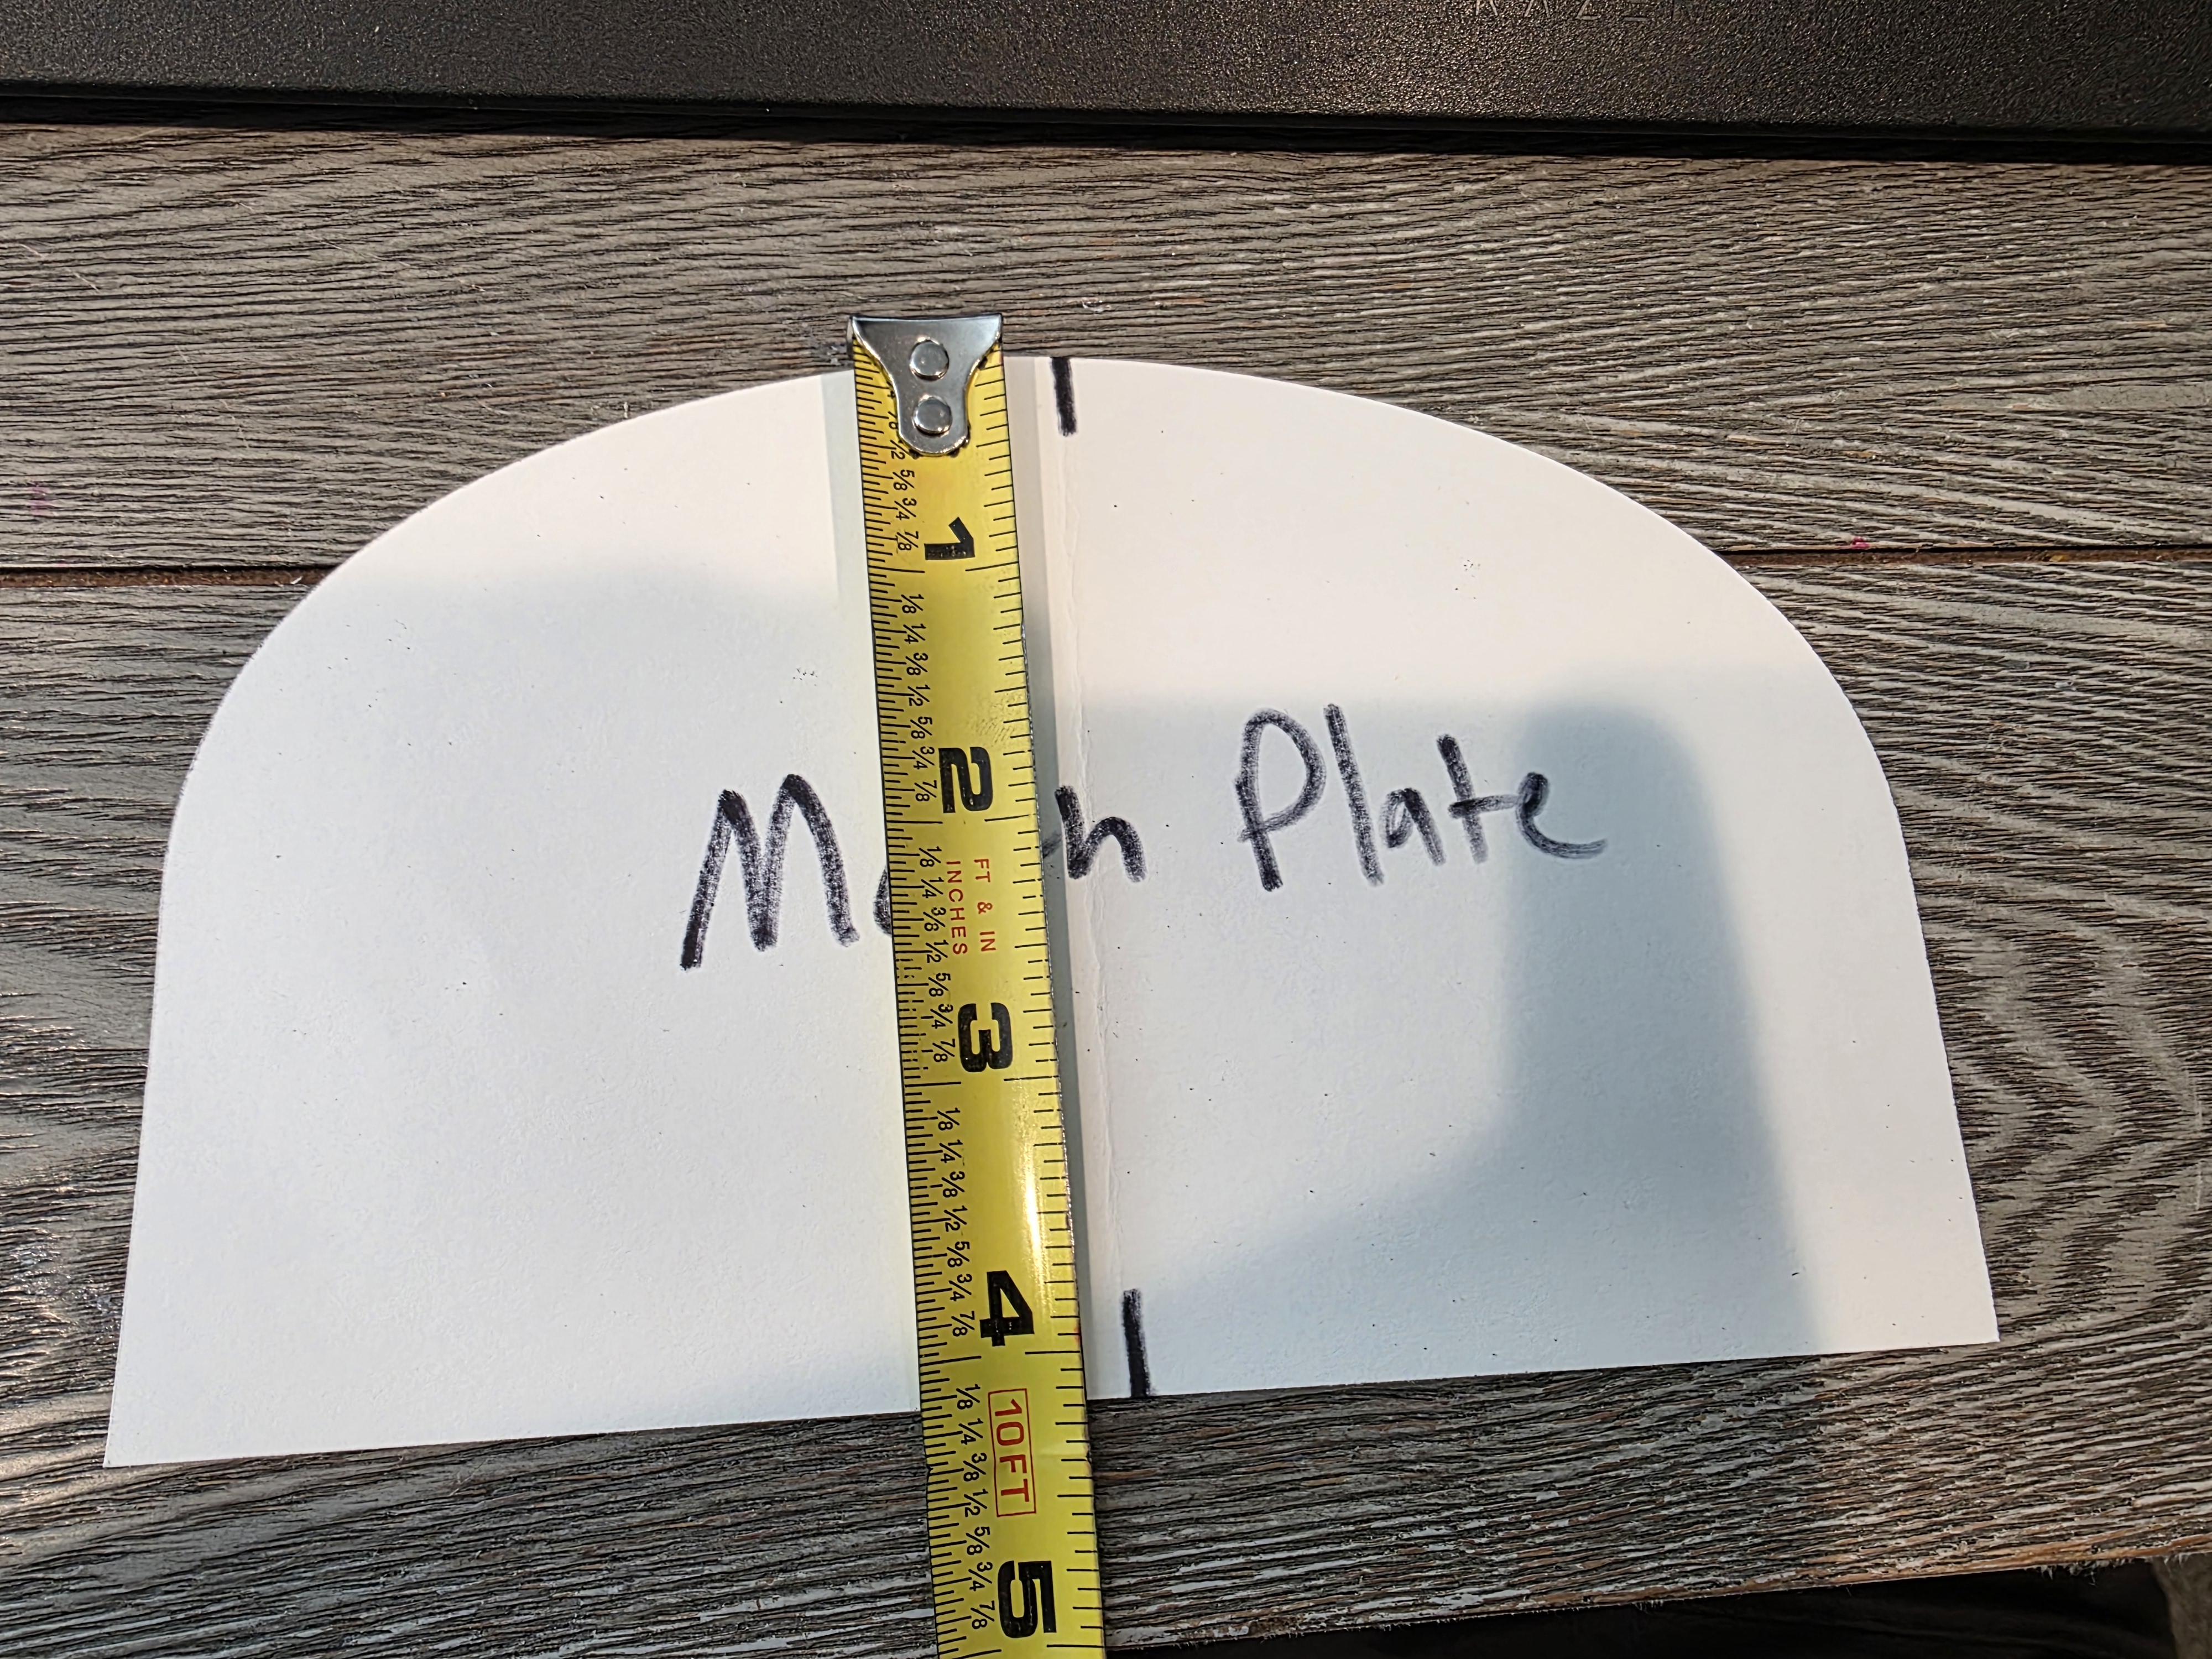
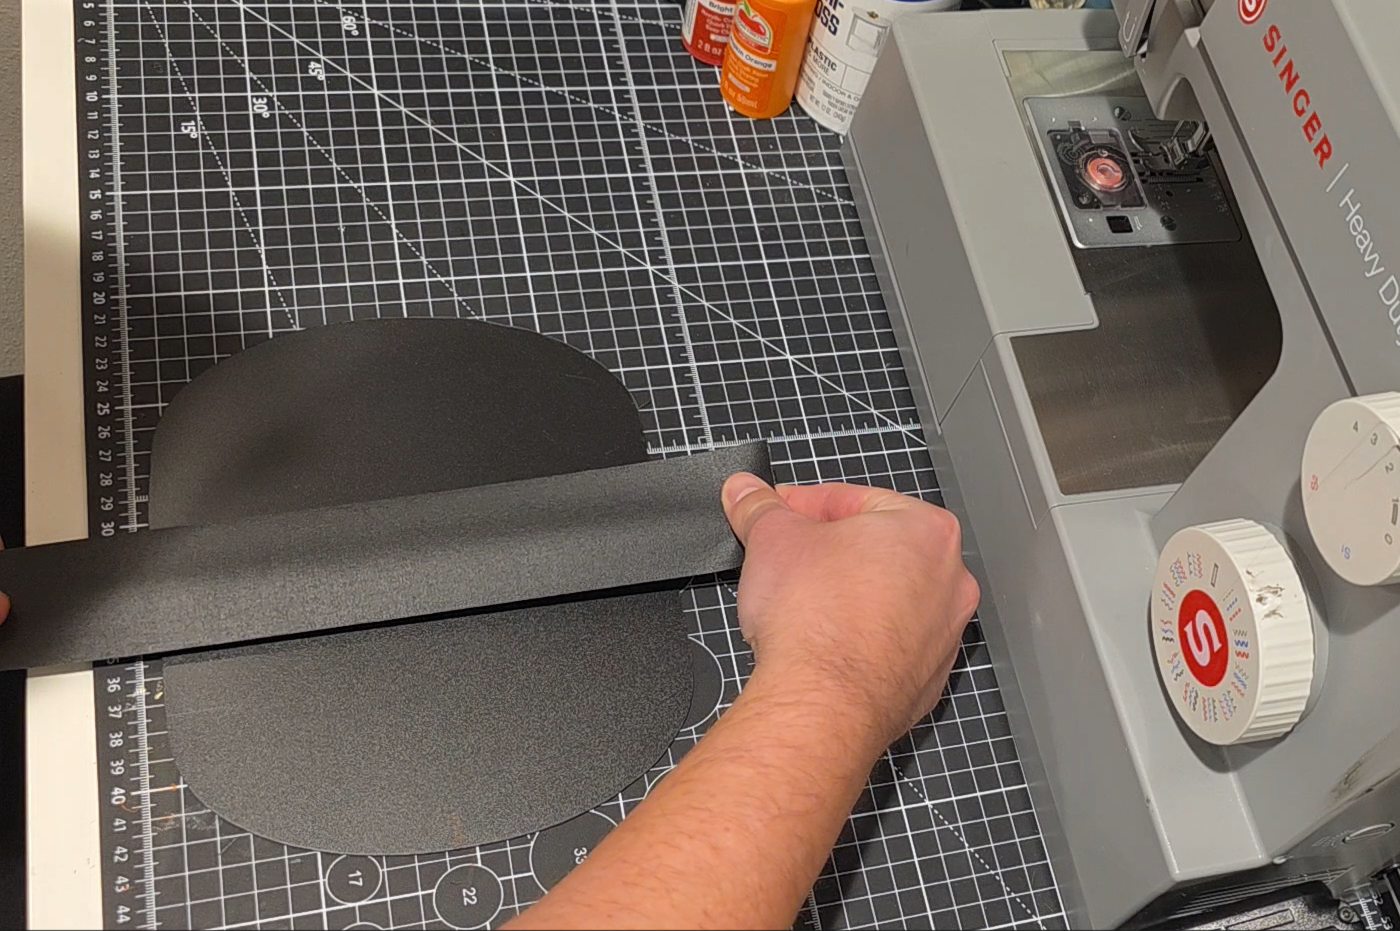
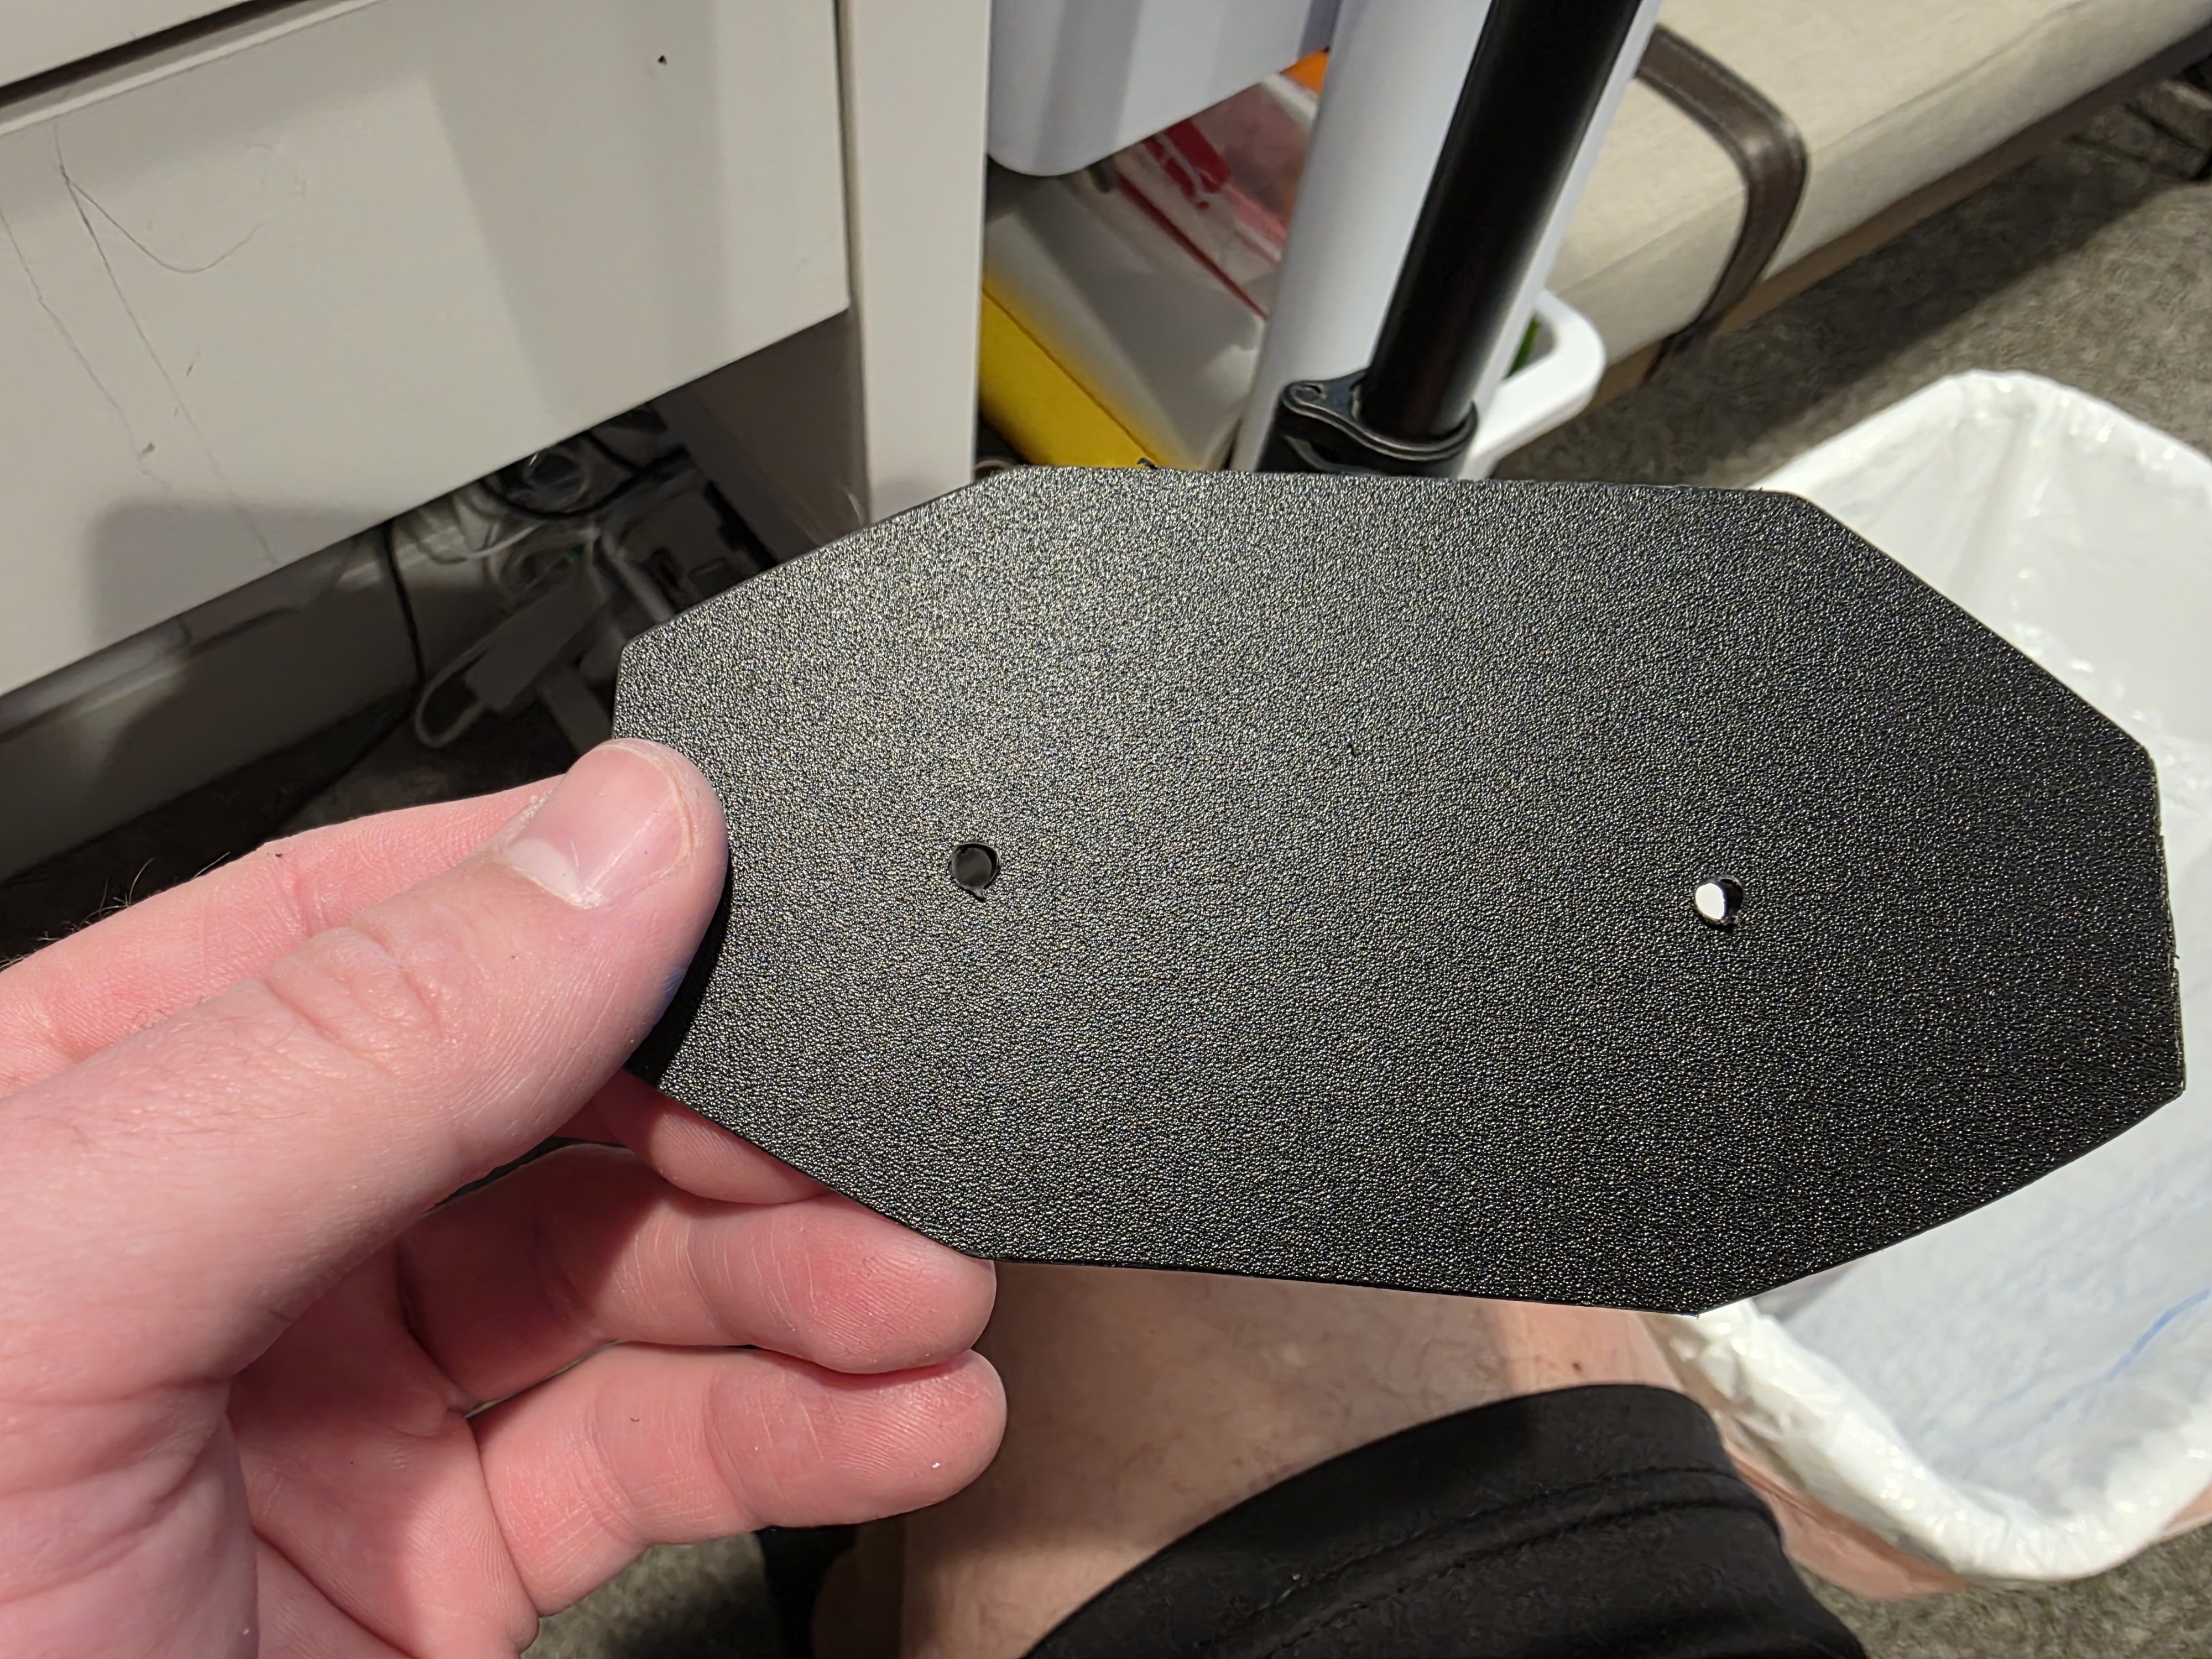
Cutting mouth plate out of plastic sheet.
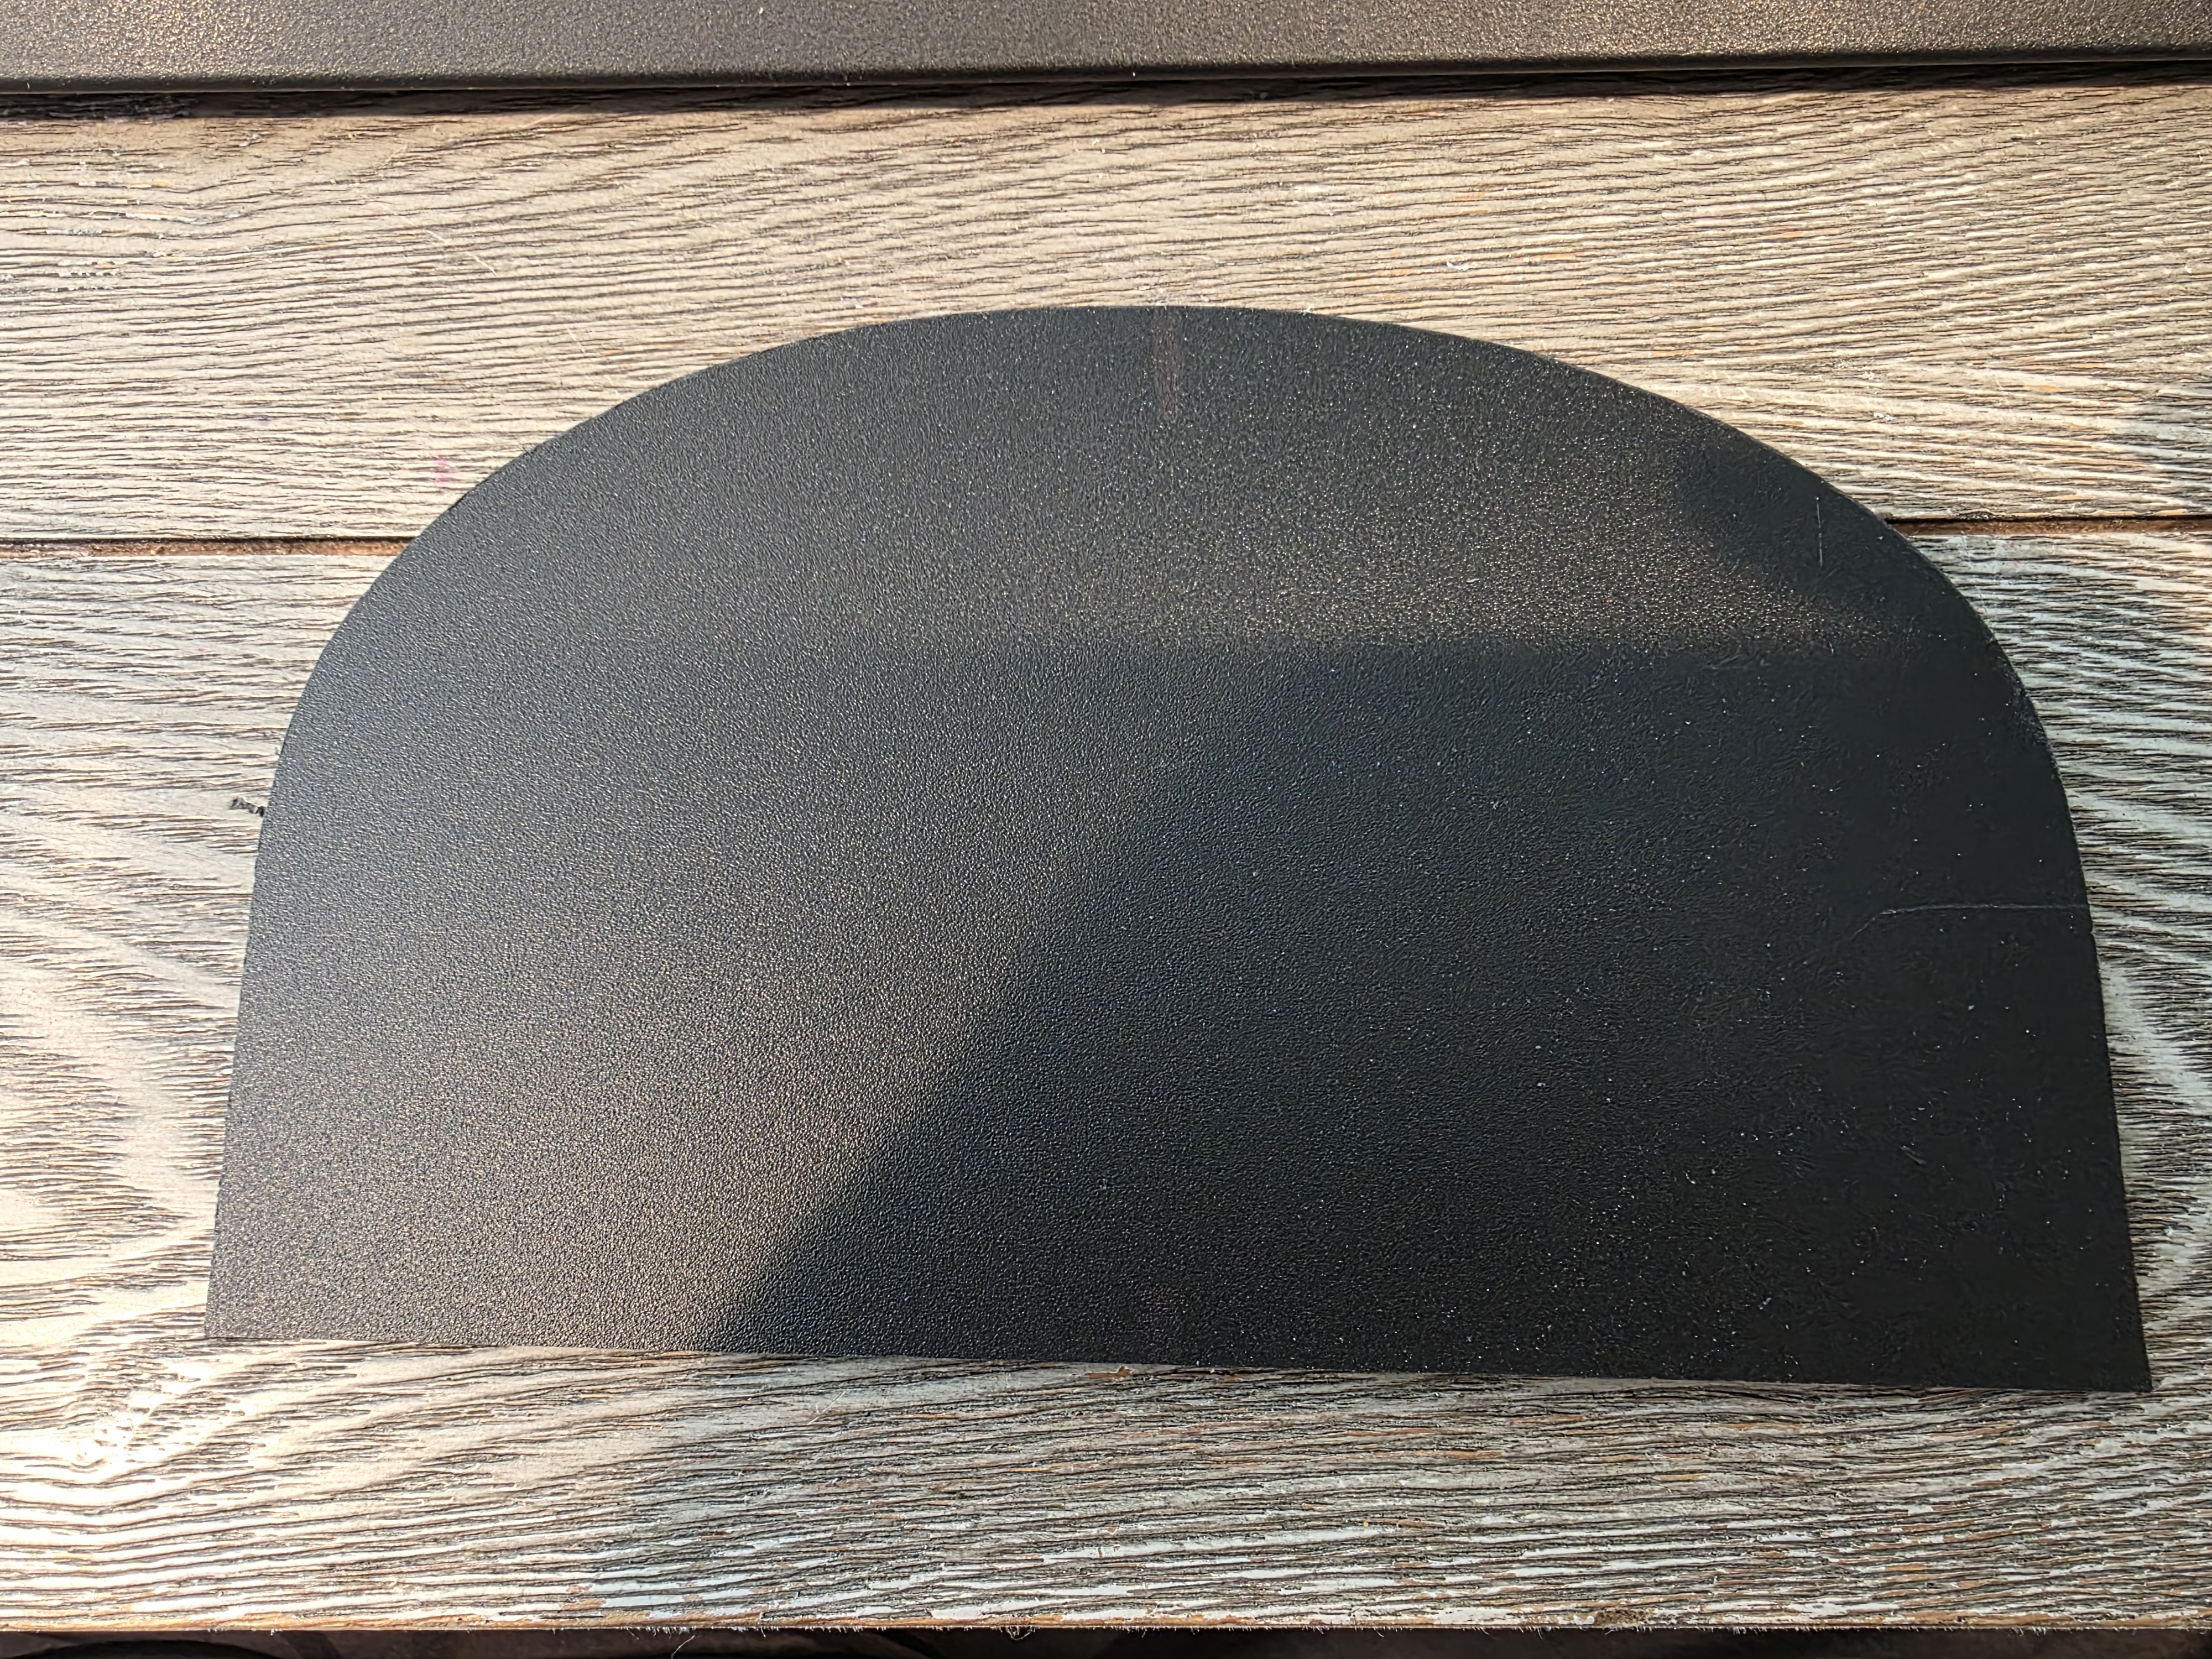
Combine top and bottom mouth plate pieces with strips of gaffer tape on each side.
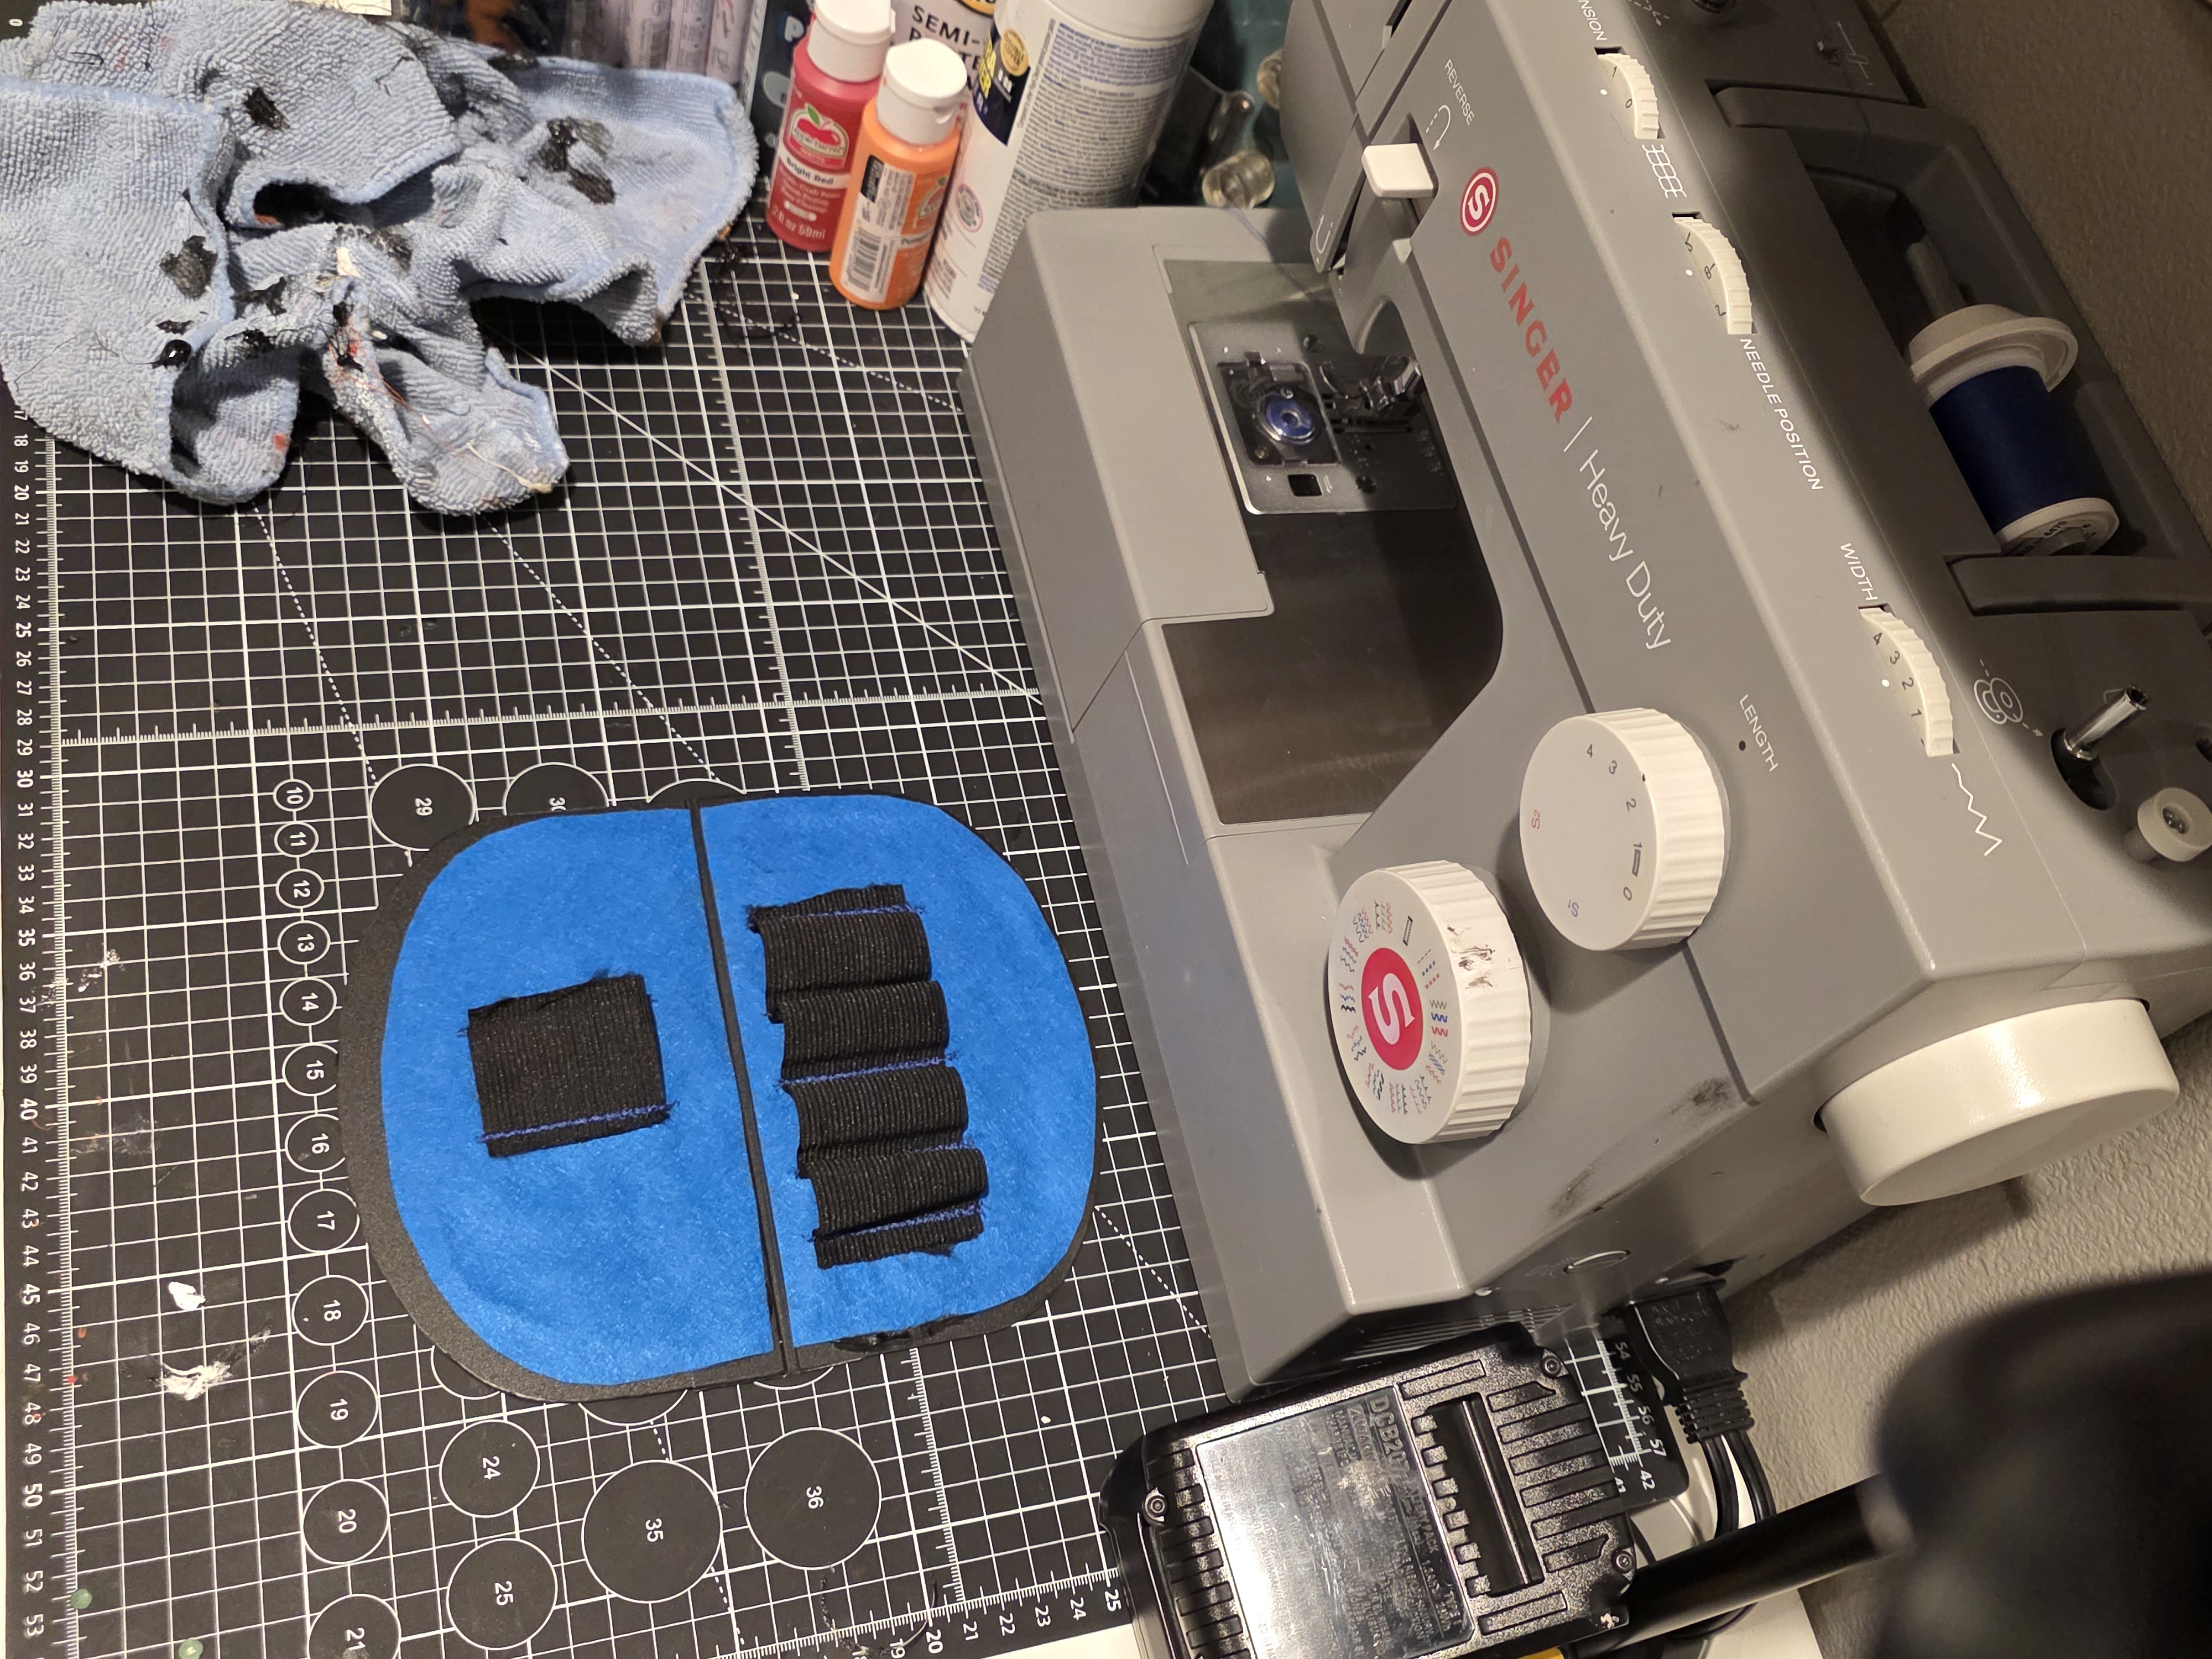
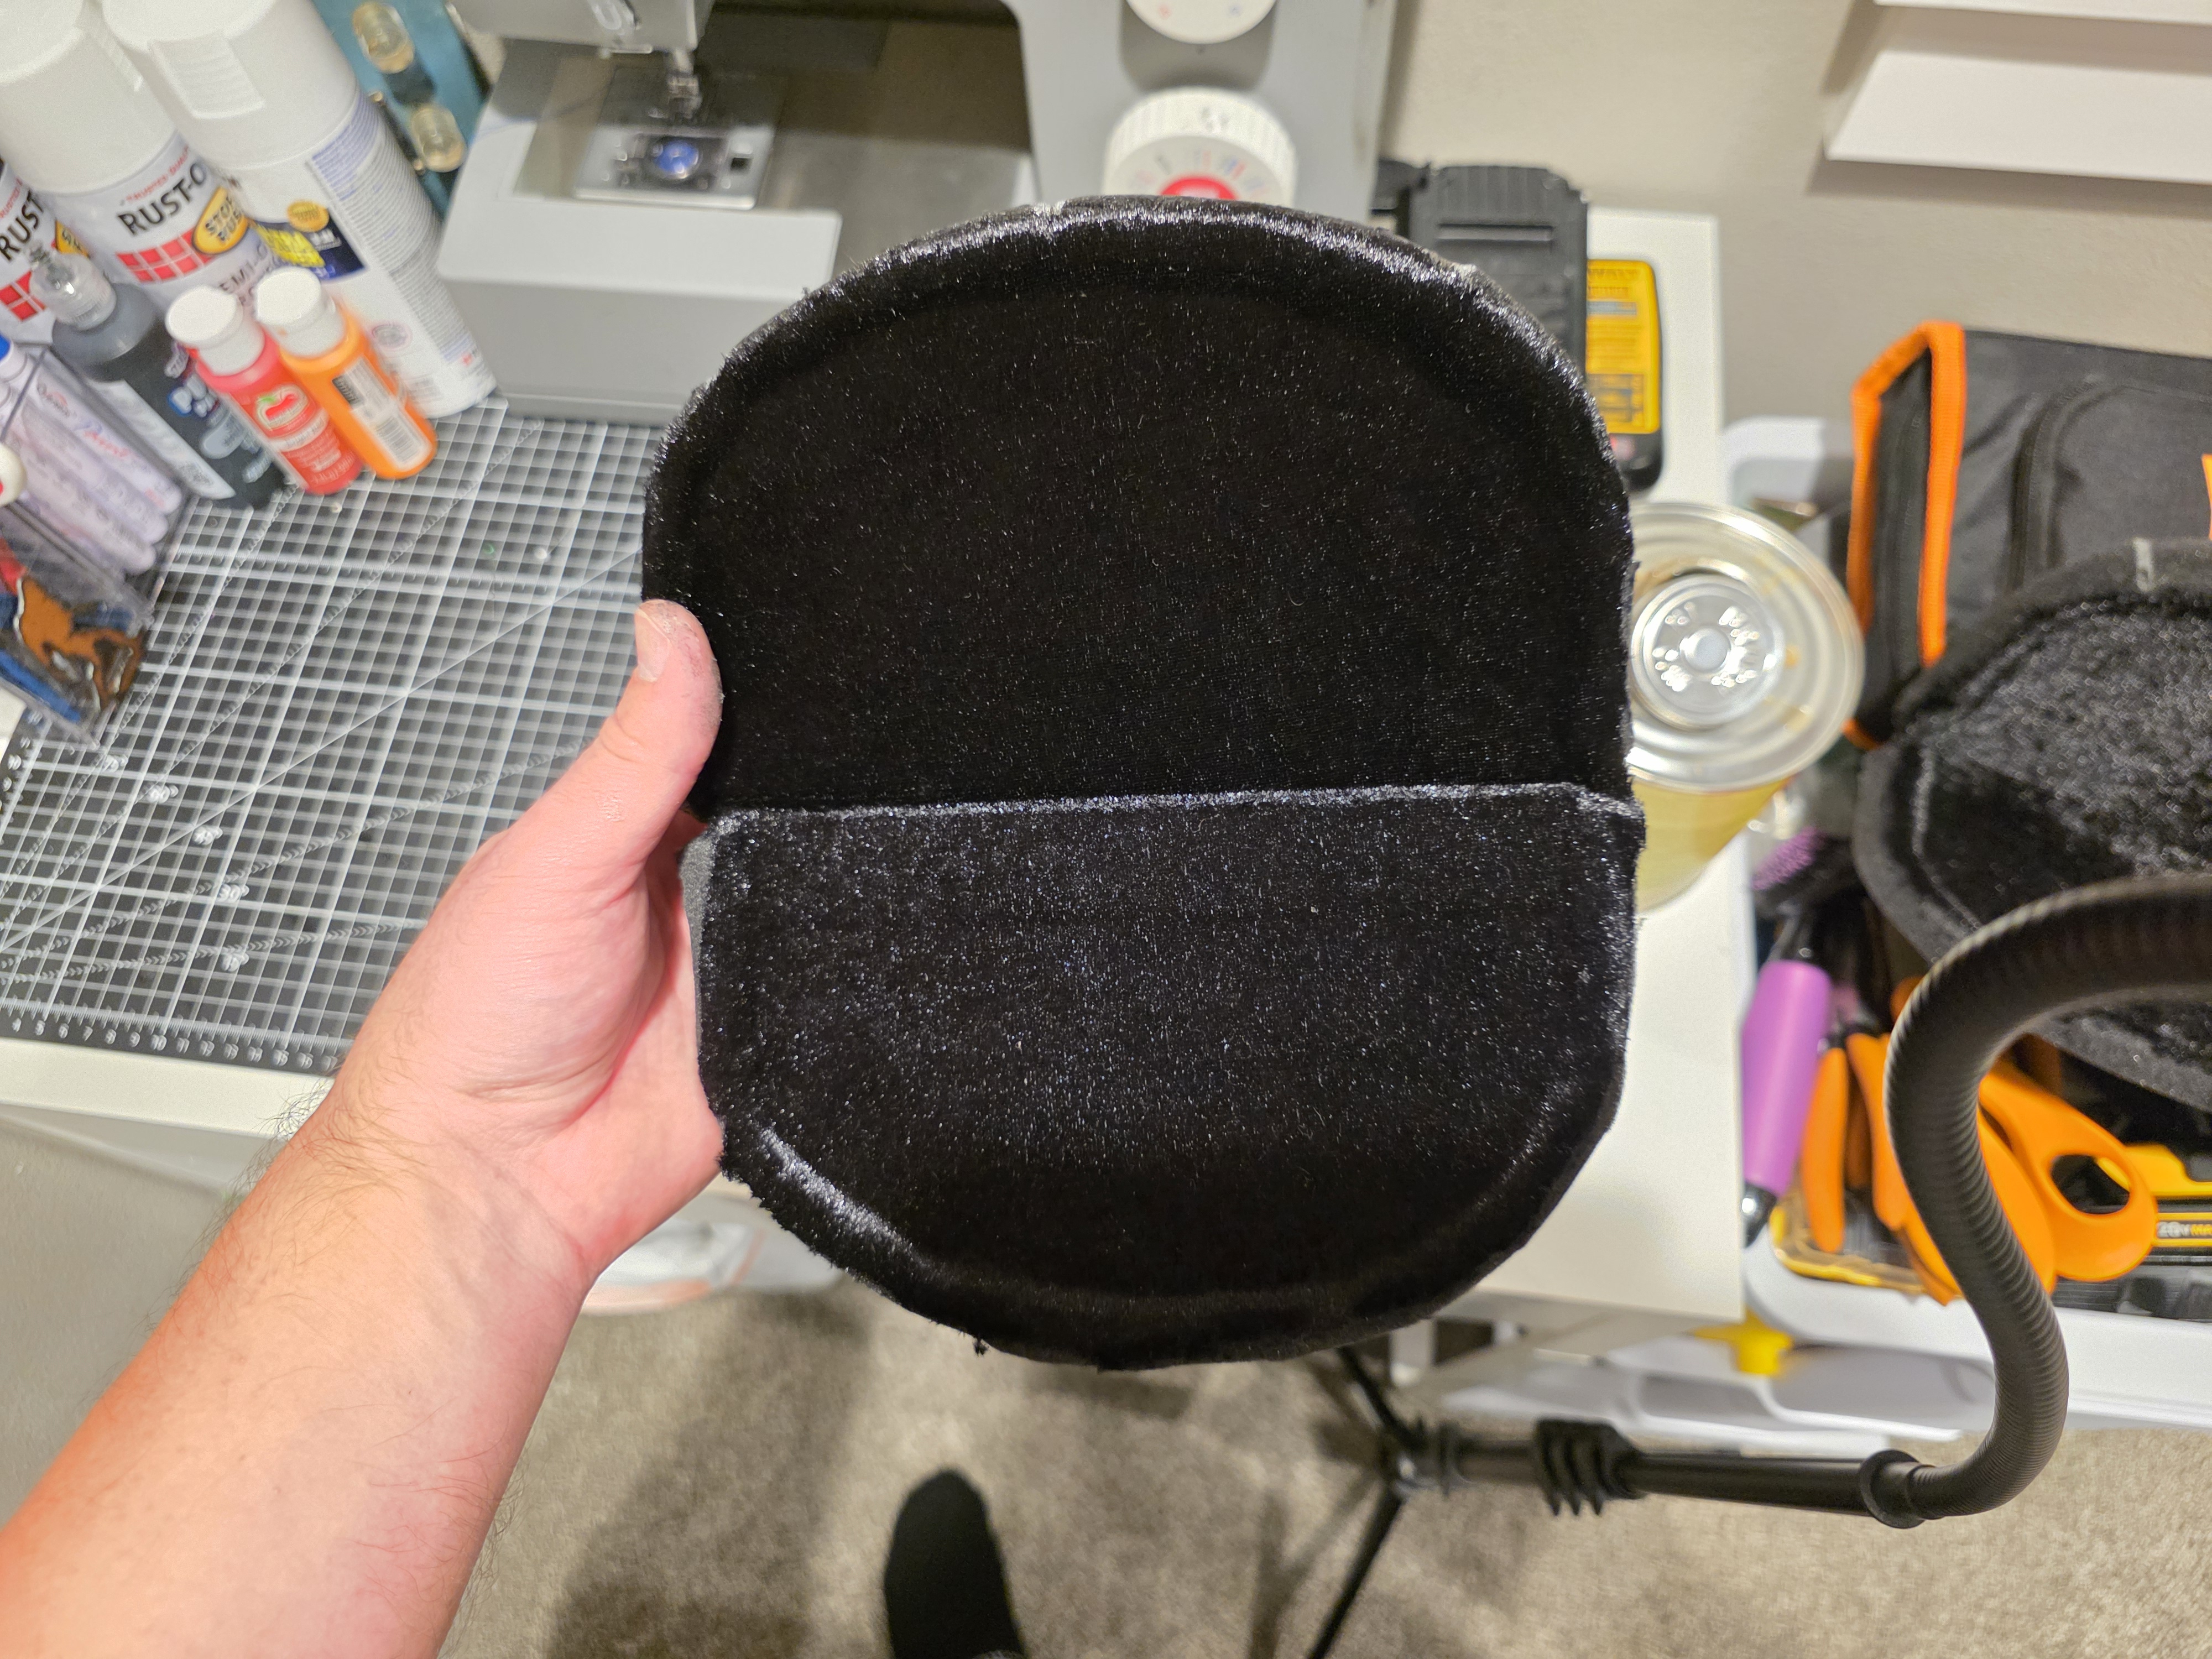
Cut out fabric sheets from mouth plate template for the back side of the mouth plate where your hand will go.
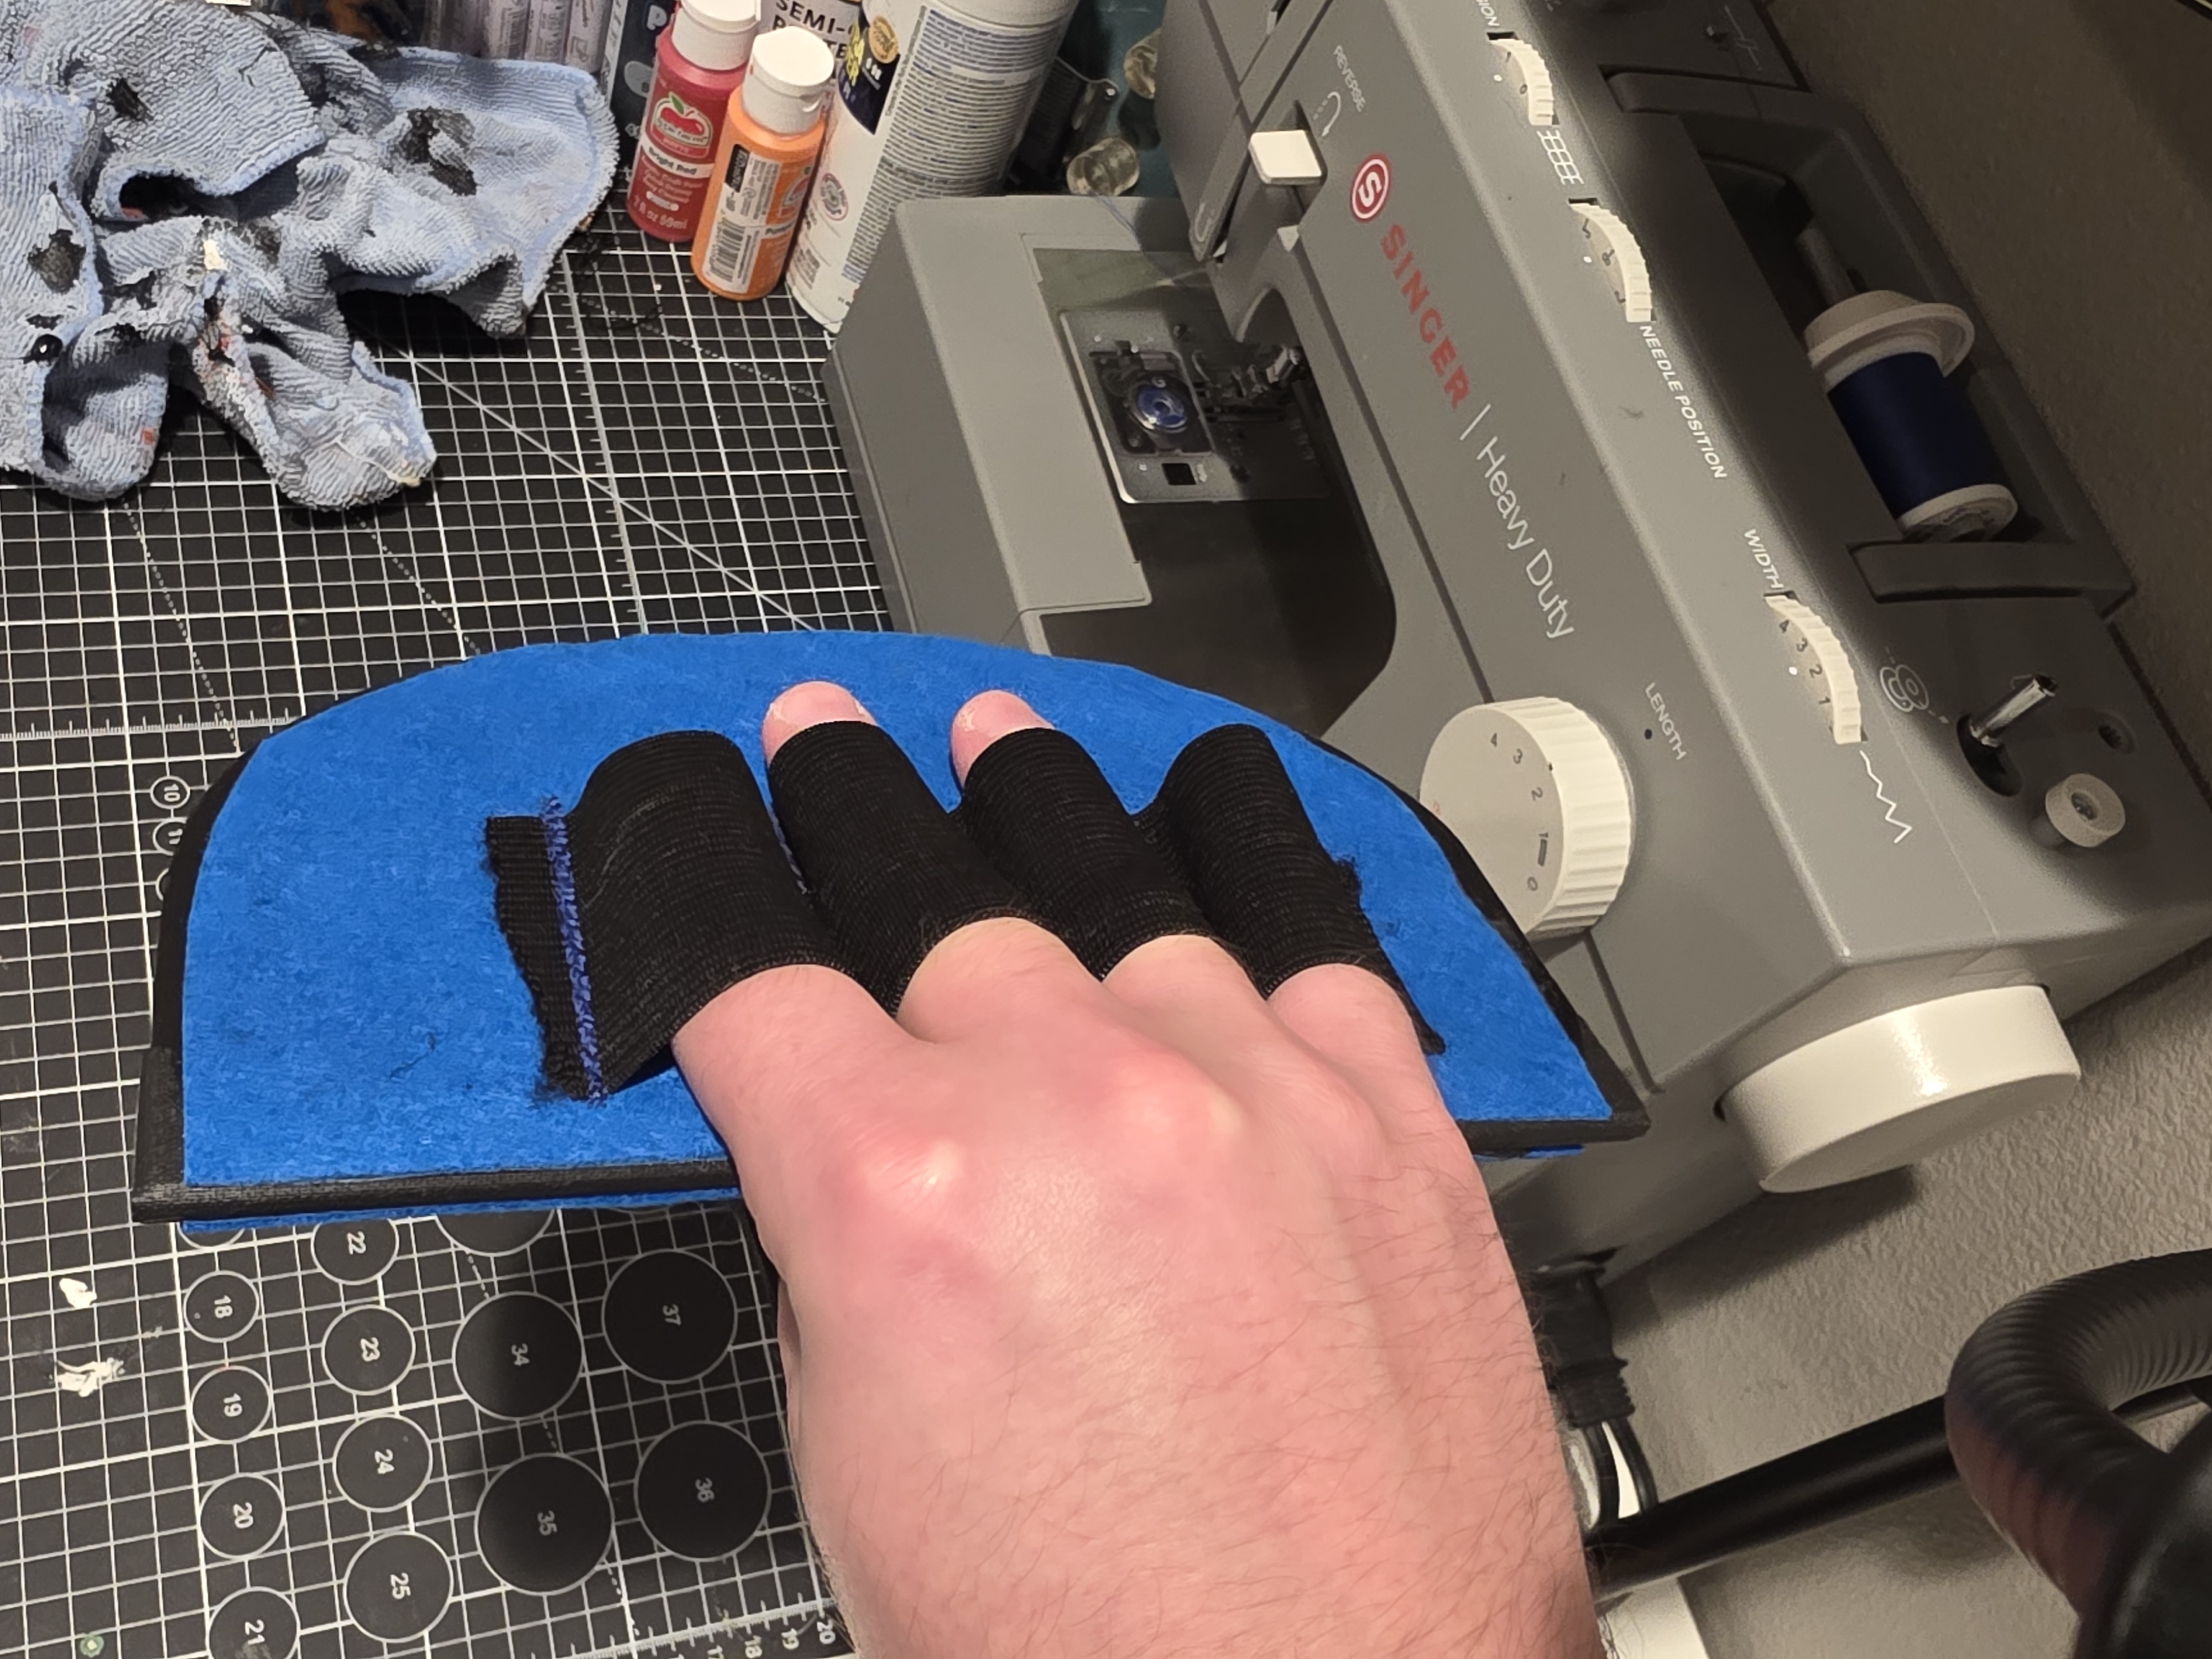
Sew finger loops for your fingers and thumb. Glue fabric sheet to back side of mouth plate.
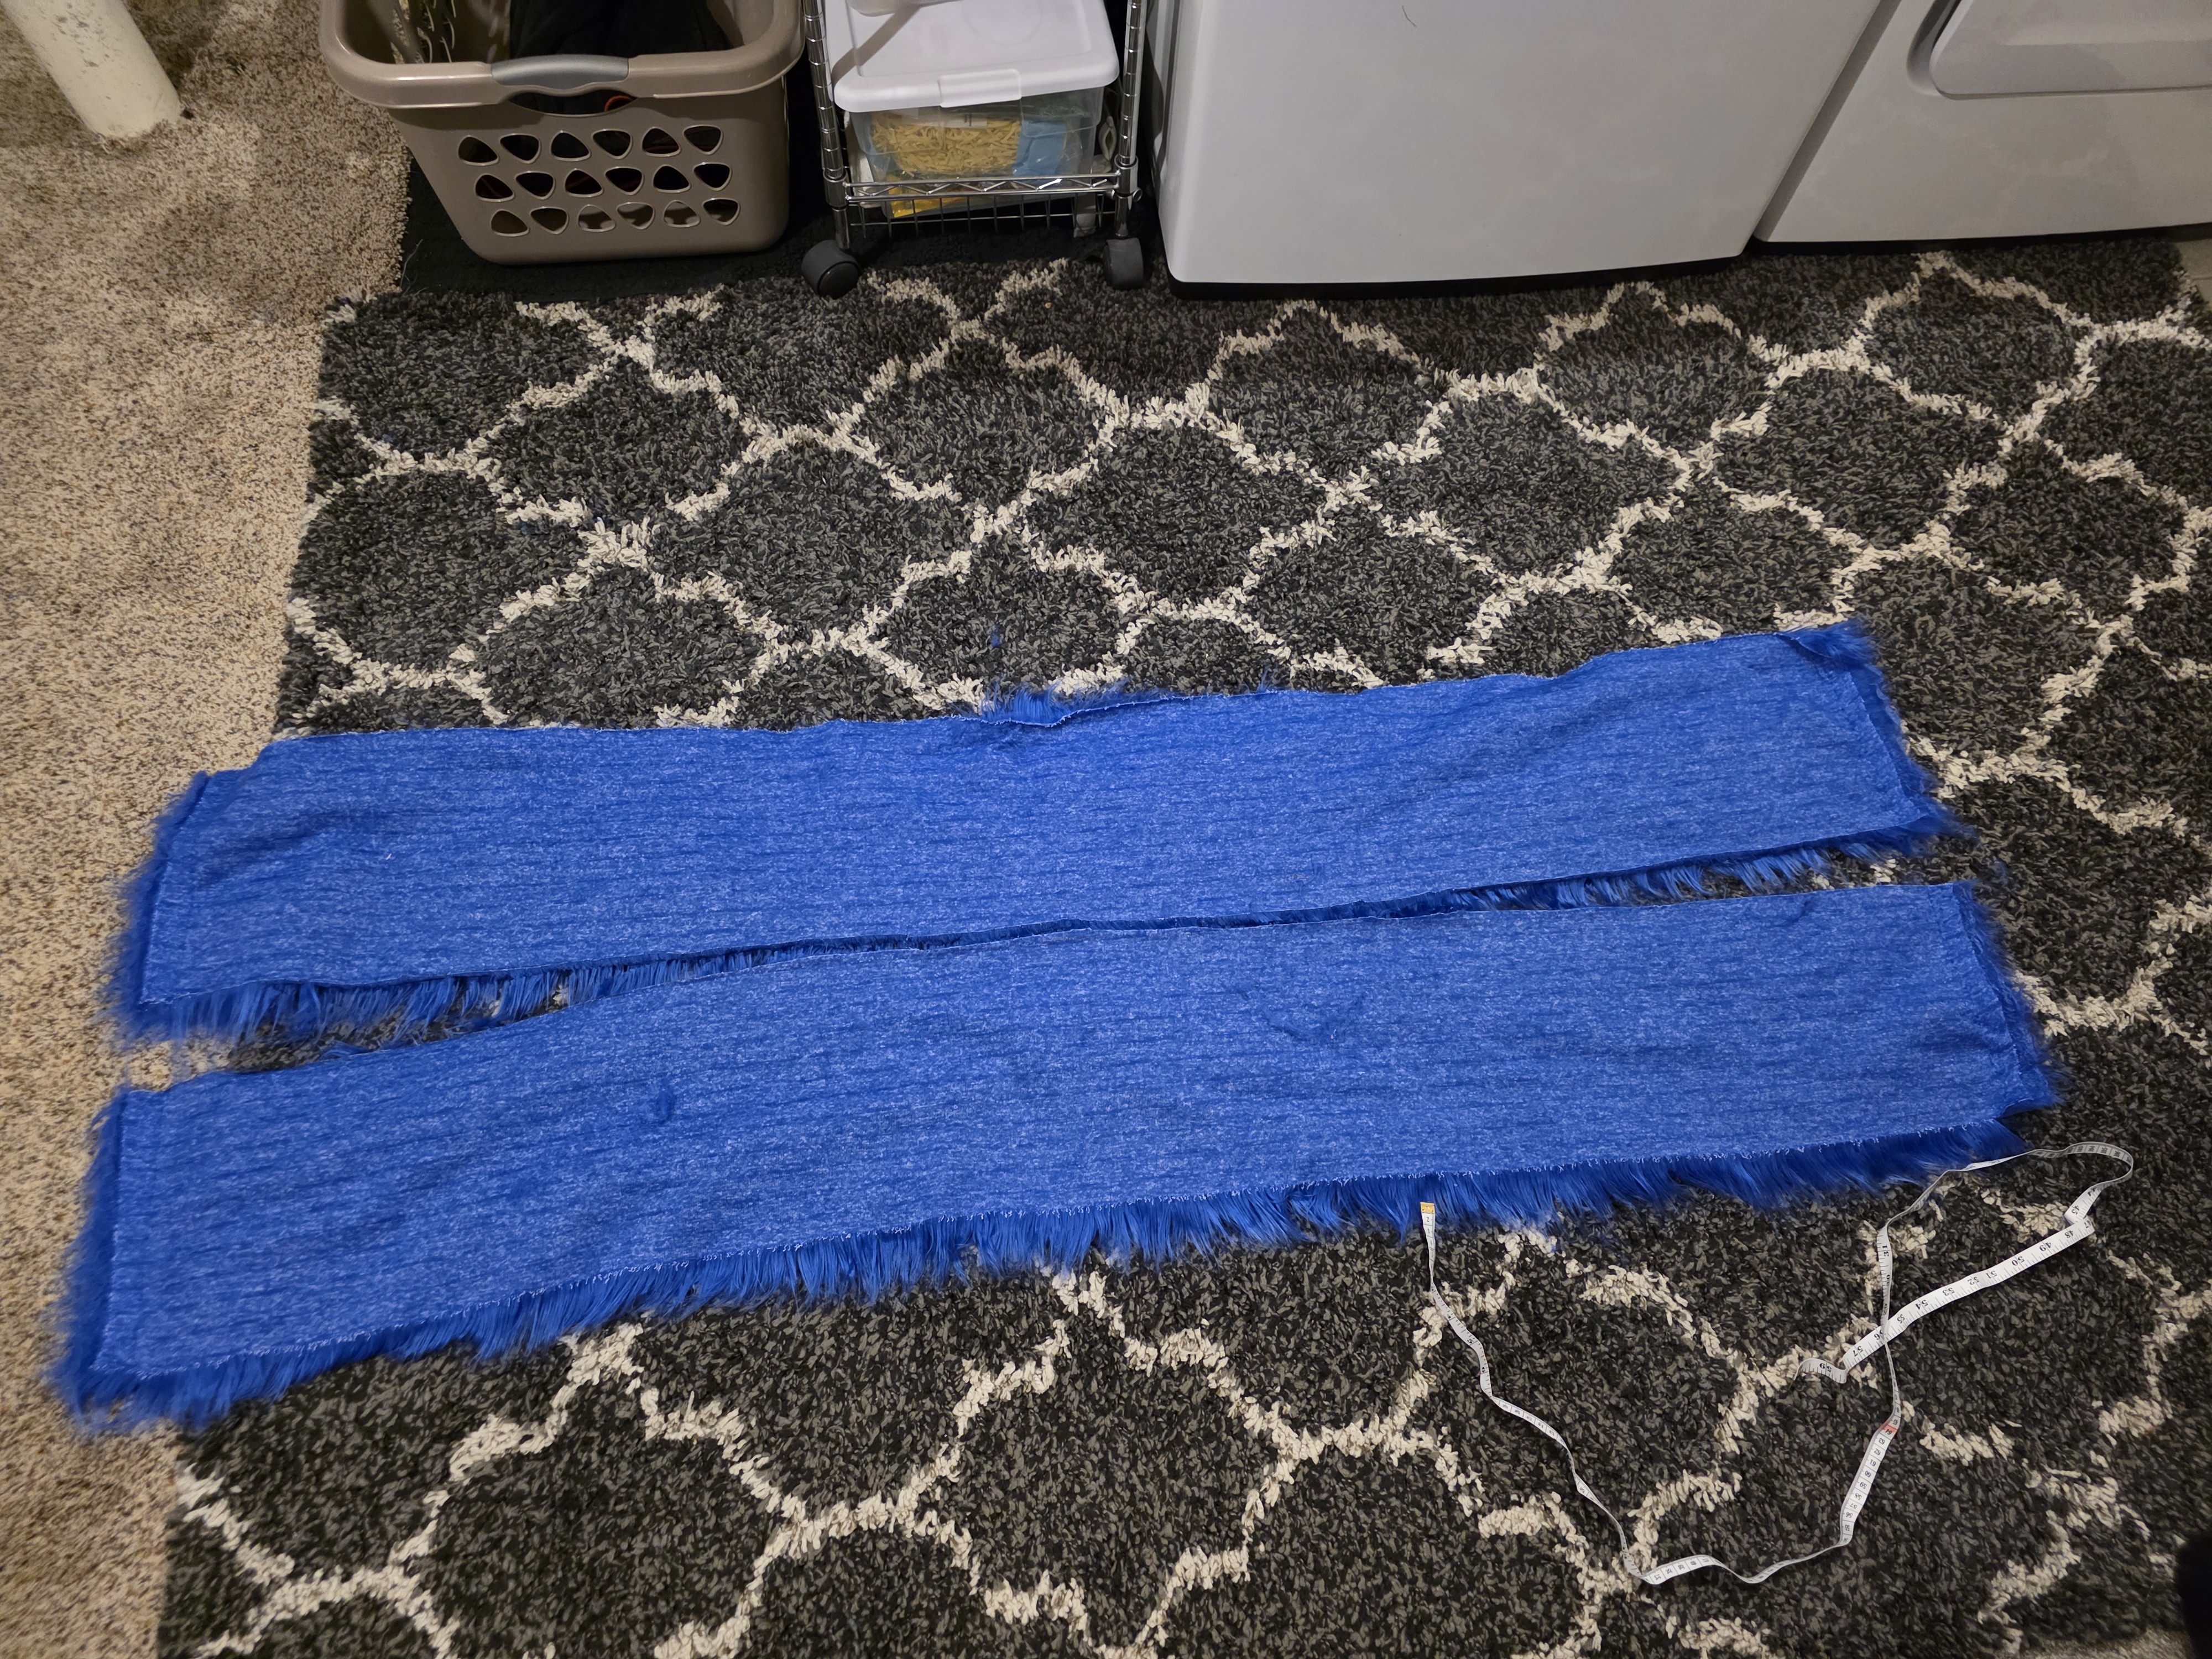
Start prepping fur. Washed in washing machine on high heat and let air dry. This is a before.
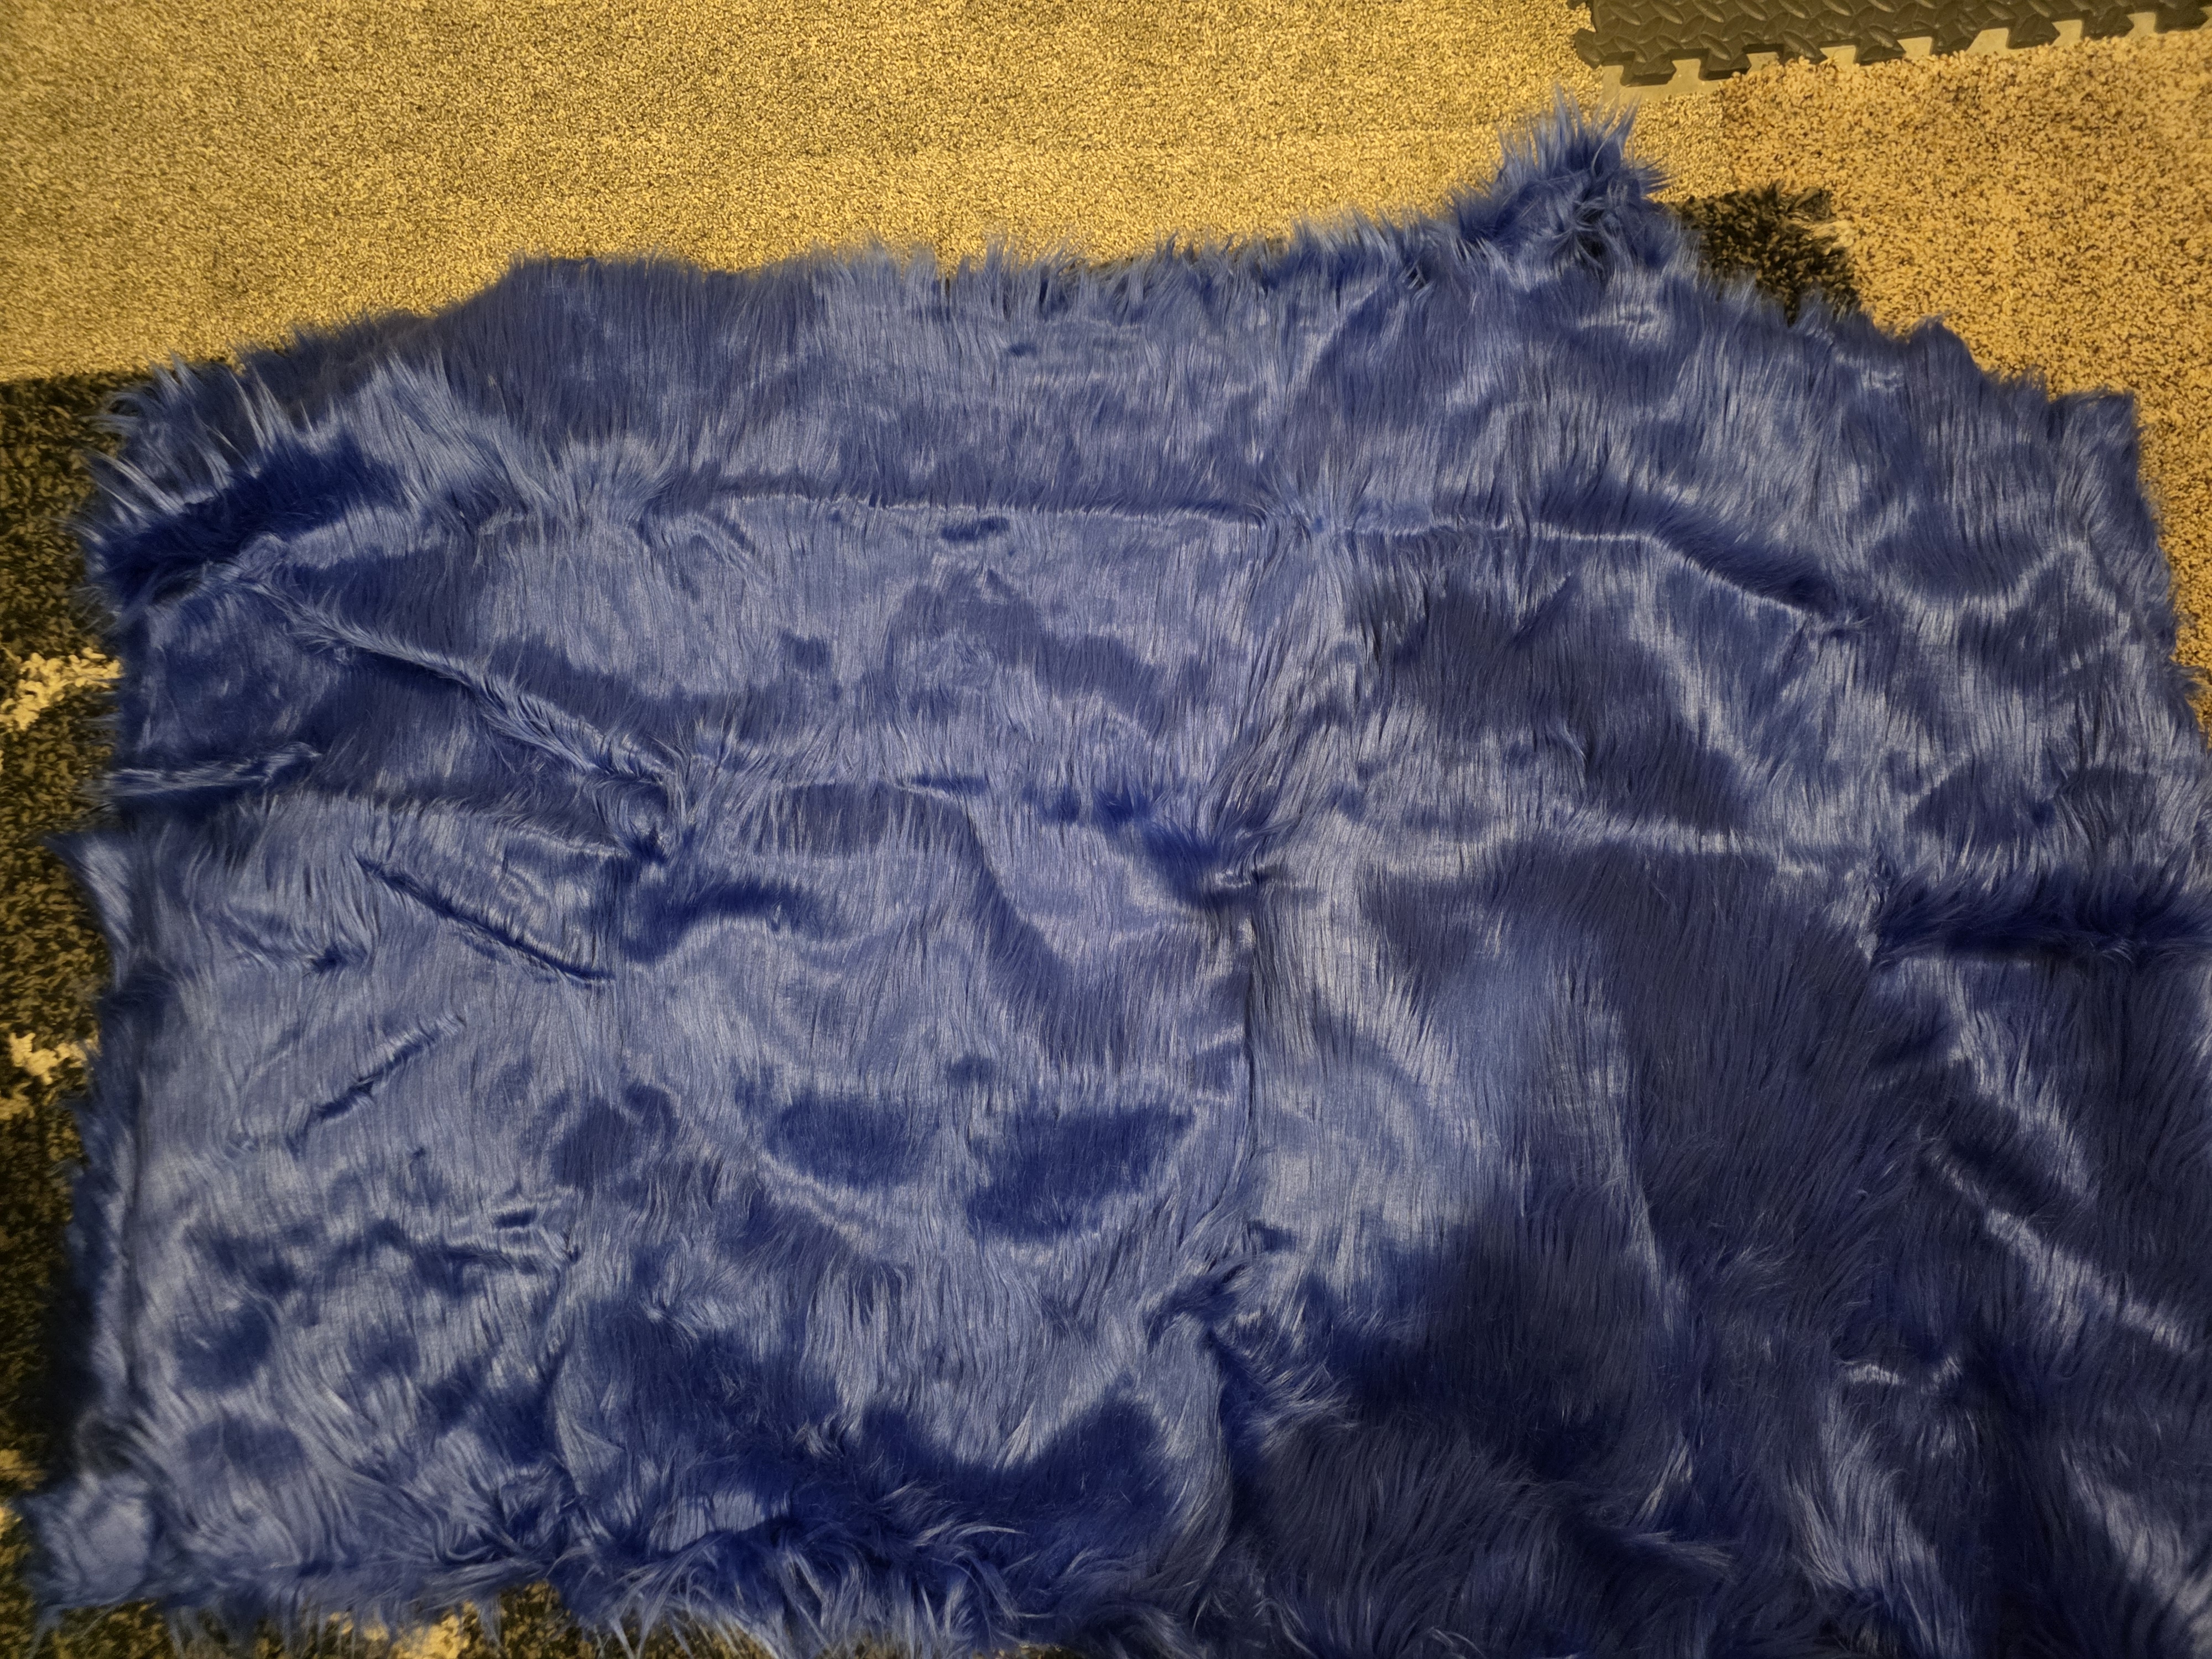
This is after washing and hanging.

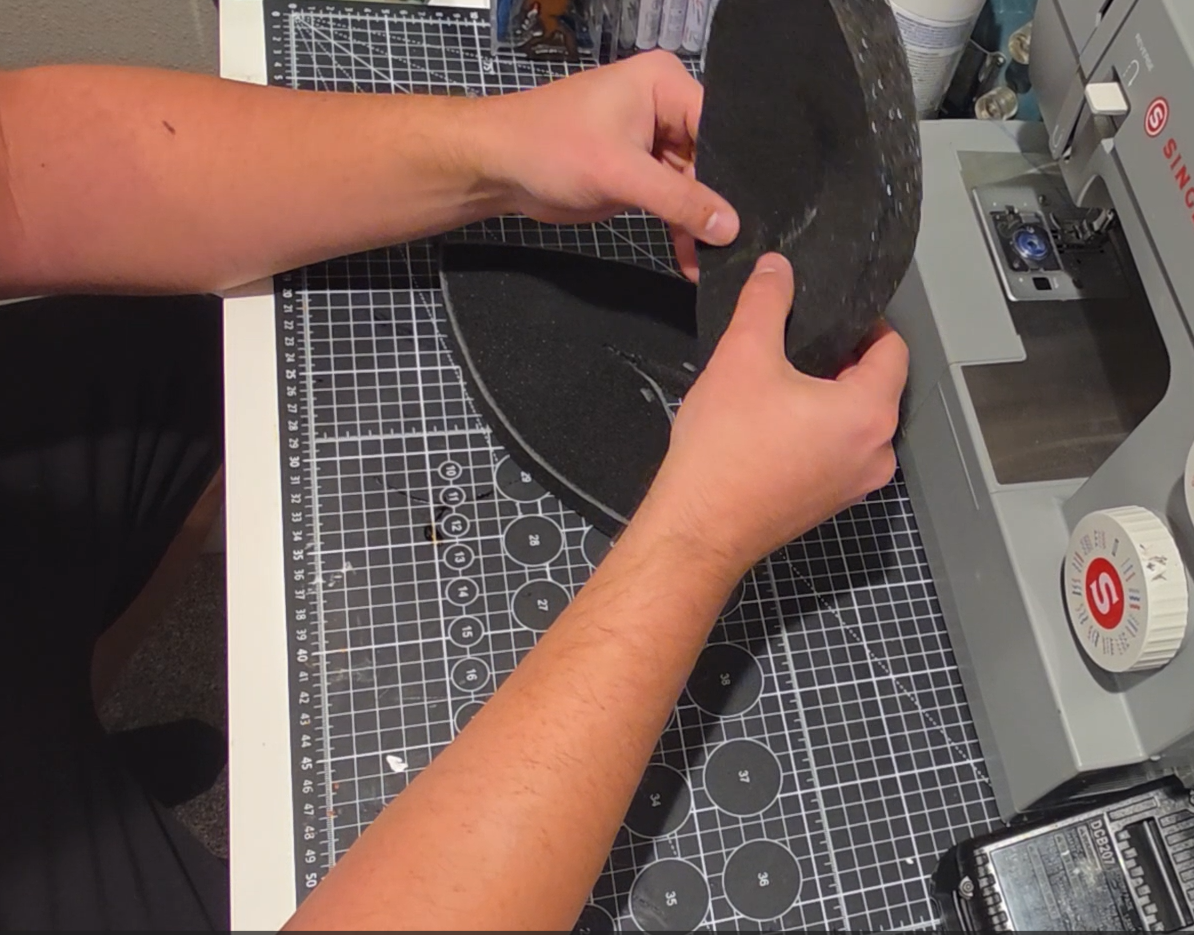
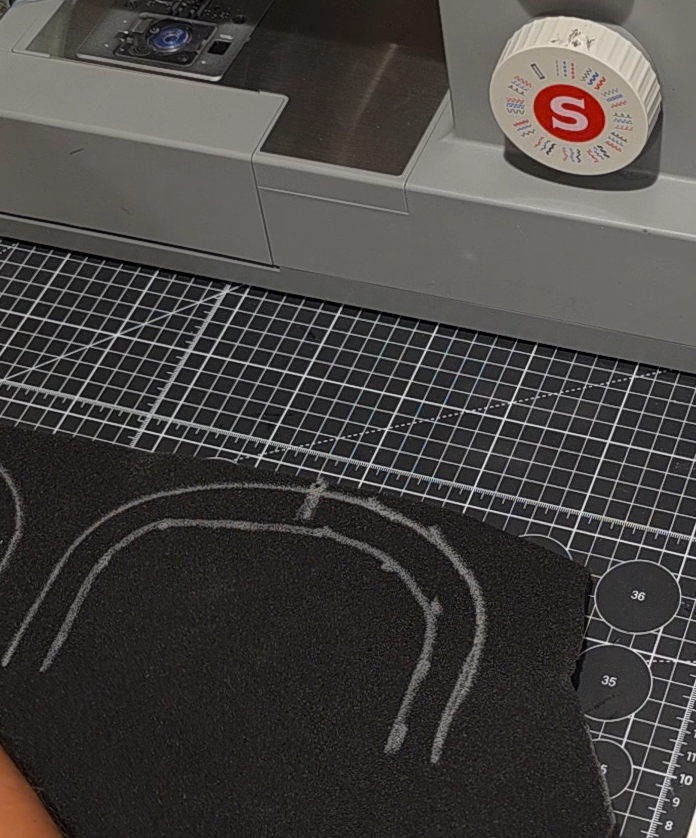
Started working on cutting foam head pattern from 1/2″ foam. The pattern I am using is the head pattern from the mostro pattern from project puppet, however, I scaled it to 105% to make it larger.
After cutting out one side of the pattern and a mirrored copy of the pattern from the foam, I used contact cement to glue it together.
I then glue the foam skull to the top of the mouth plate with contact cement. I roll the foam edge over the edge of the mouth plate.
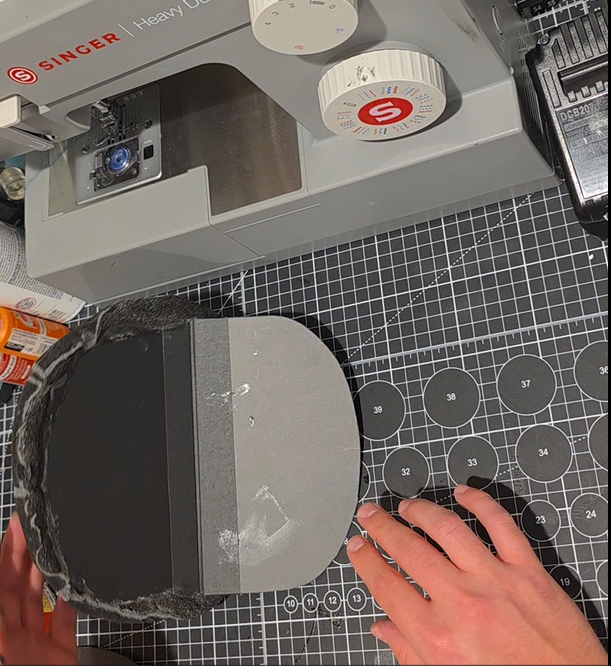
After the foam skull is glued to the mouth plate, I trimmed a bit of foam off the back of the skull.
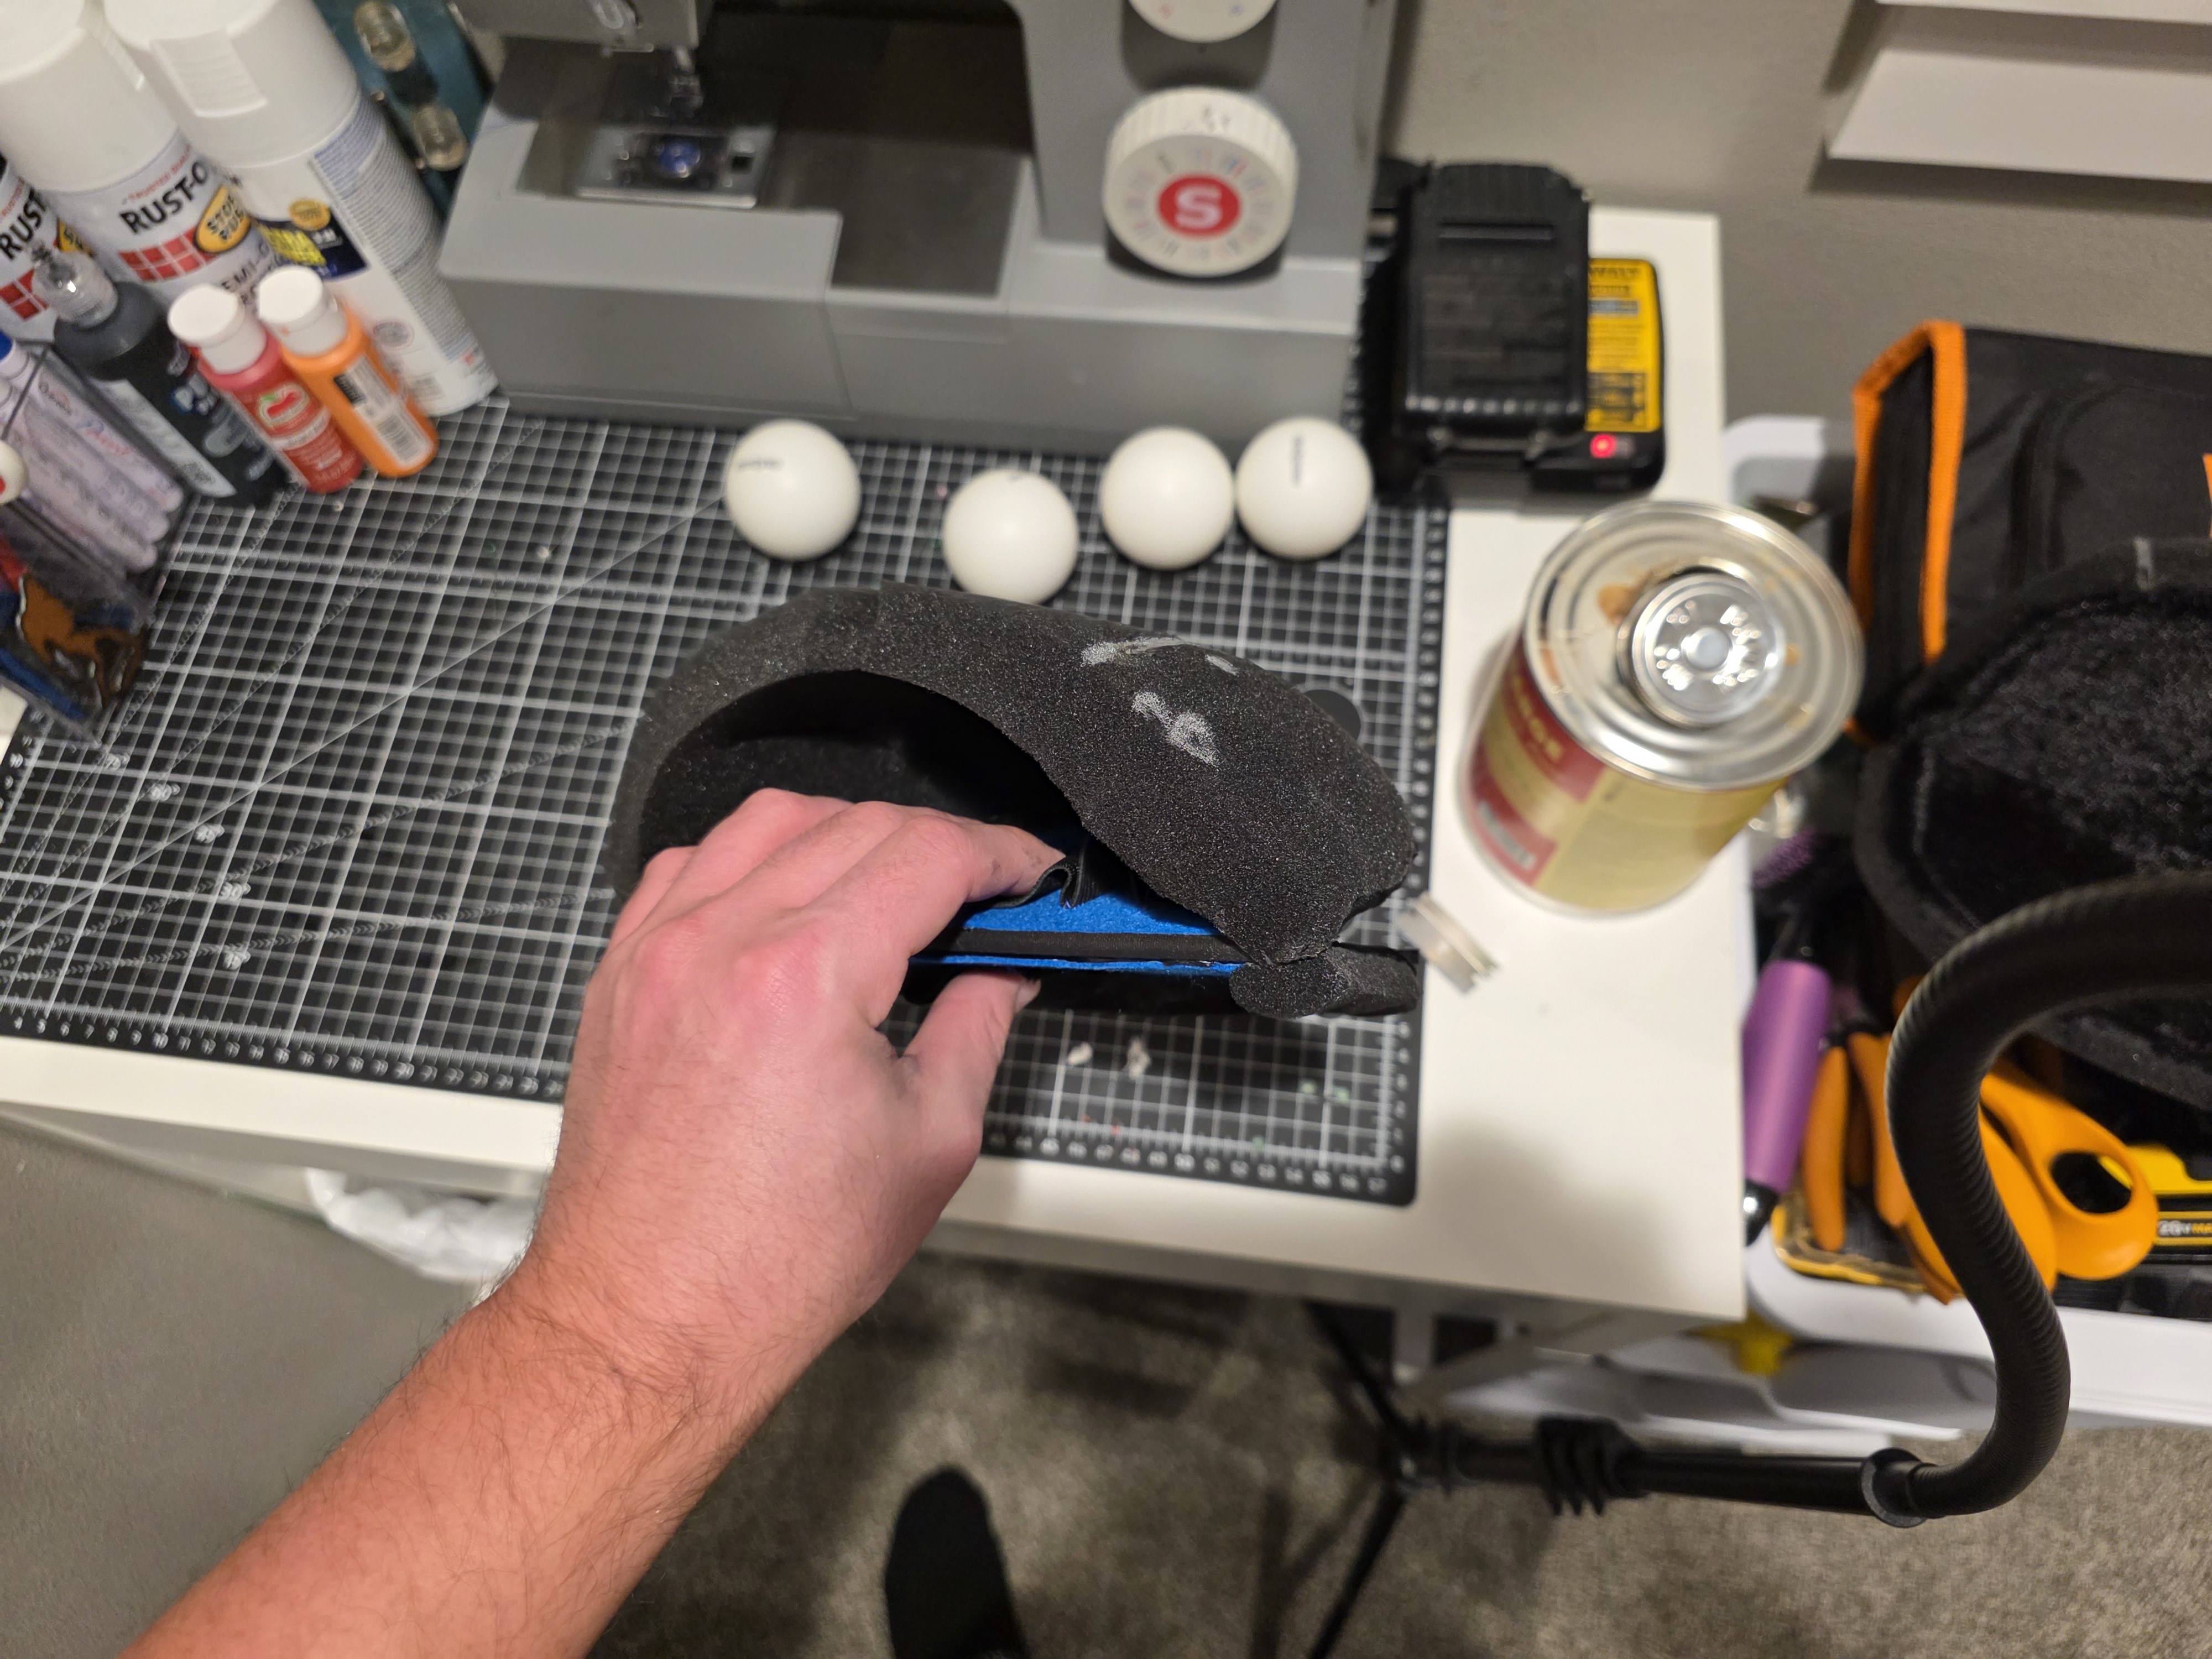
I then started test fitting the eyes which are jumbo ping pong balls.
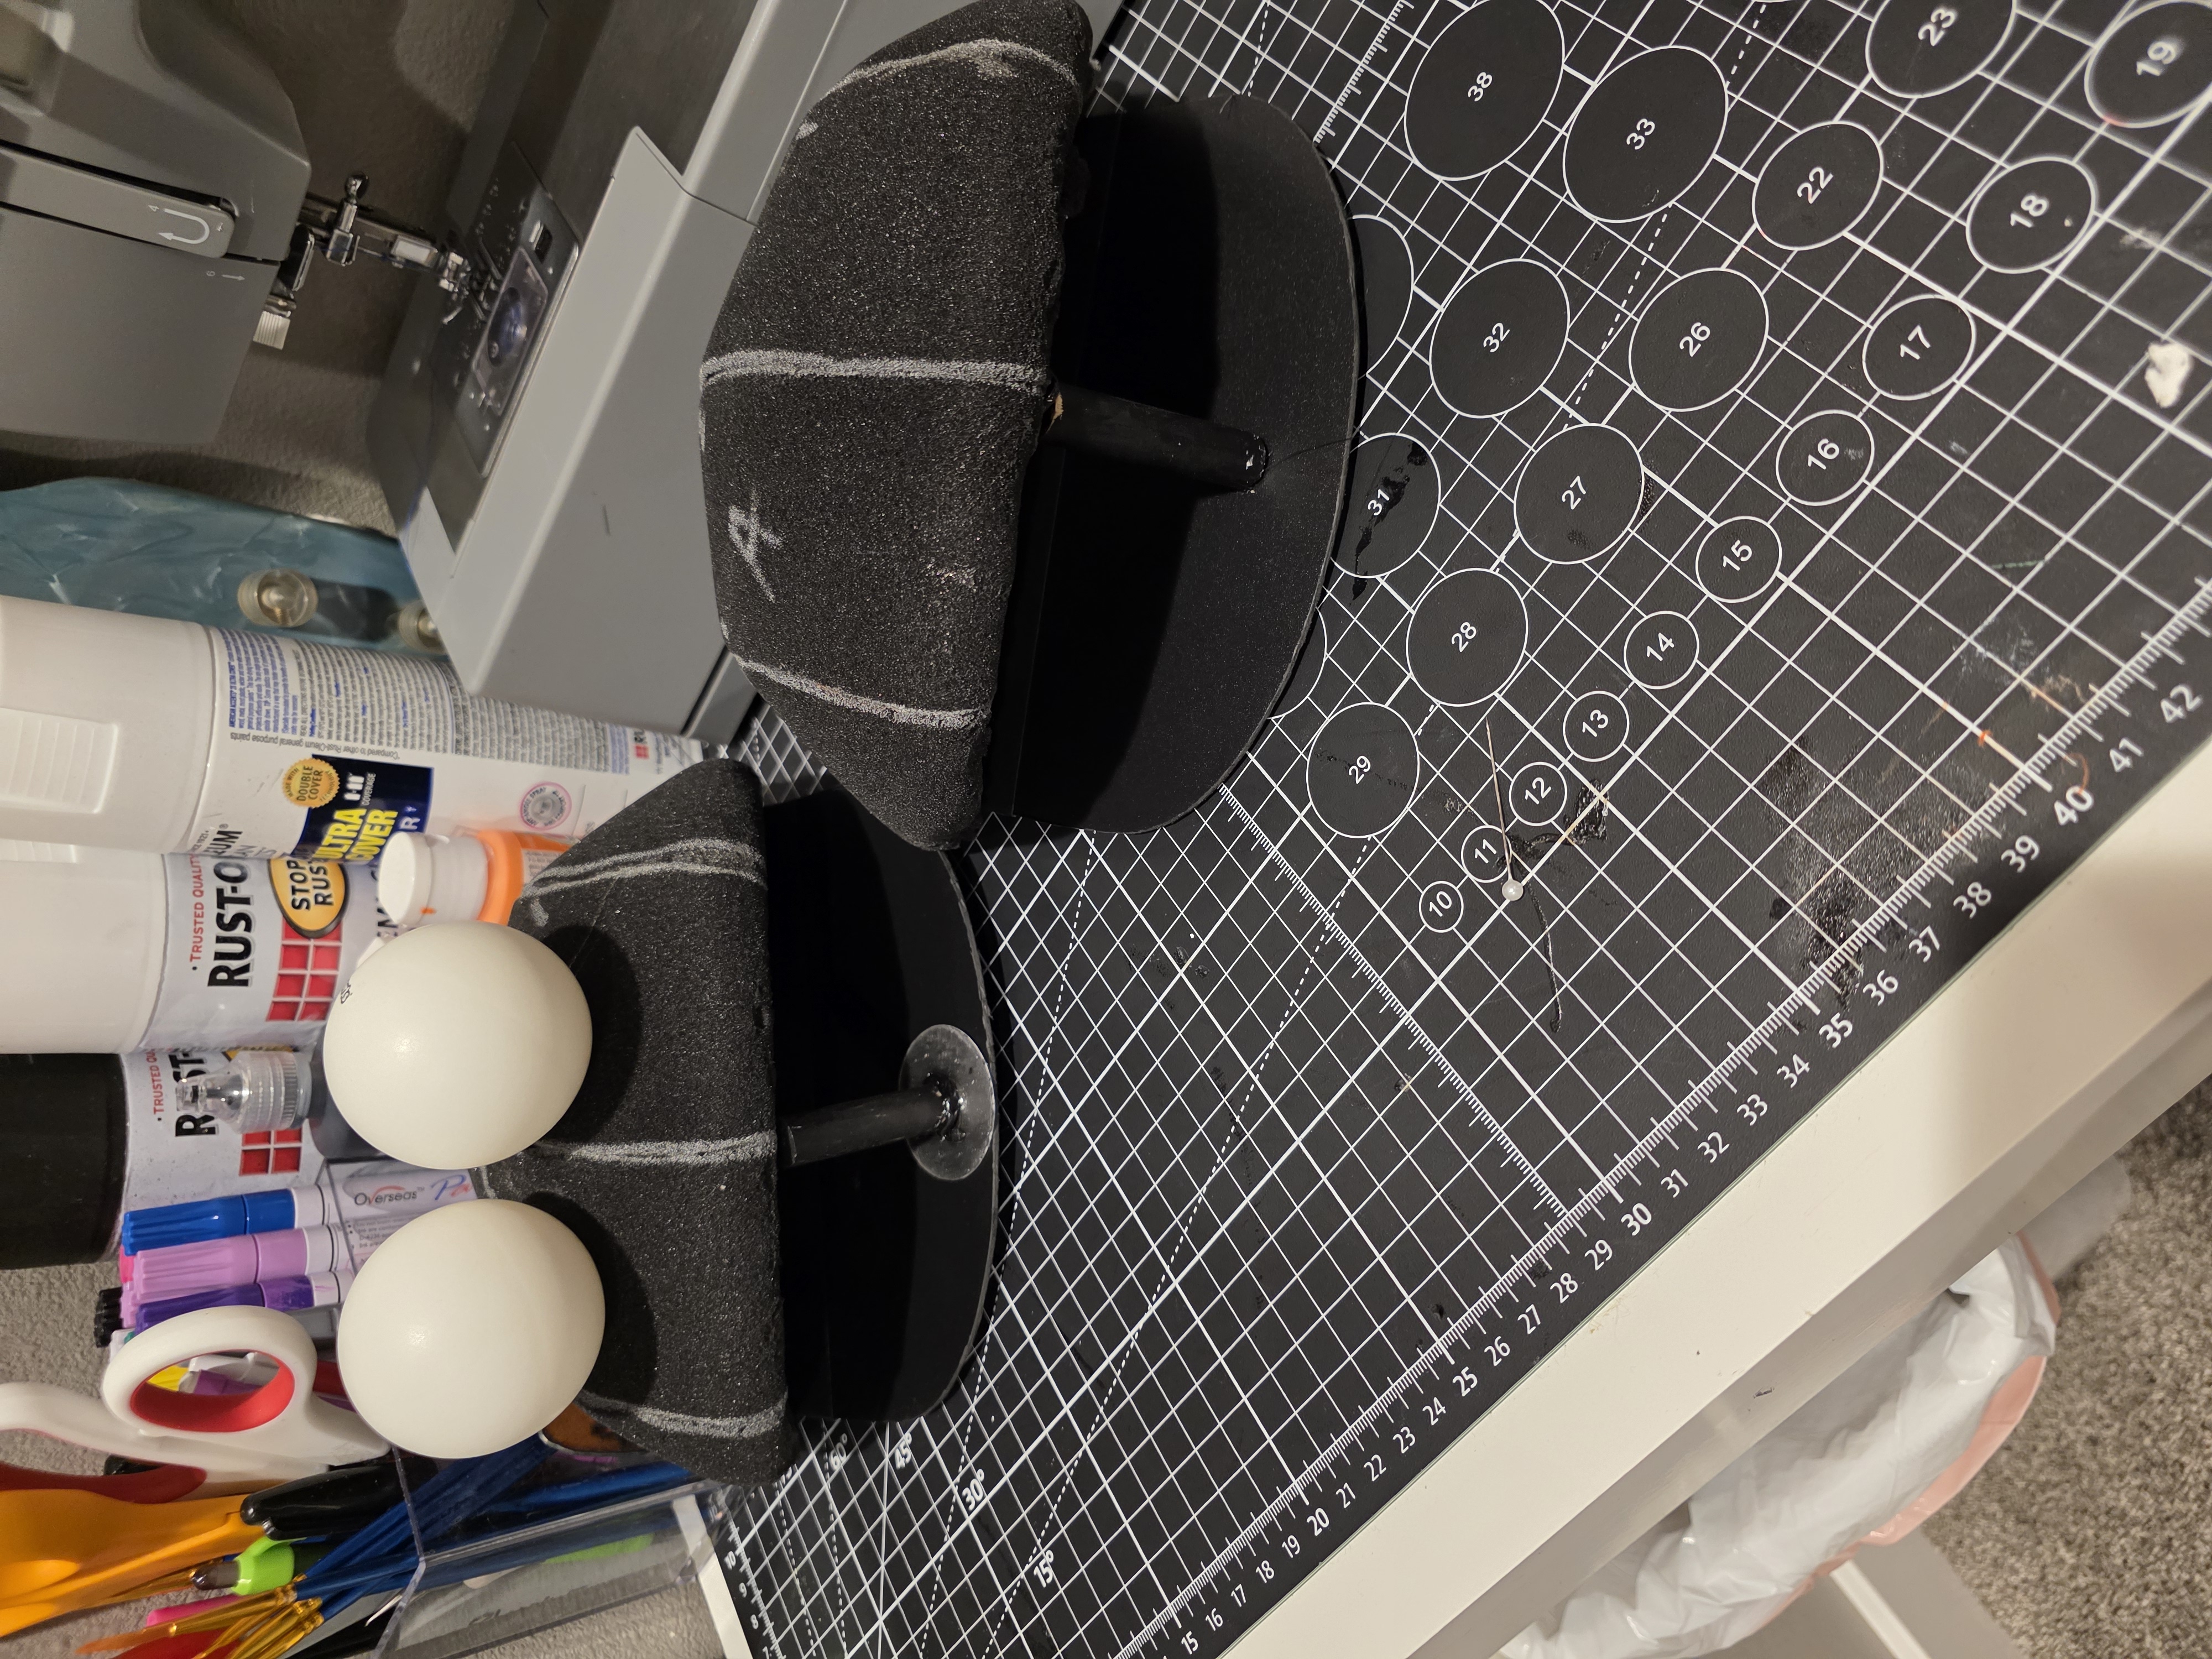
I then added a foam jaw piece by first tracing the mouth plate template and making a foam strip from the shape that was about a 1/2″ wide. I then glued that to the bottom of the mouth plate again rolling the foam edge onto the edge of the mouth plate.

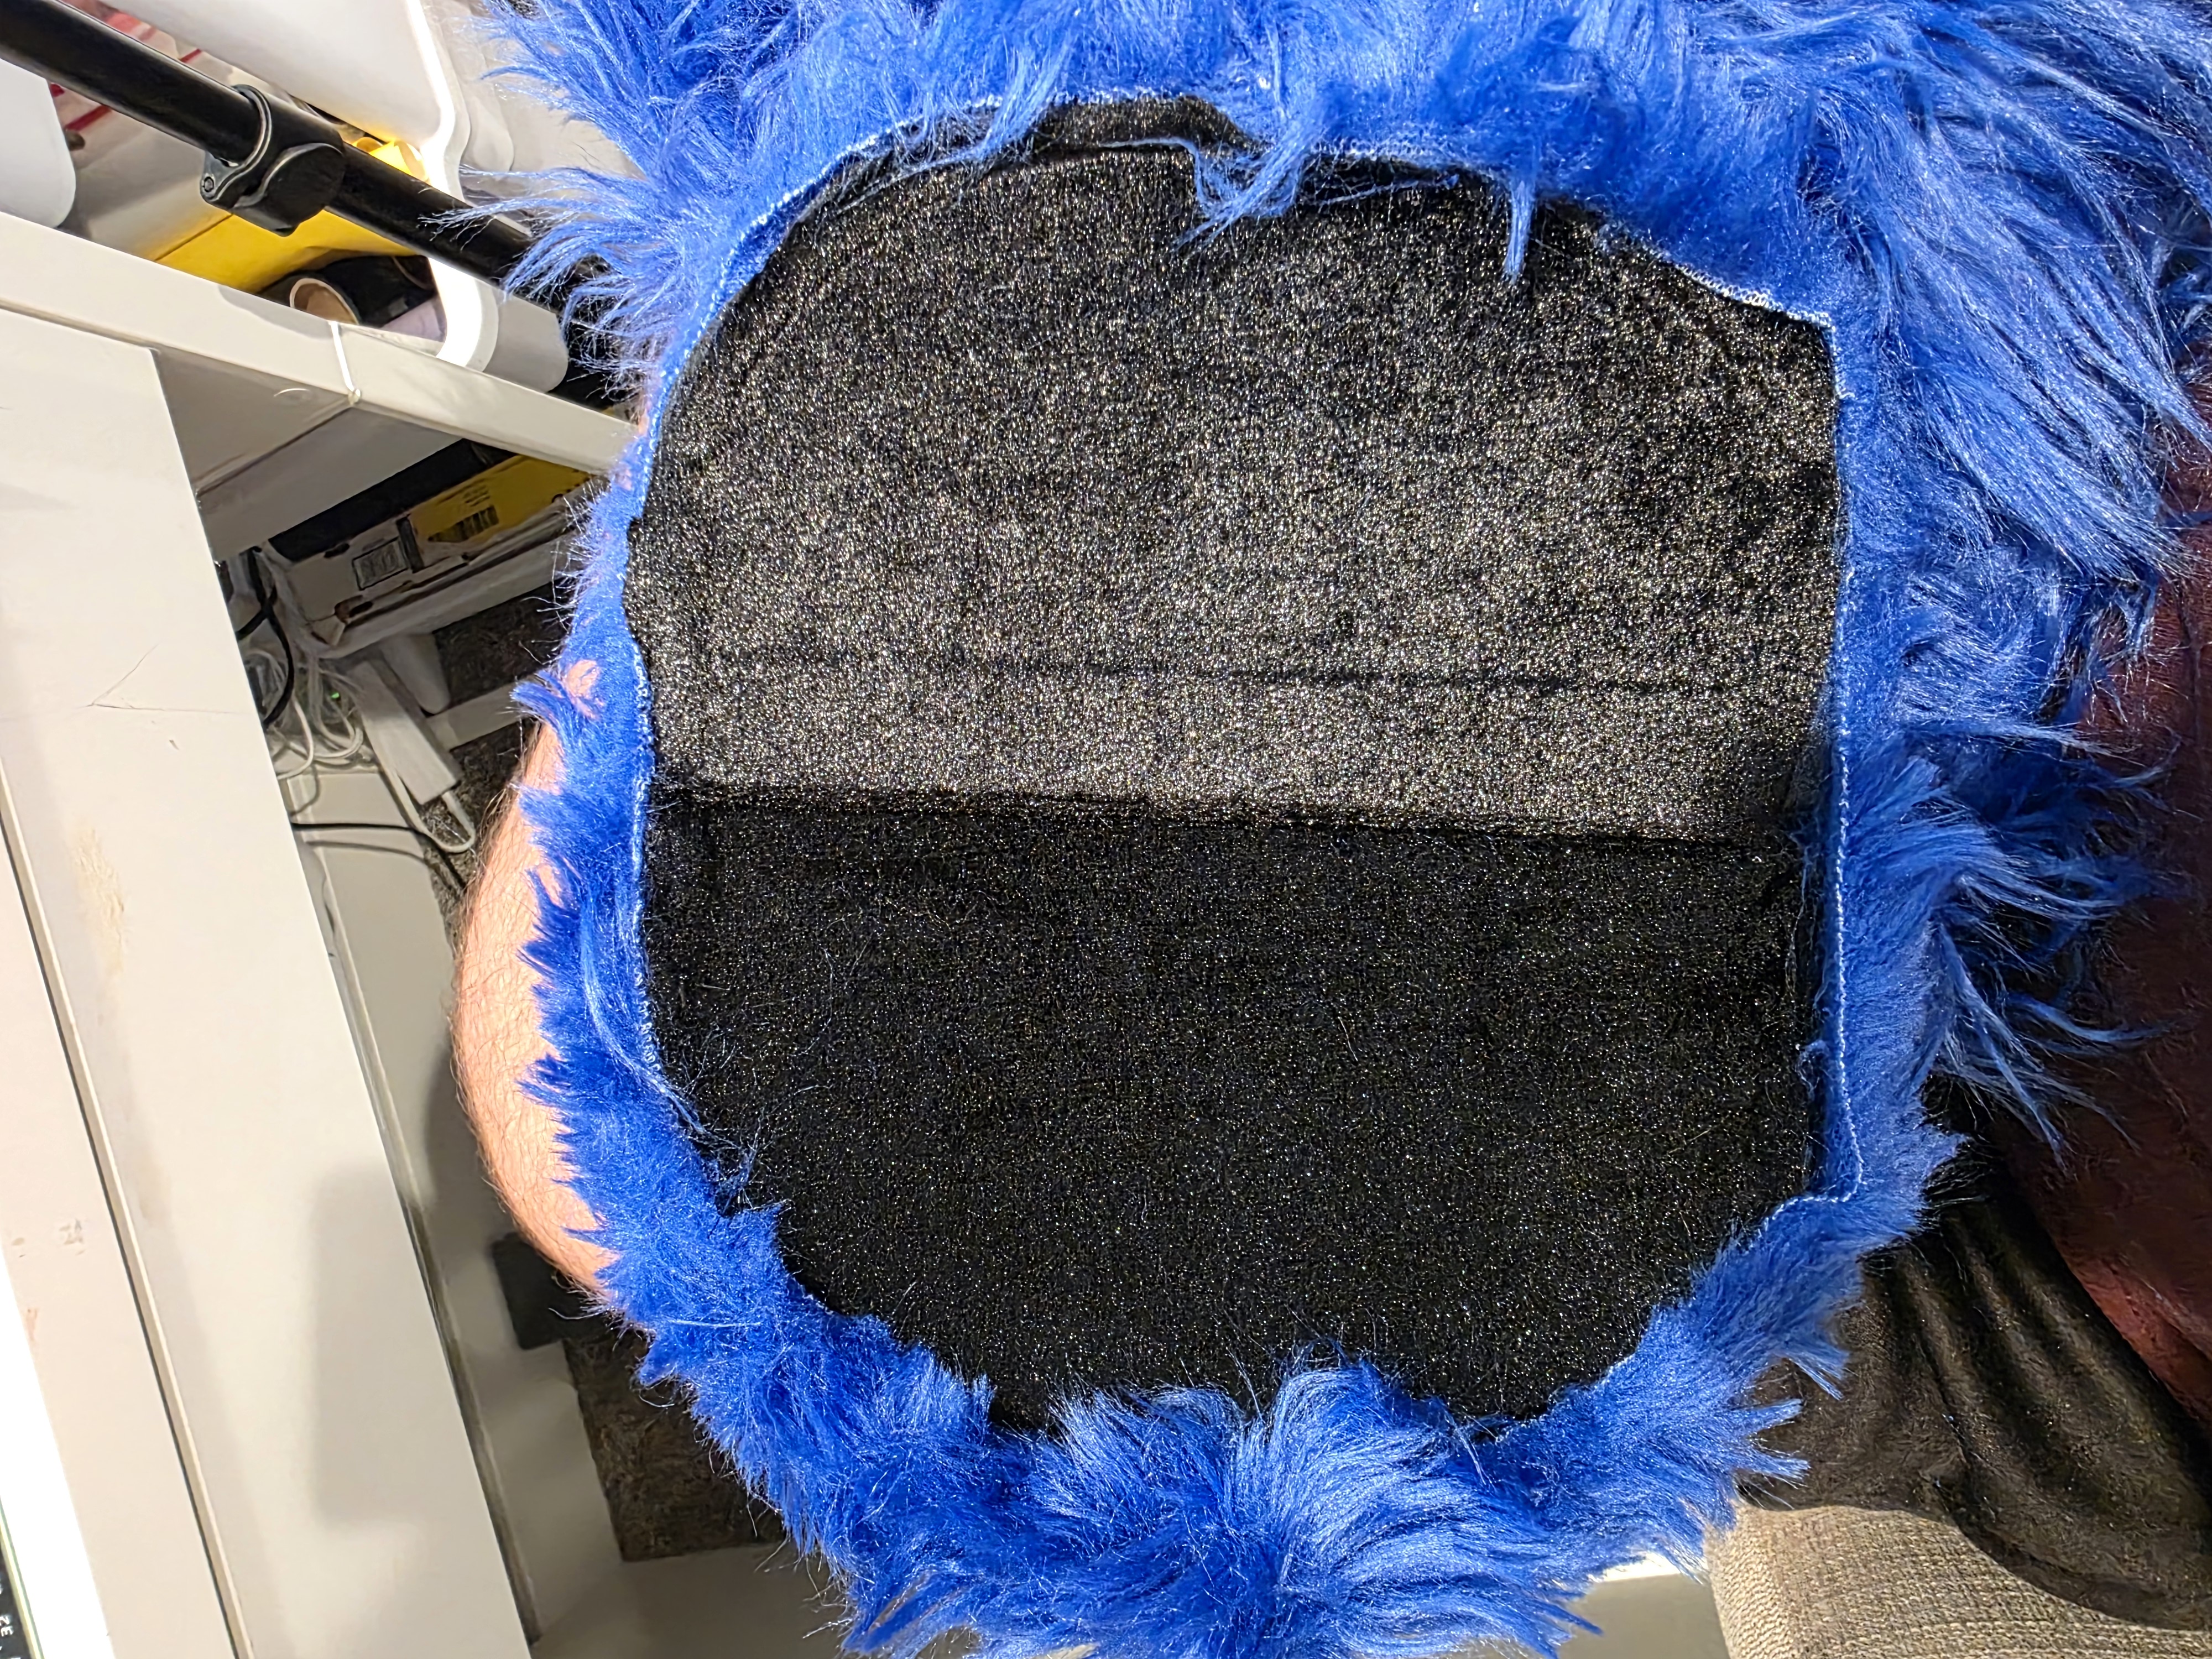
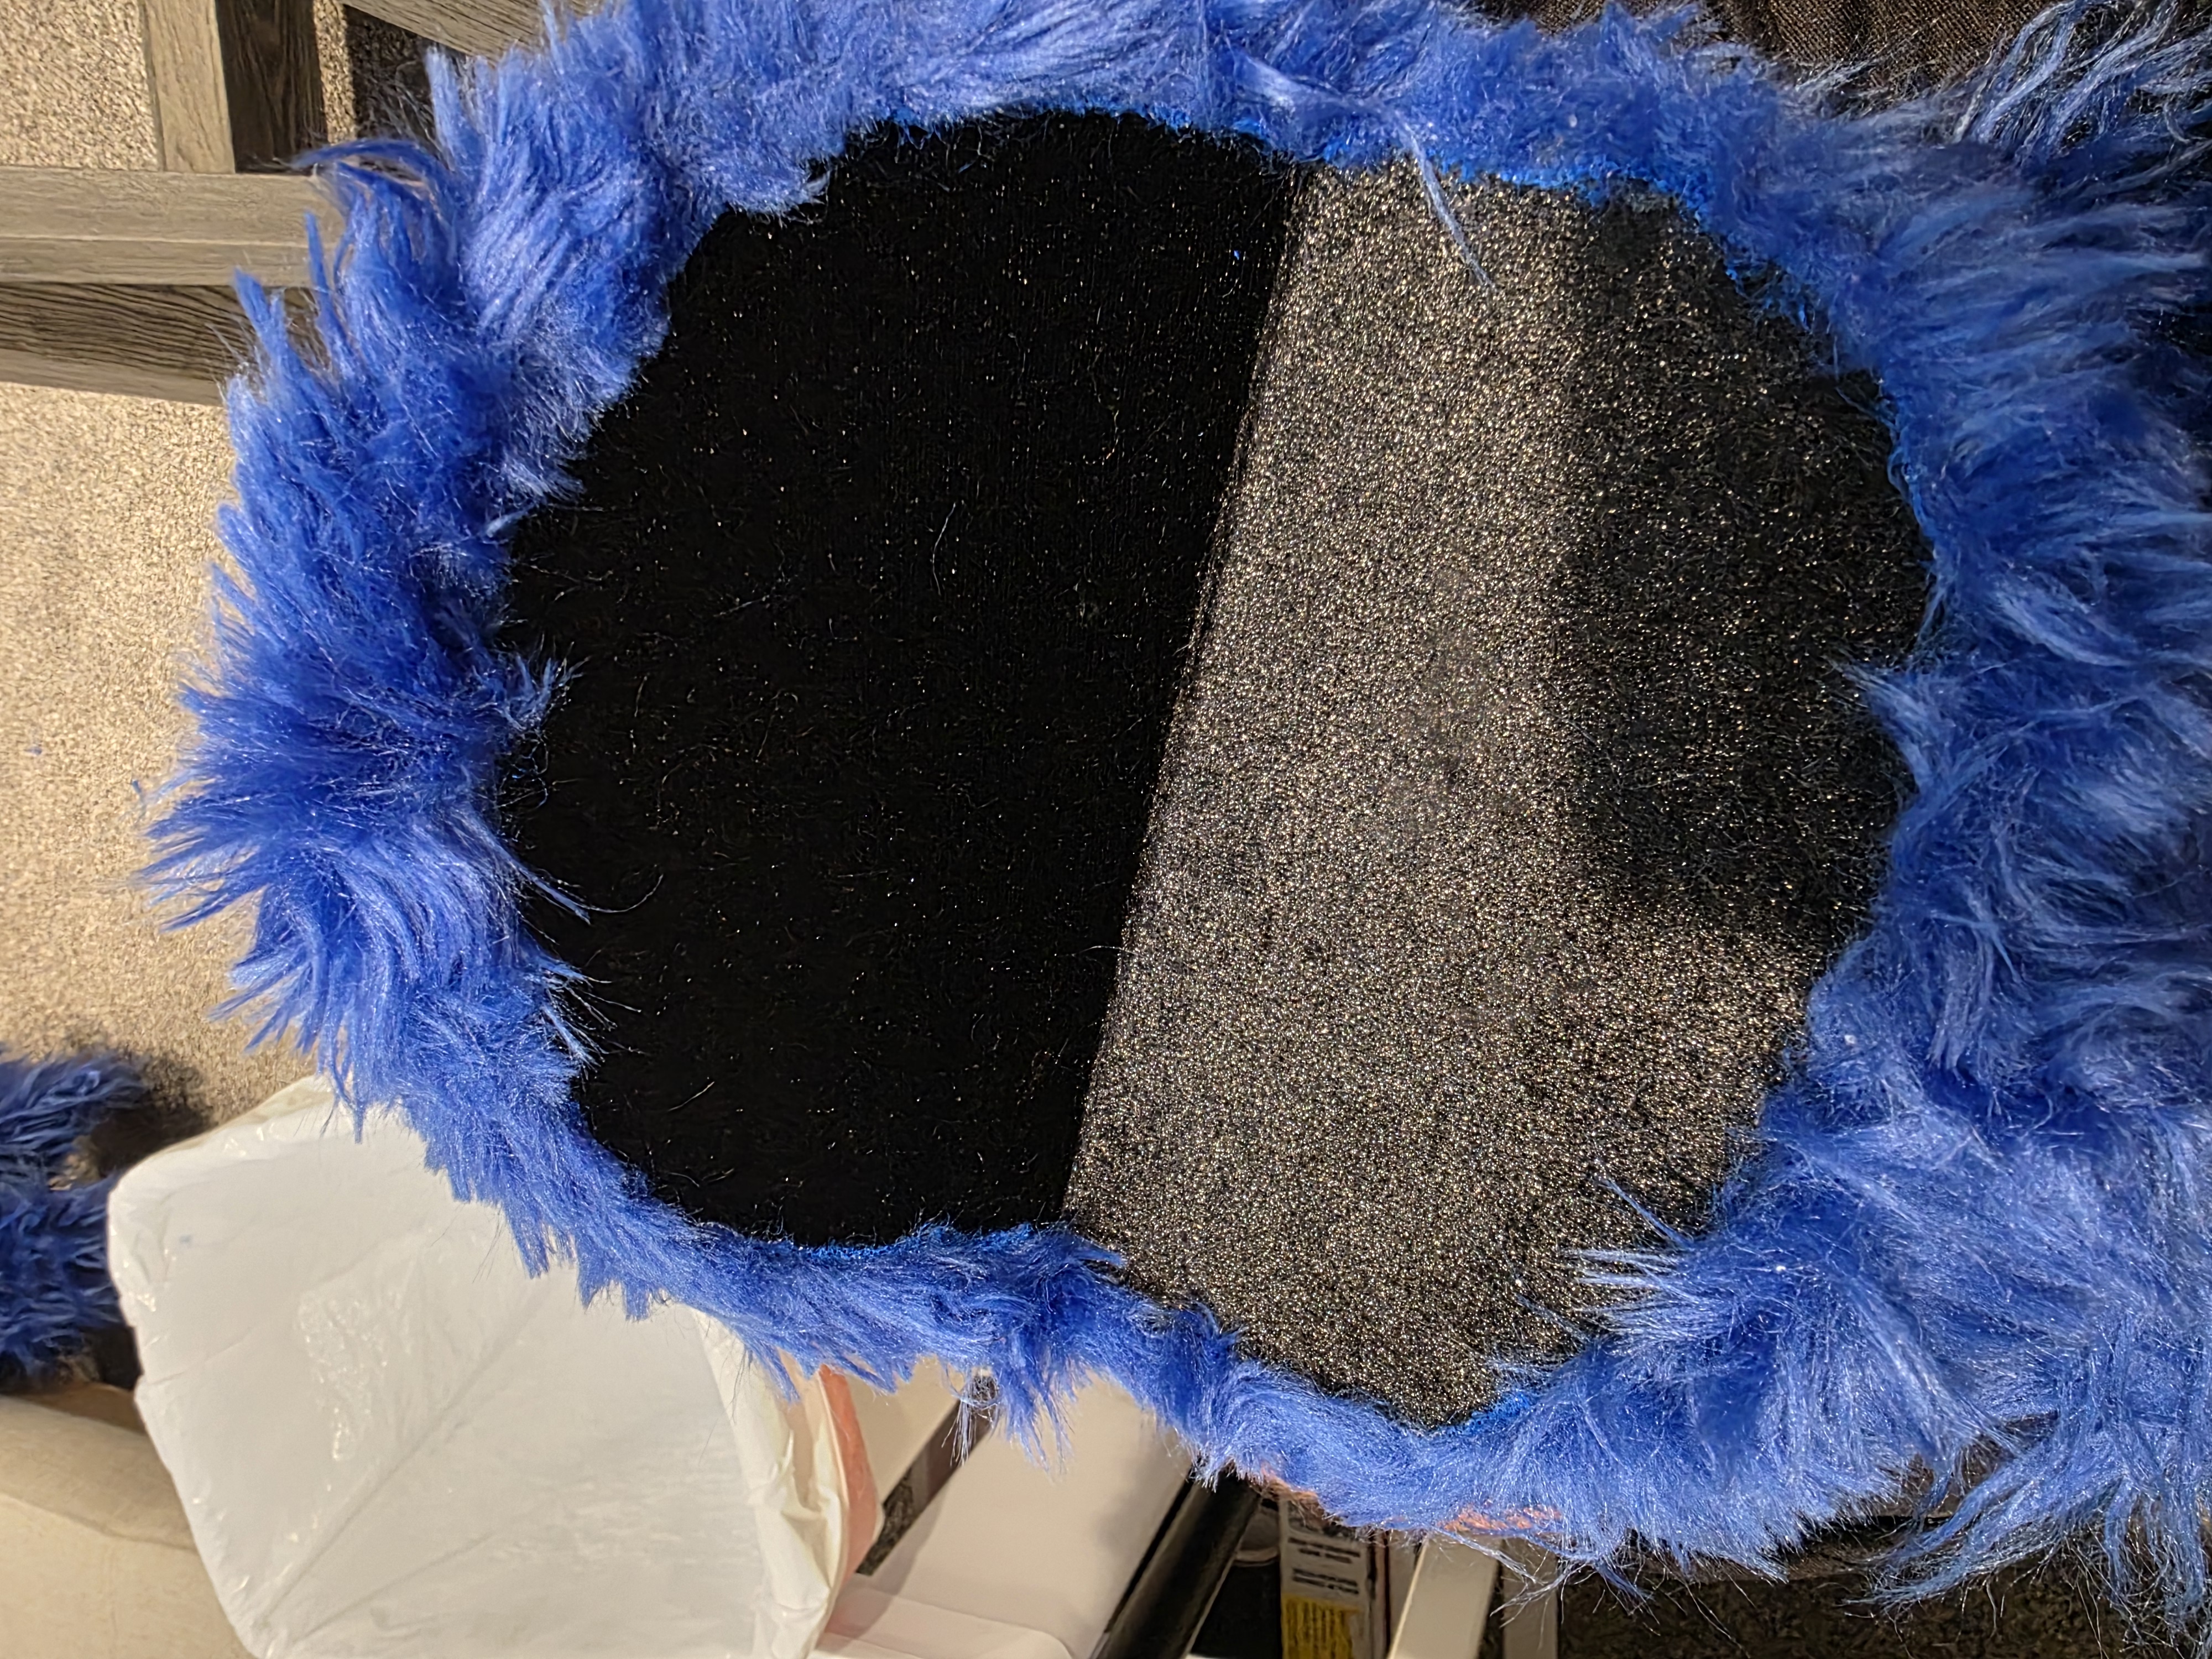
I then added black velvet fabric to the mouth plate. I did this by spraying both the mouth plate and the back side of the fabric with Super 77 spray adhesive. After letting it dry, I then cut the excess fabric with a razor blade. It doesn’t need to be perfect as the faux fur will go over it.
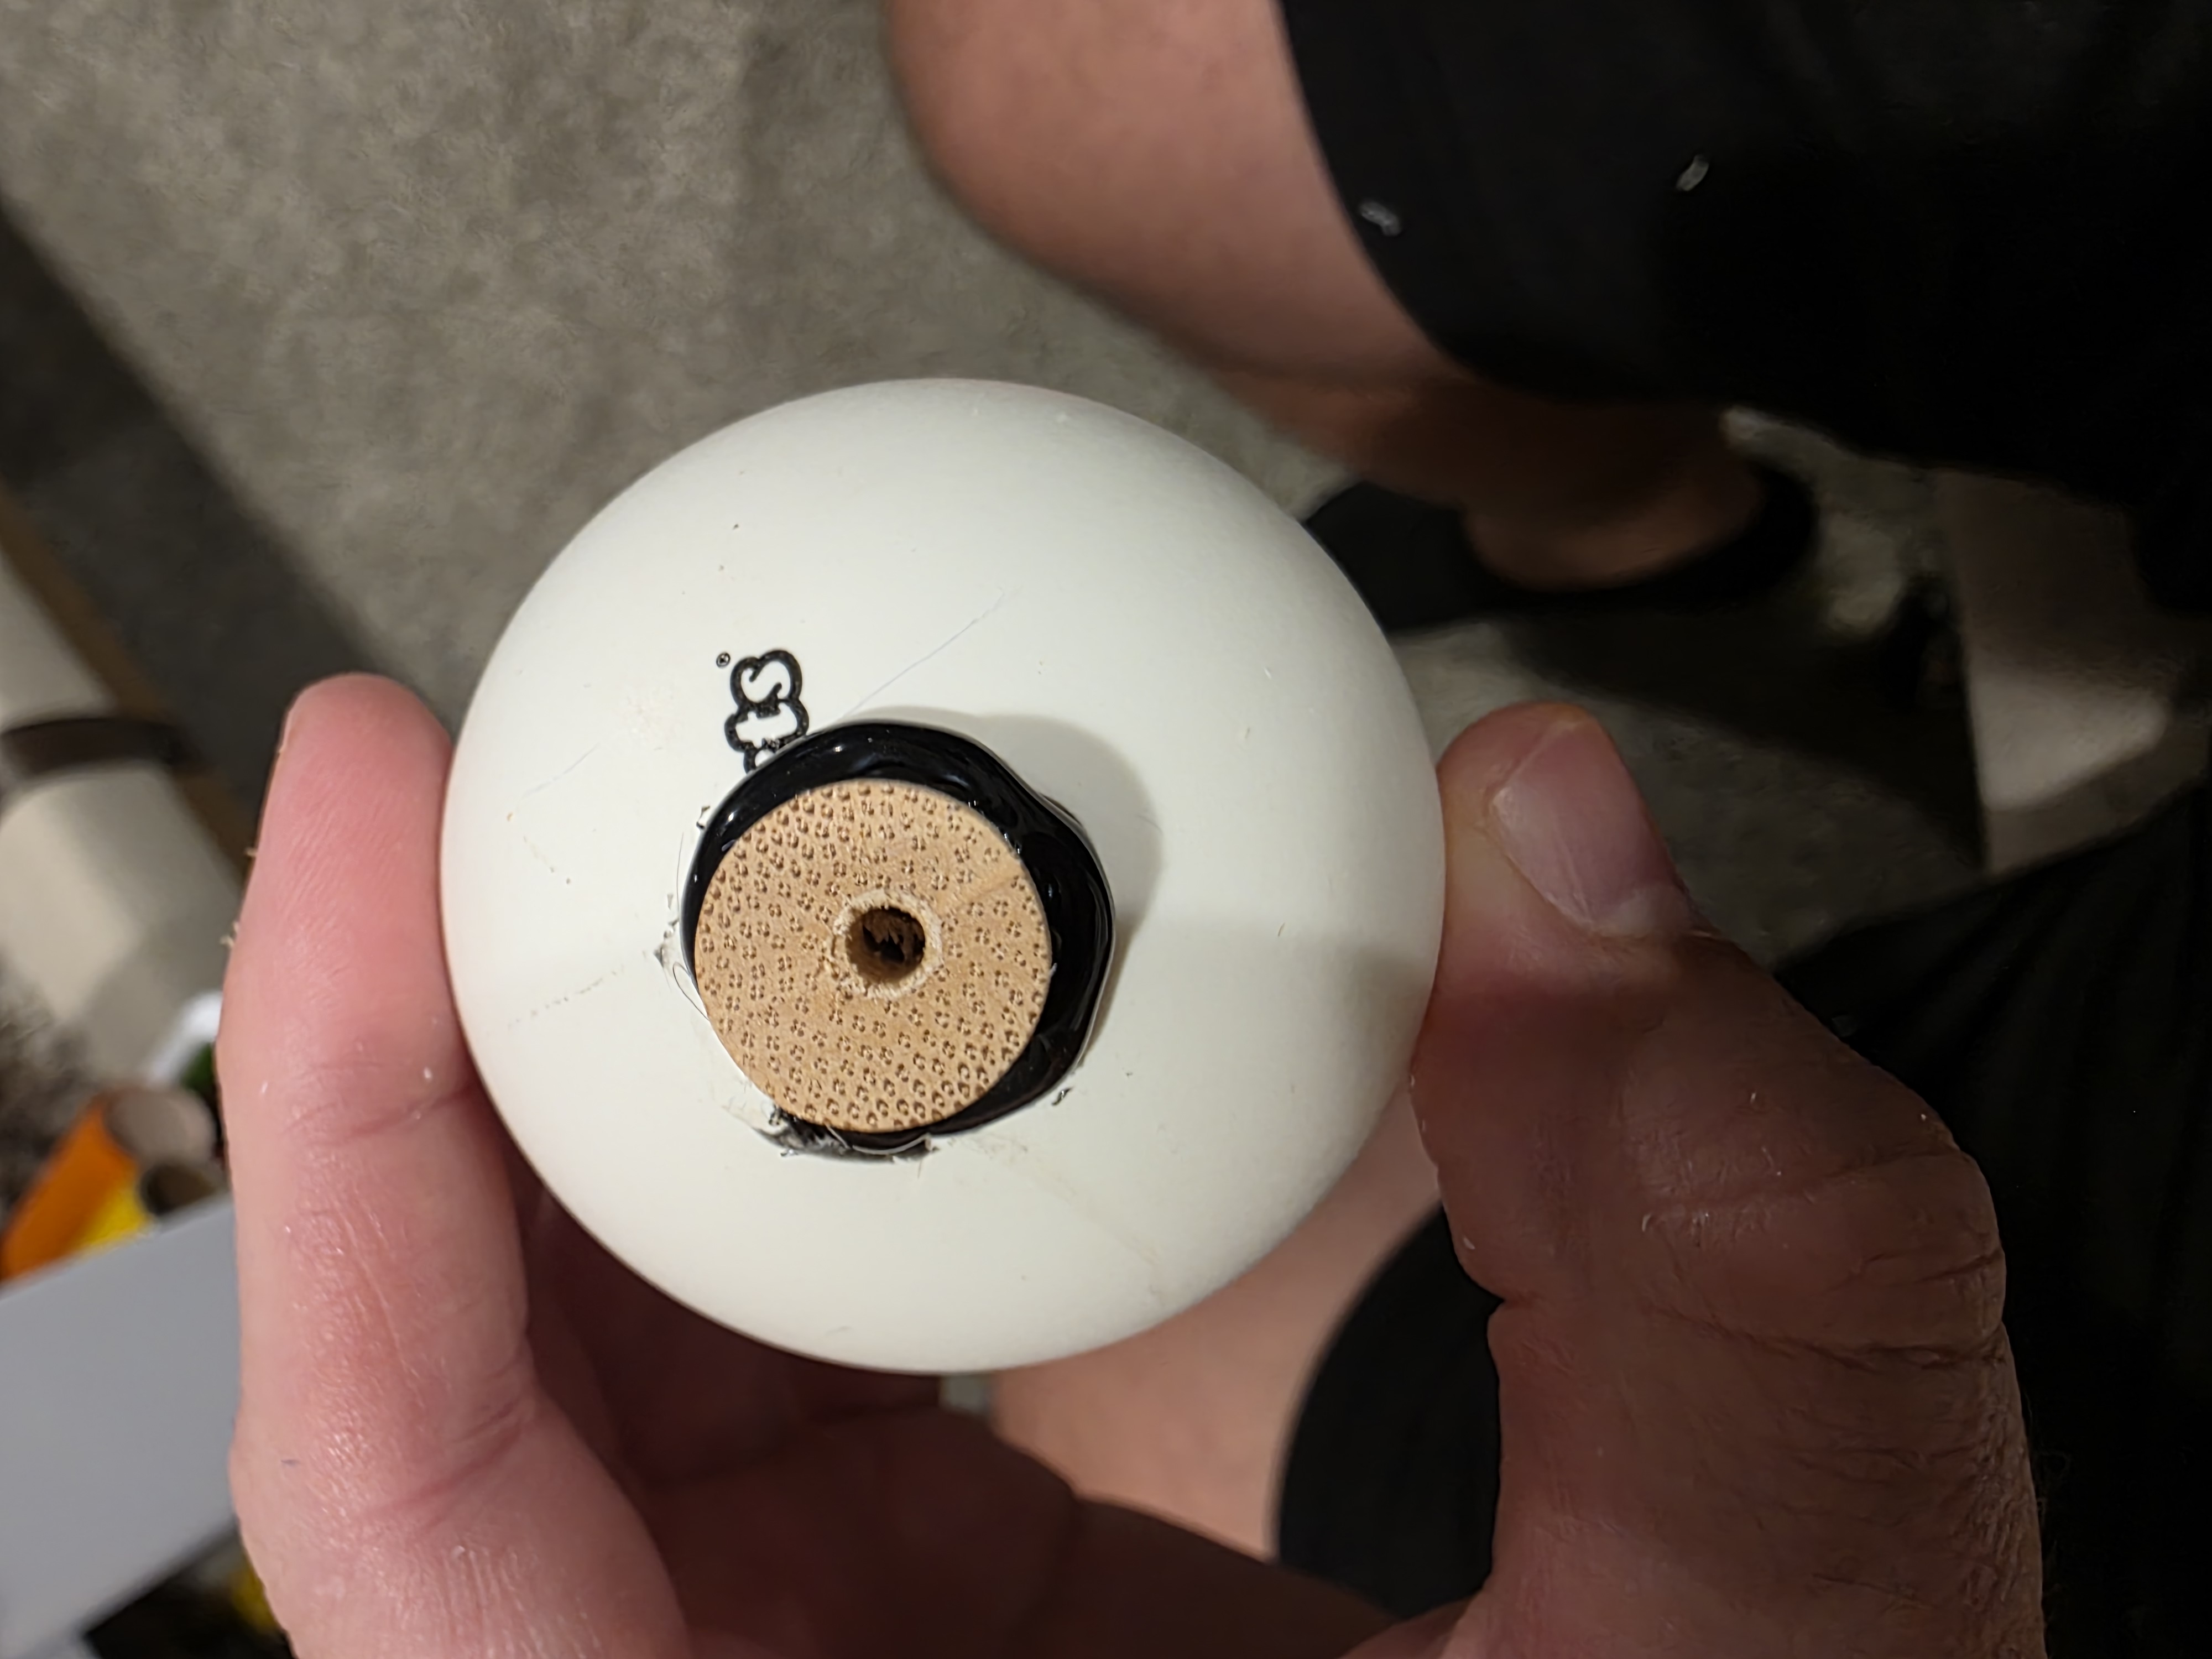
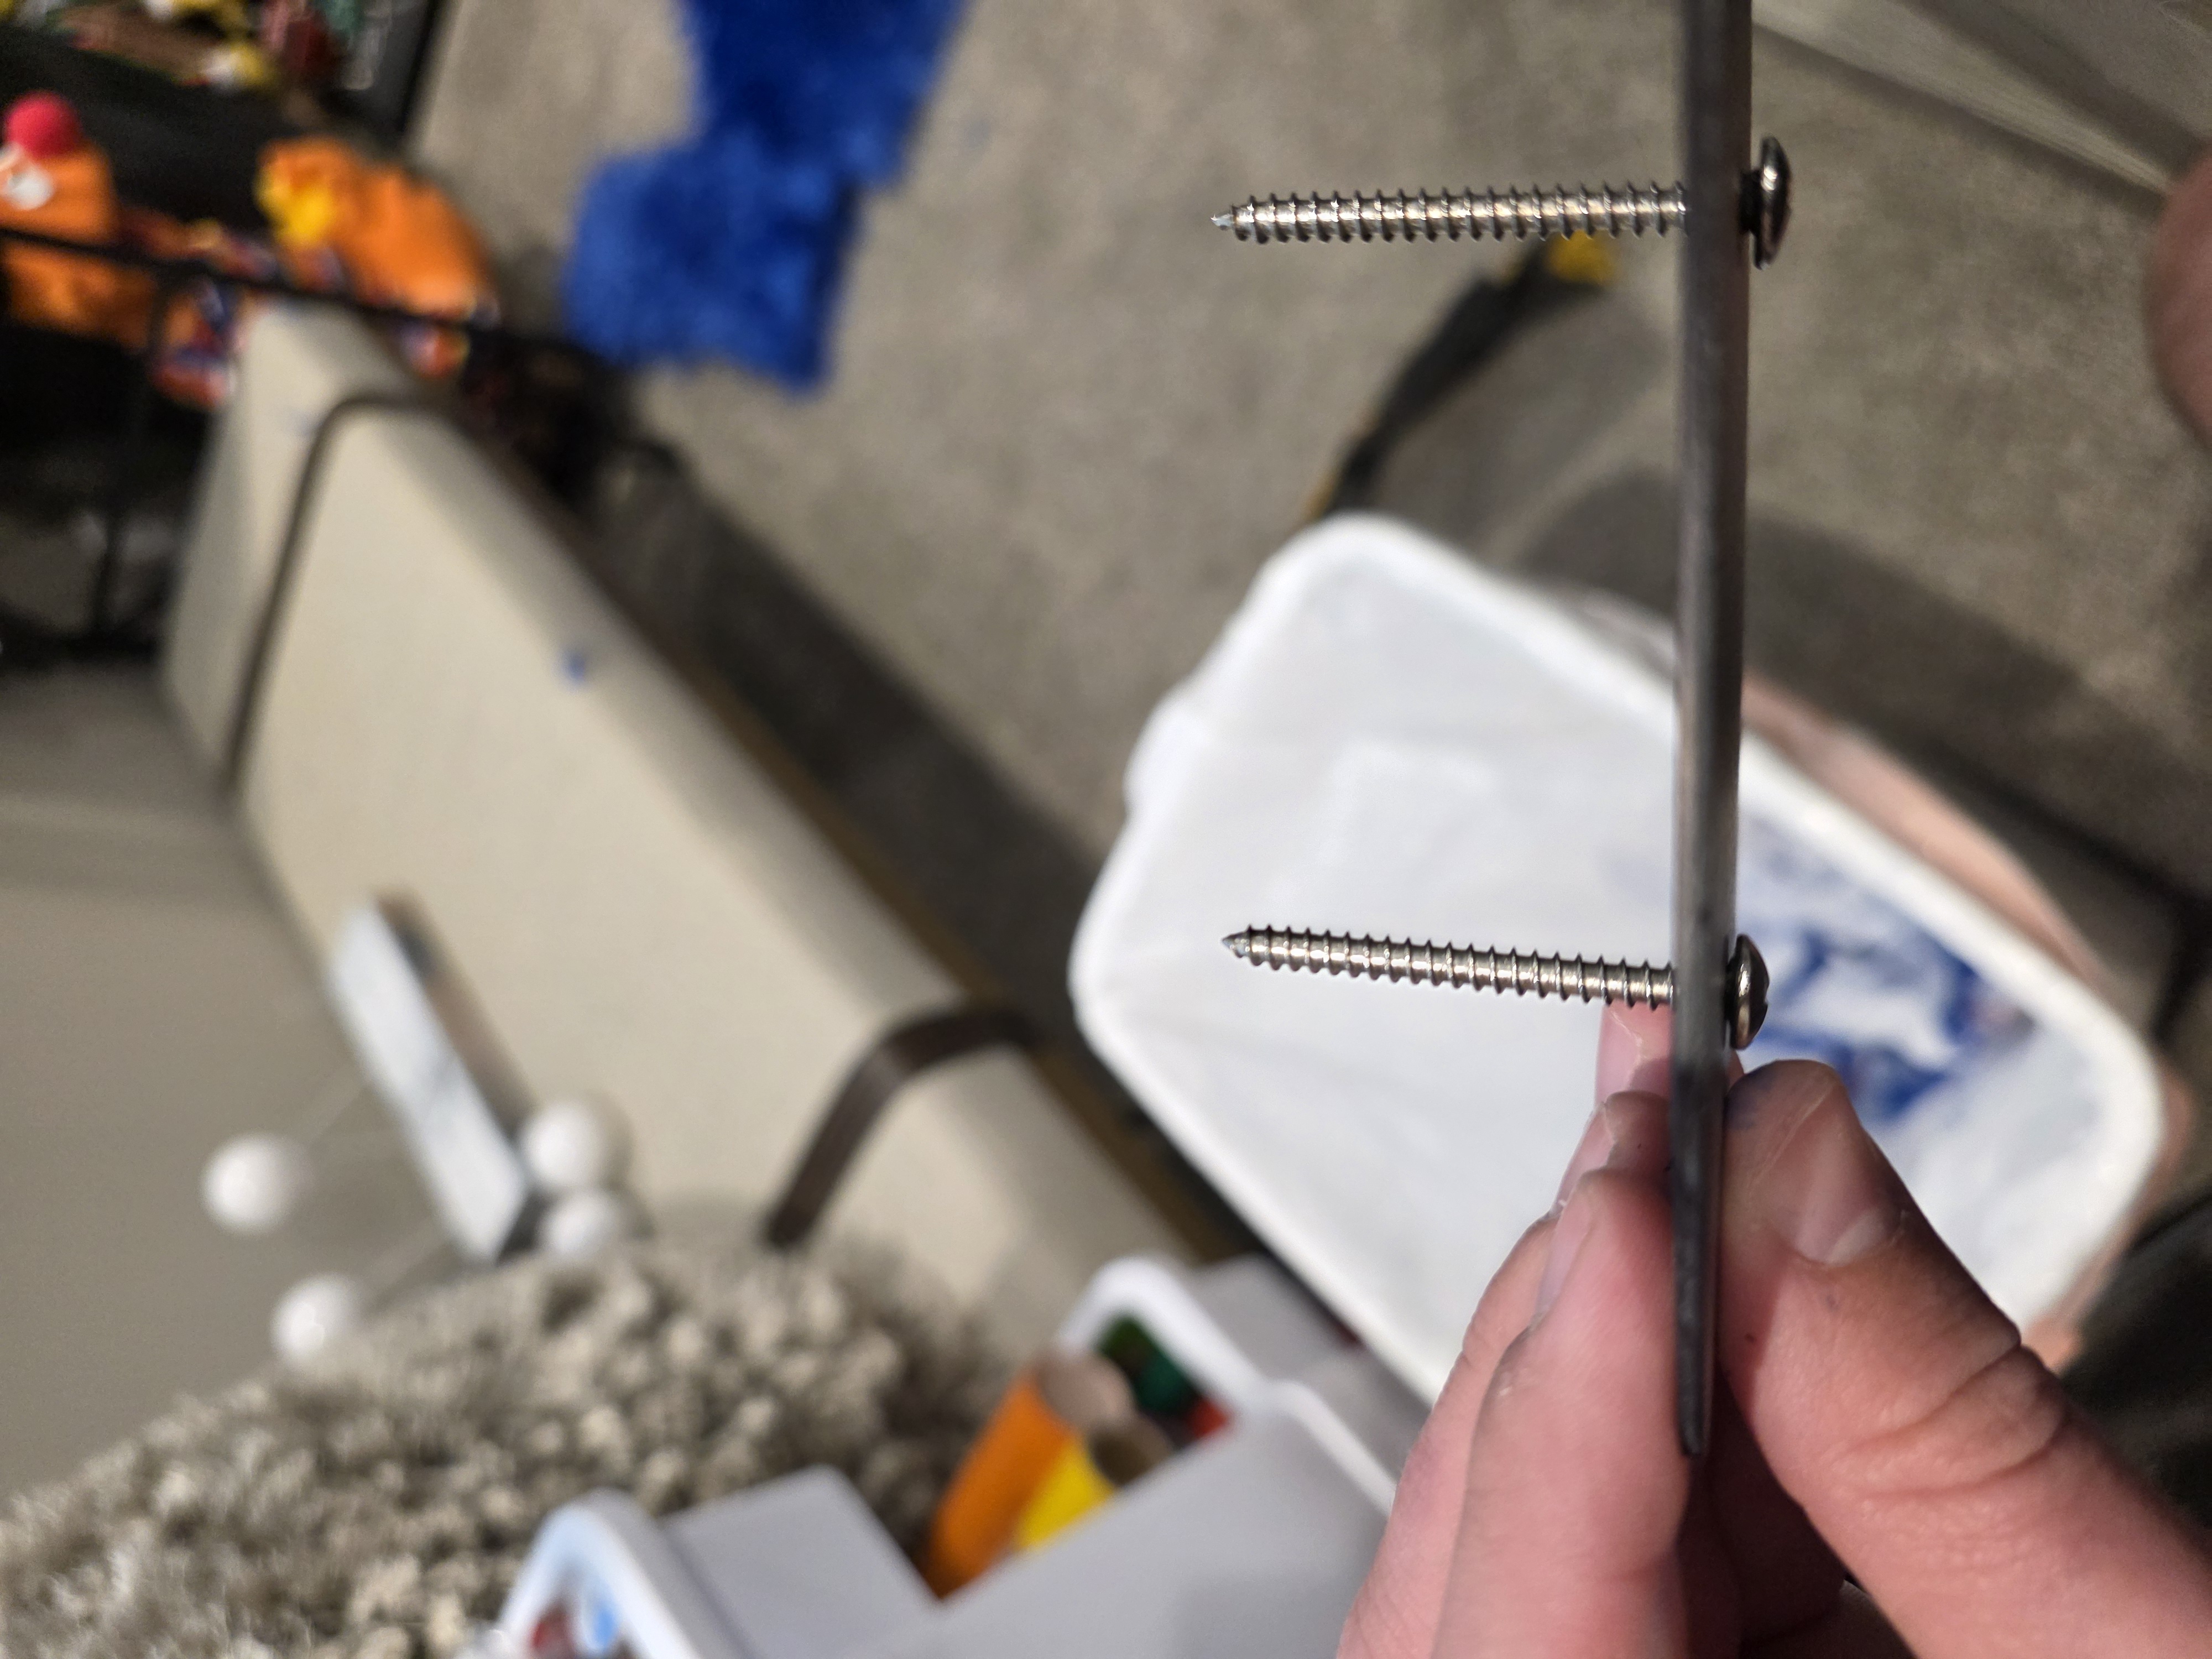
I then started prepping the eyes. I cut a hole at the bottom of the jumbo ping pong balls enough to fit a 1/2″ wide wooden dowel that I glued into it. I let about 3/4″ of an inch stick out of the eye to give it height when attaching to the skull.
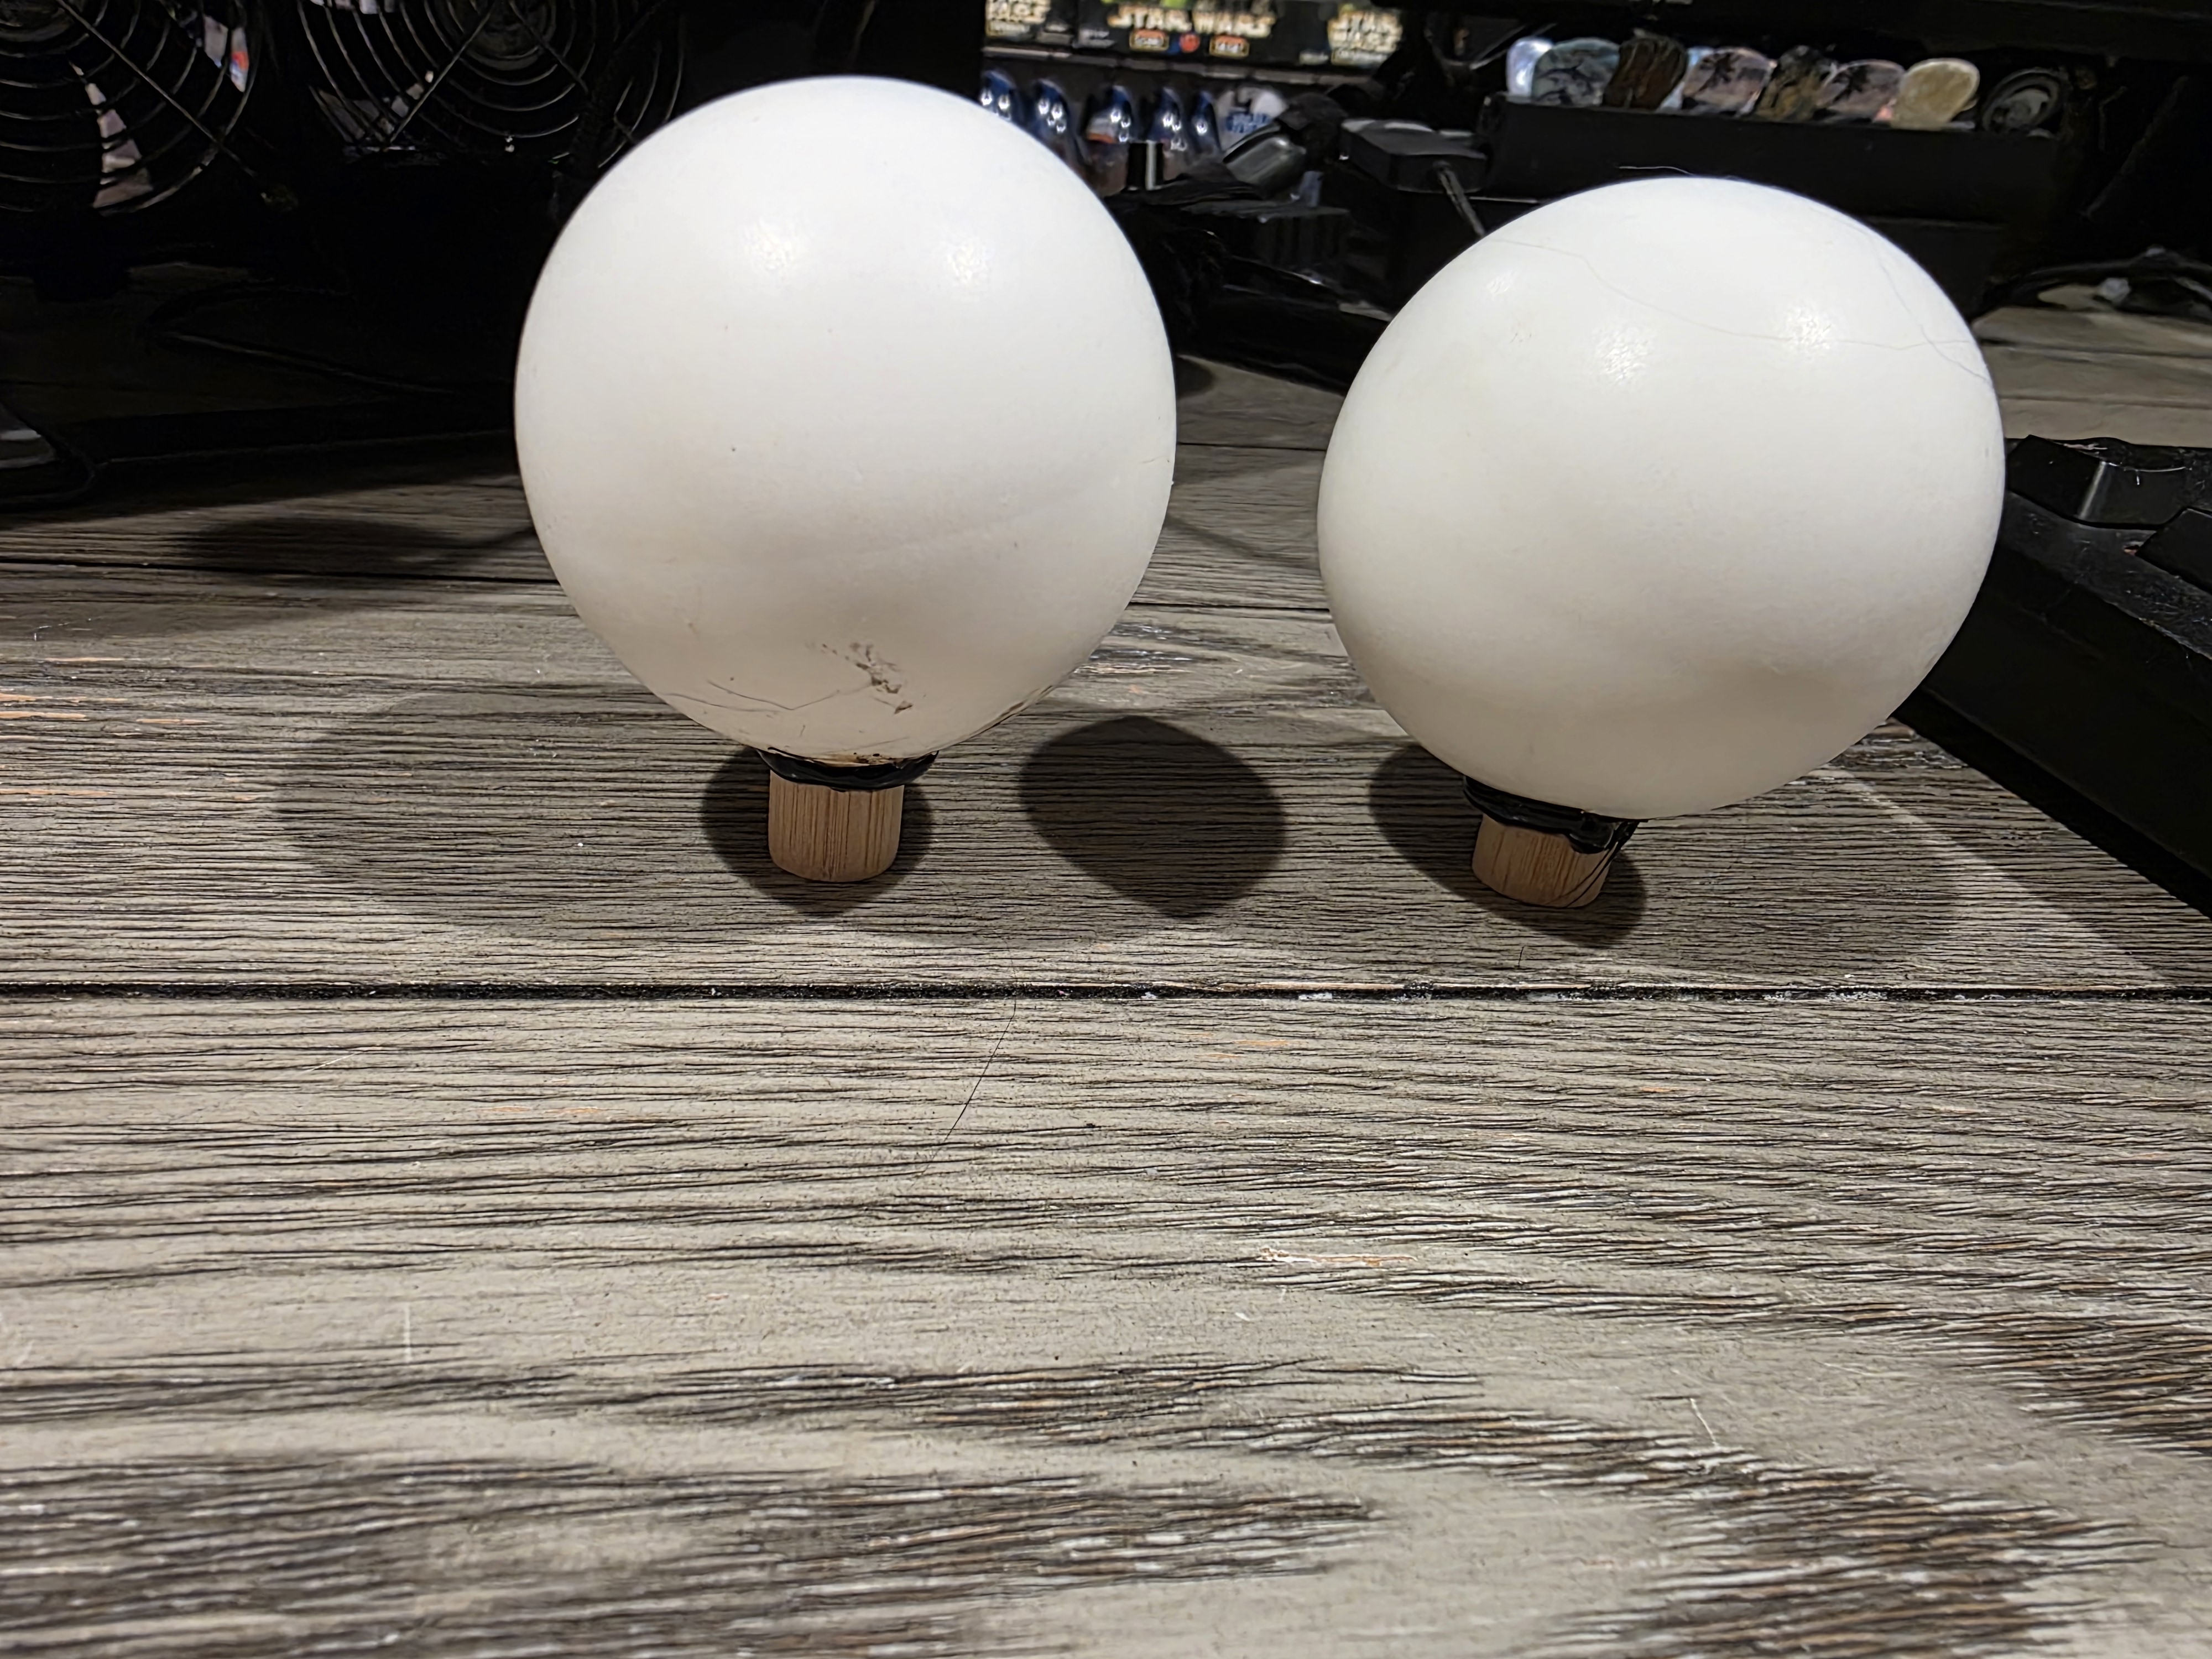
I pre-drilled holes at the bottom of the wood dowel that will allow a screw to go into to fasten it.
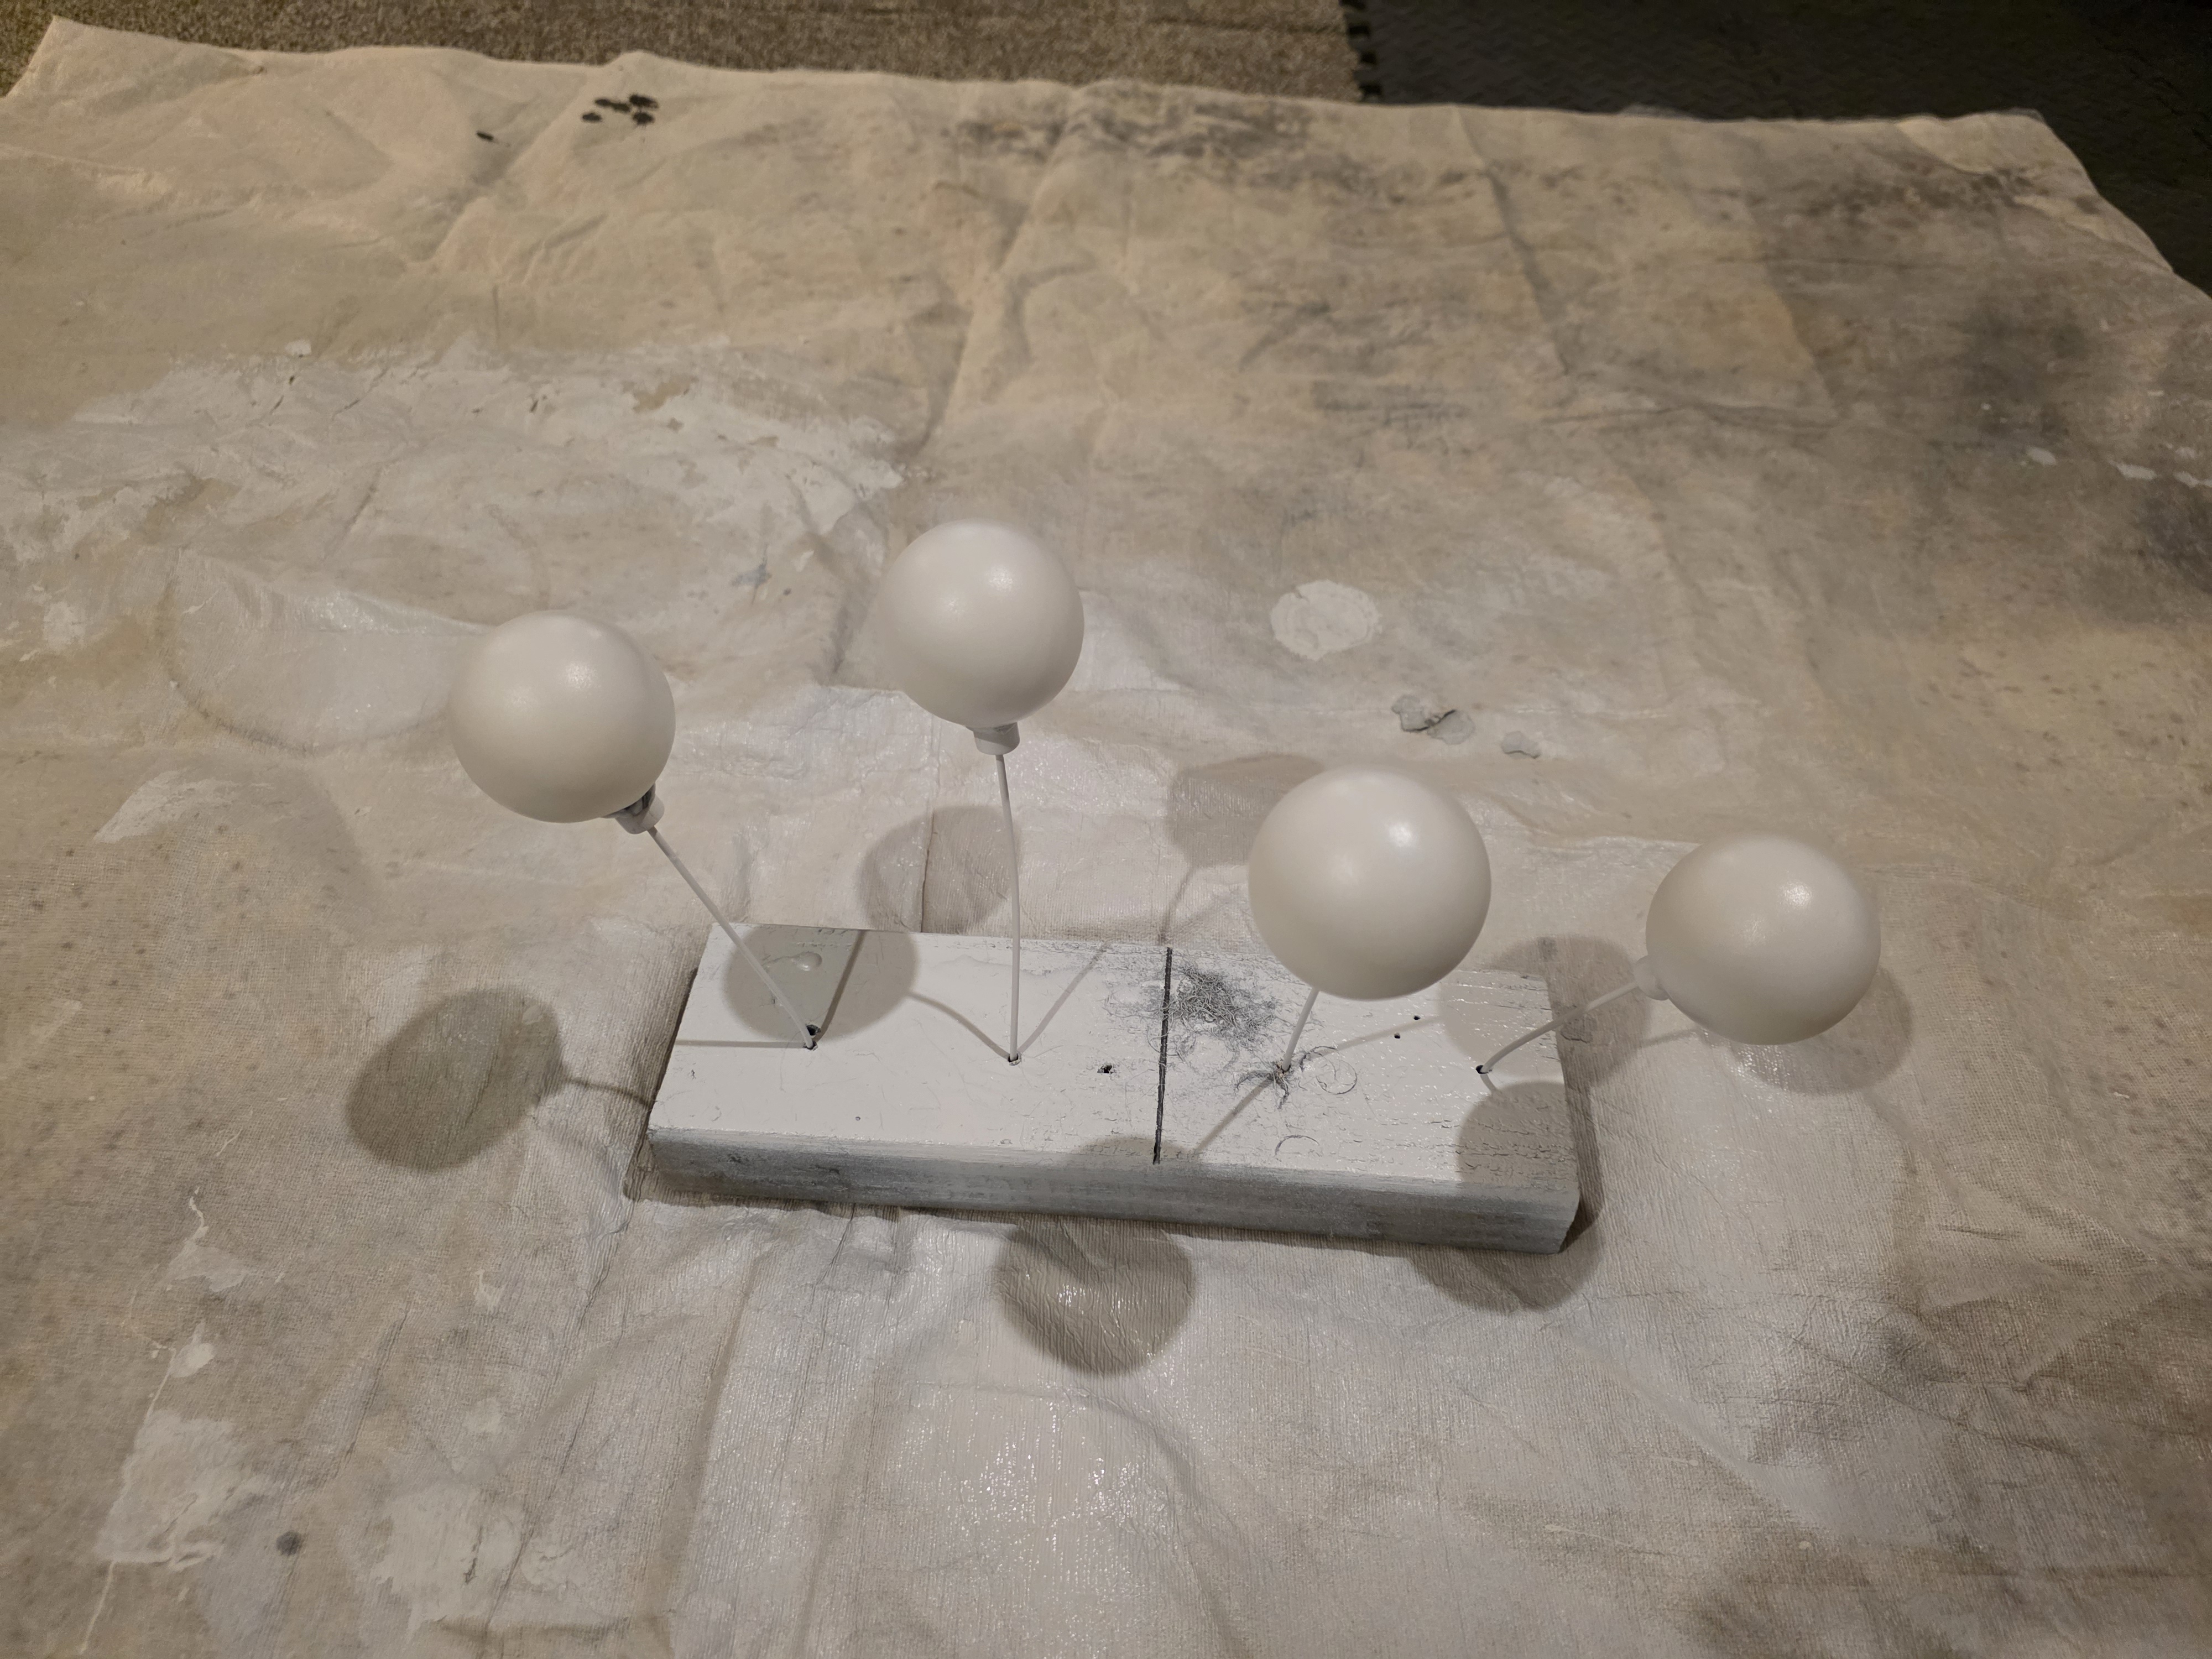
I then gave them a quick sand and painted them white.
I then started working on getting the faux fur head pattern. For this pattern I used the head pattern from the mostro pattern from project puppet, however, I scaled it to 125% to make it larger. So again, the foam pattern was scaled to 105% and the fabric head pattern was scaled to 125%. This helps have enough fabric to widen the mouth and keep the Cookie Monster head shape.

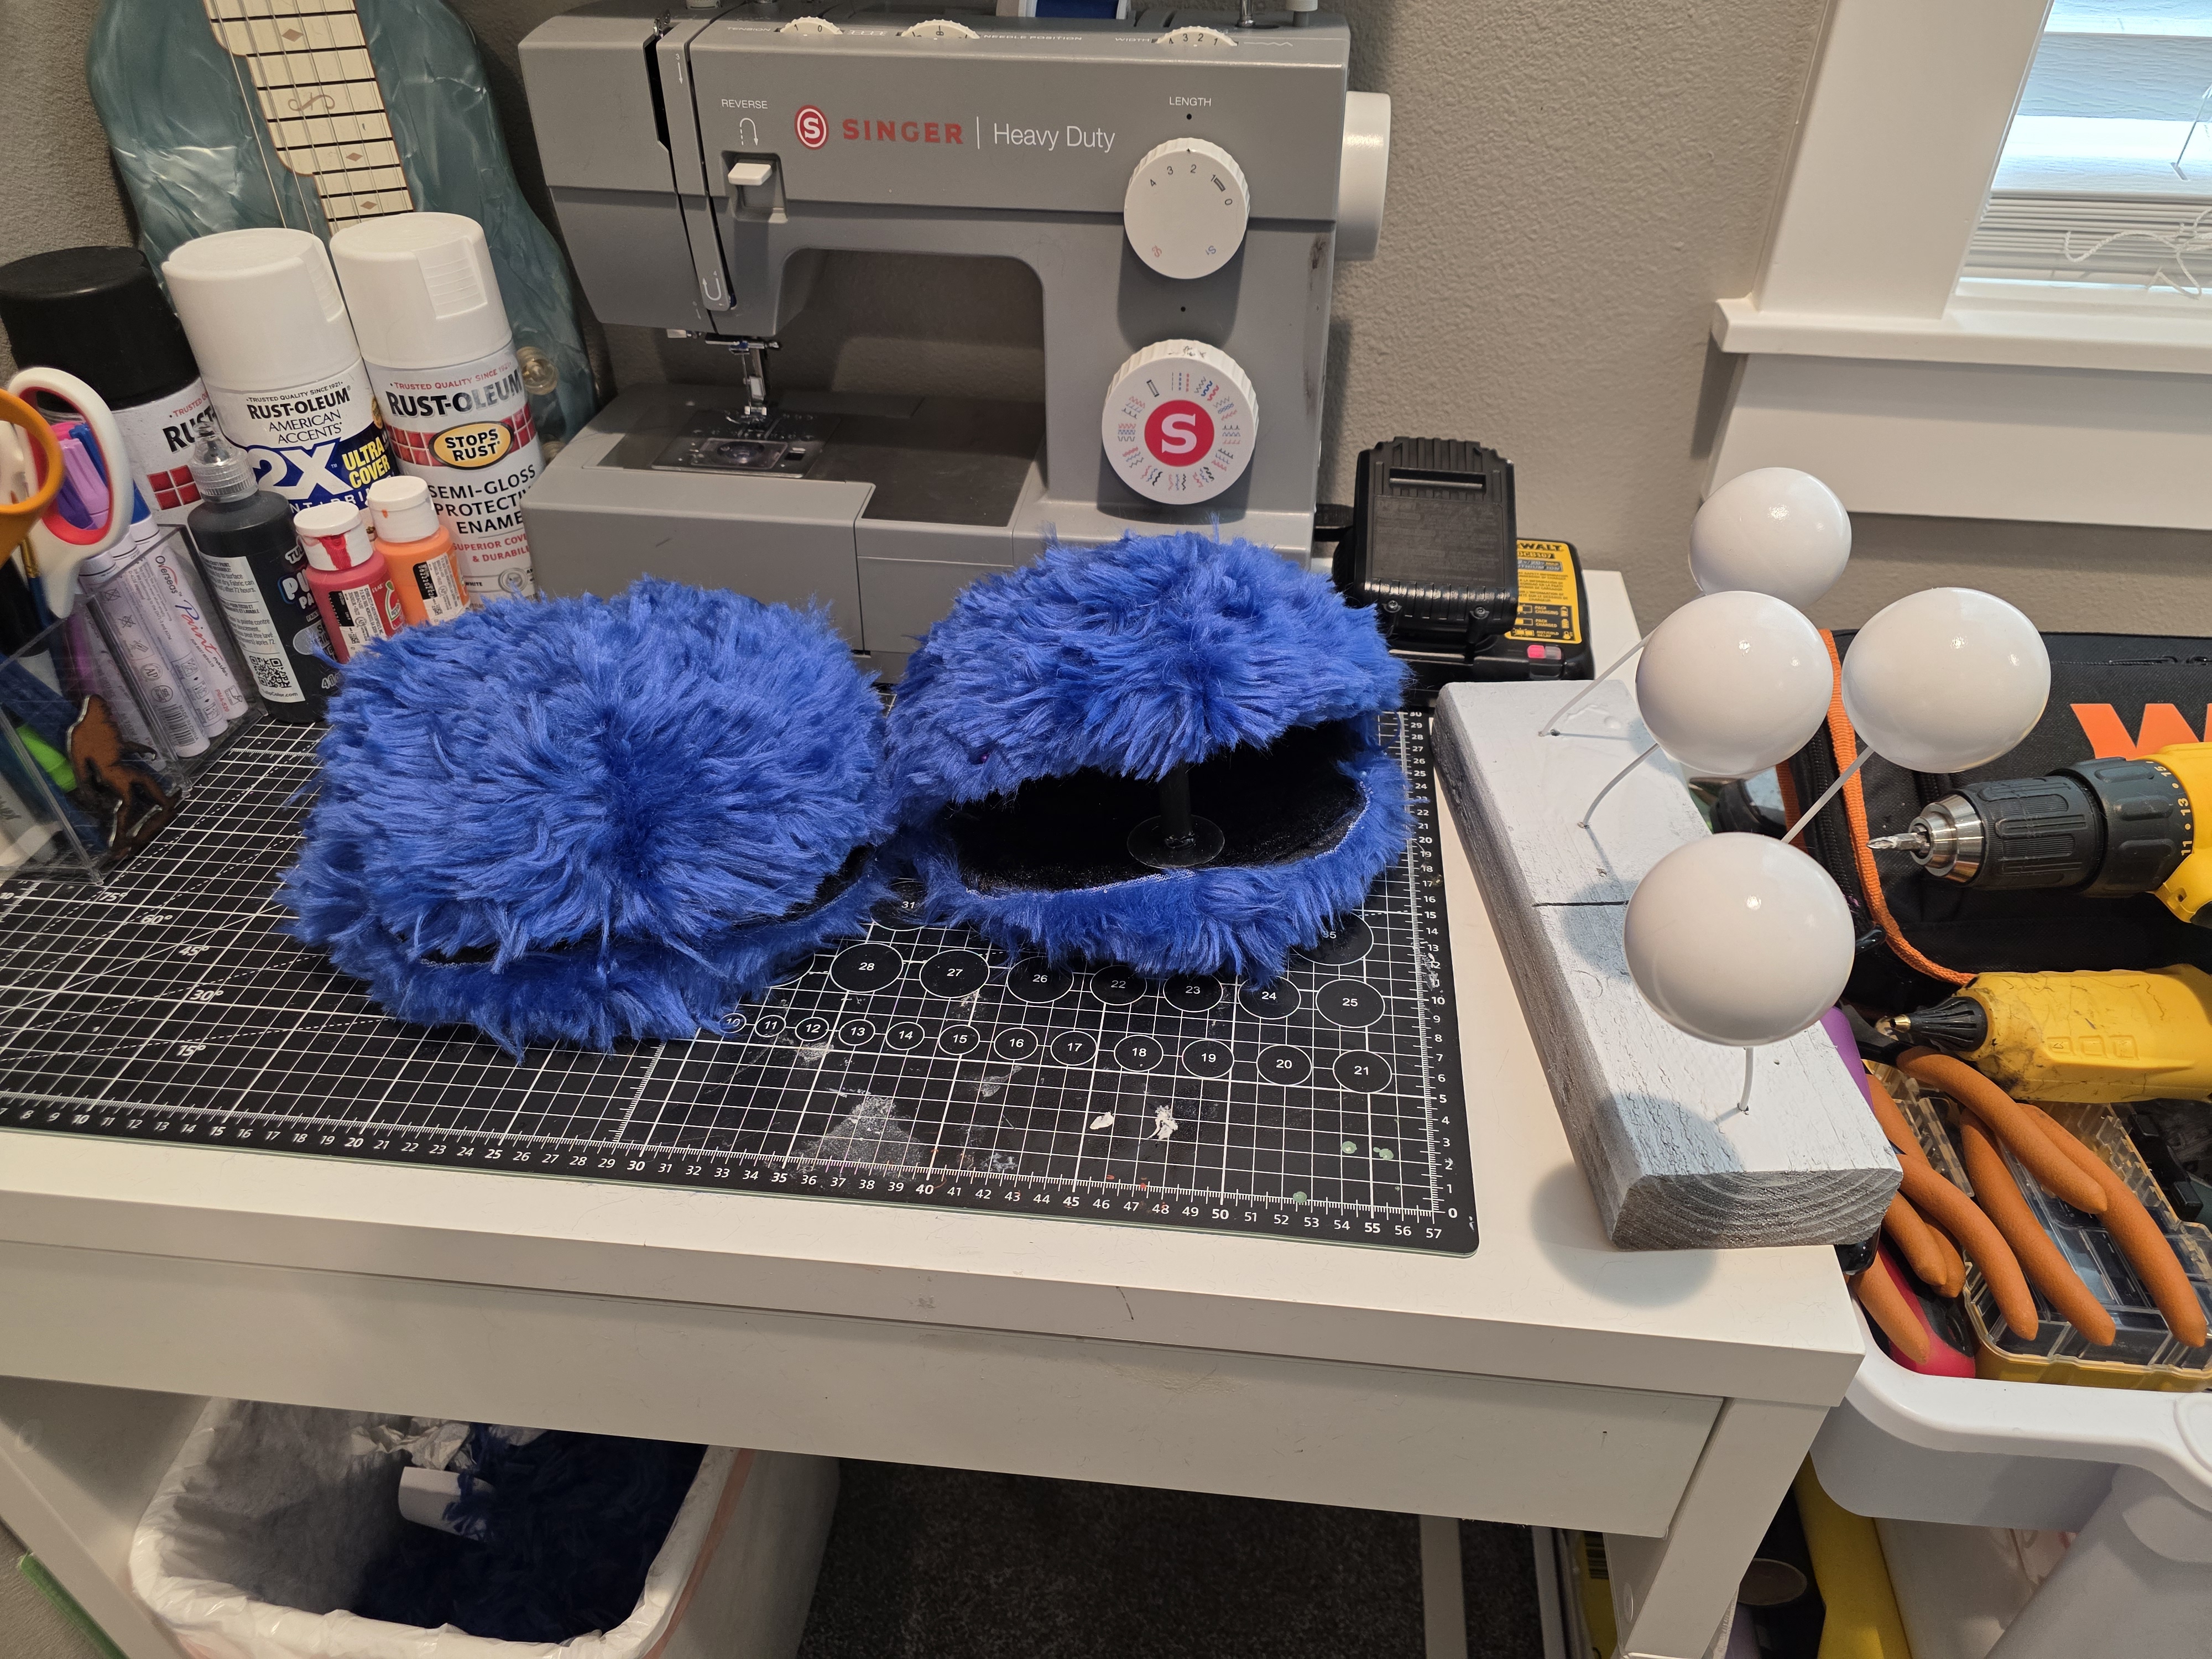
After sewing the head pattern, I test fitted it to the skull. The only major adjustment was just cutting the mouth area wider so it would fit around the large mouth plate. I also sewed the seam line with a more flat vs curved line to make the shape flatter. At this point I gave the head piece a trim.
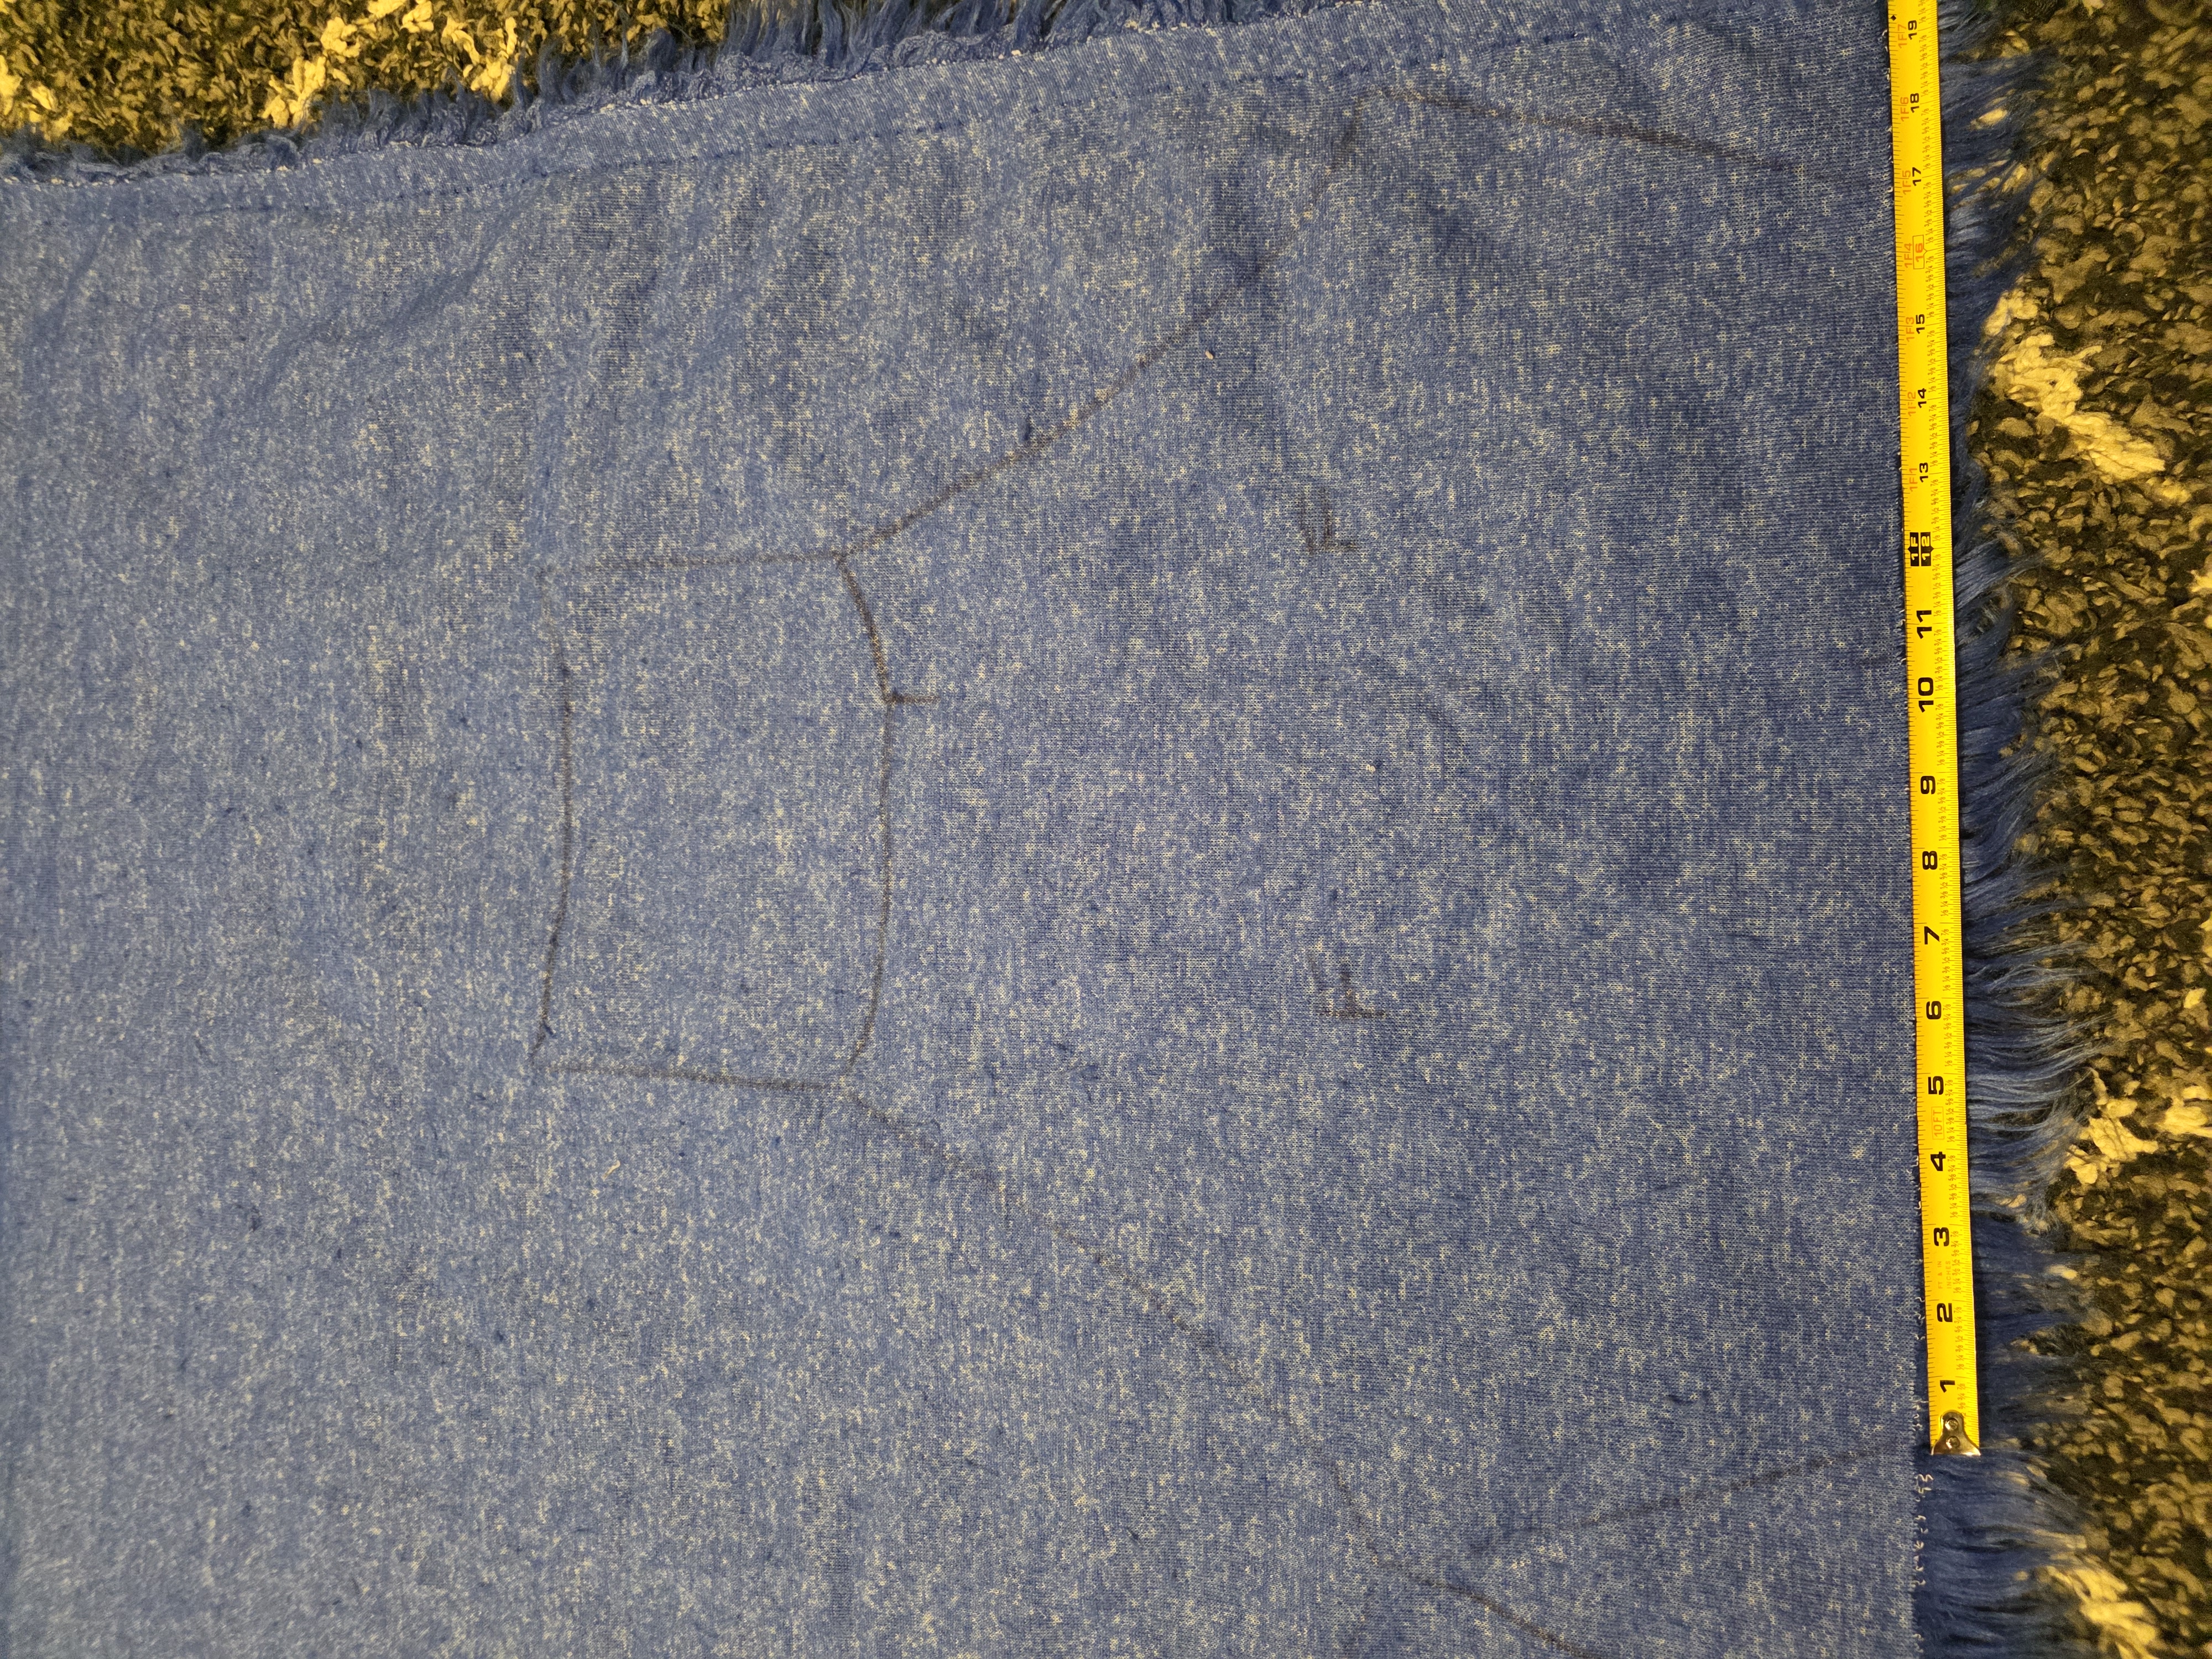
I then started working on the fur body pattern. This pattern I used stems from the borsa pattern from project puppet. I widened it 4″ and heightened it 6″ as shown below. Please note that when cutting out your template from fur, you should use a razor blade vs scissors. The razor blade will keep the fur intact as where the scissors will remove the fur on the edges leaving you with obvious seems.
I then sewed the body pieces together.

For the hand pattern I created my own as the borsa pattern from project puppet does not have very long fingers like Cookie Monster does. Since I made this pattern, I will share it.
After cutting out the hand patterns I sewed them up.
You can ignore the seem in the middle. I had to do this as I did not have enough fabric to keep it all one piece.
I then sewed the hands to the body as well as the head pattern to the body. I also added an additional 9″ of length to the body to make the puppet hide your arms better, as well as give that massive Cookie Monster look.
After it was all sewn together I started to glue the mouth plate in.
I then built an eye bracket out of the same plastic sheets I used for the mouth plate. This will be used to go on the inside of the foam skull and act as a space between the screw and the foam and fabric.
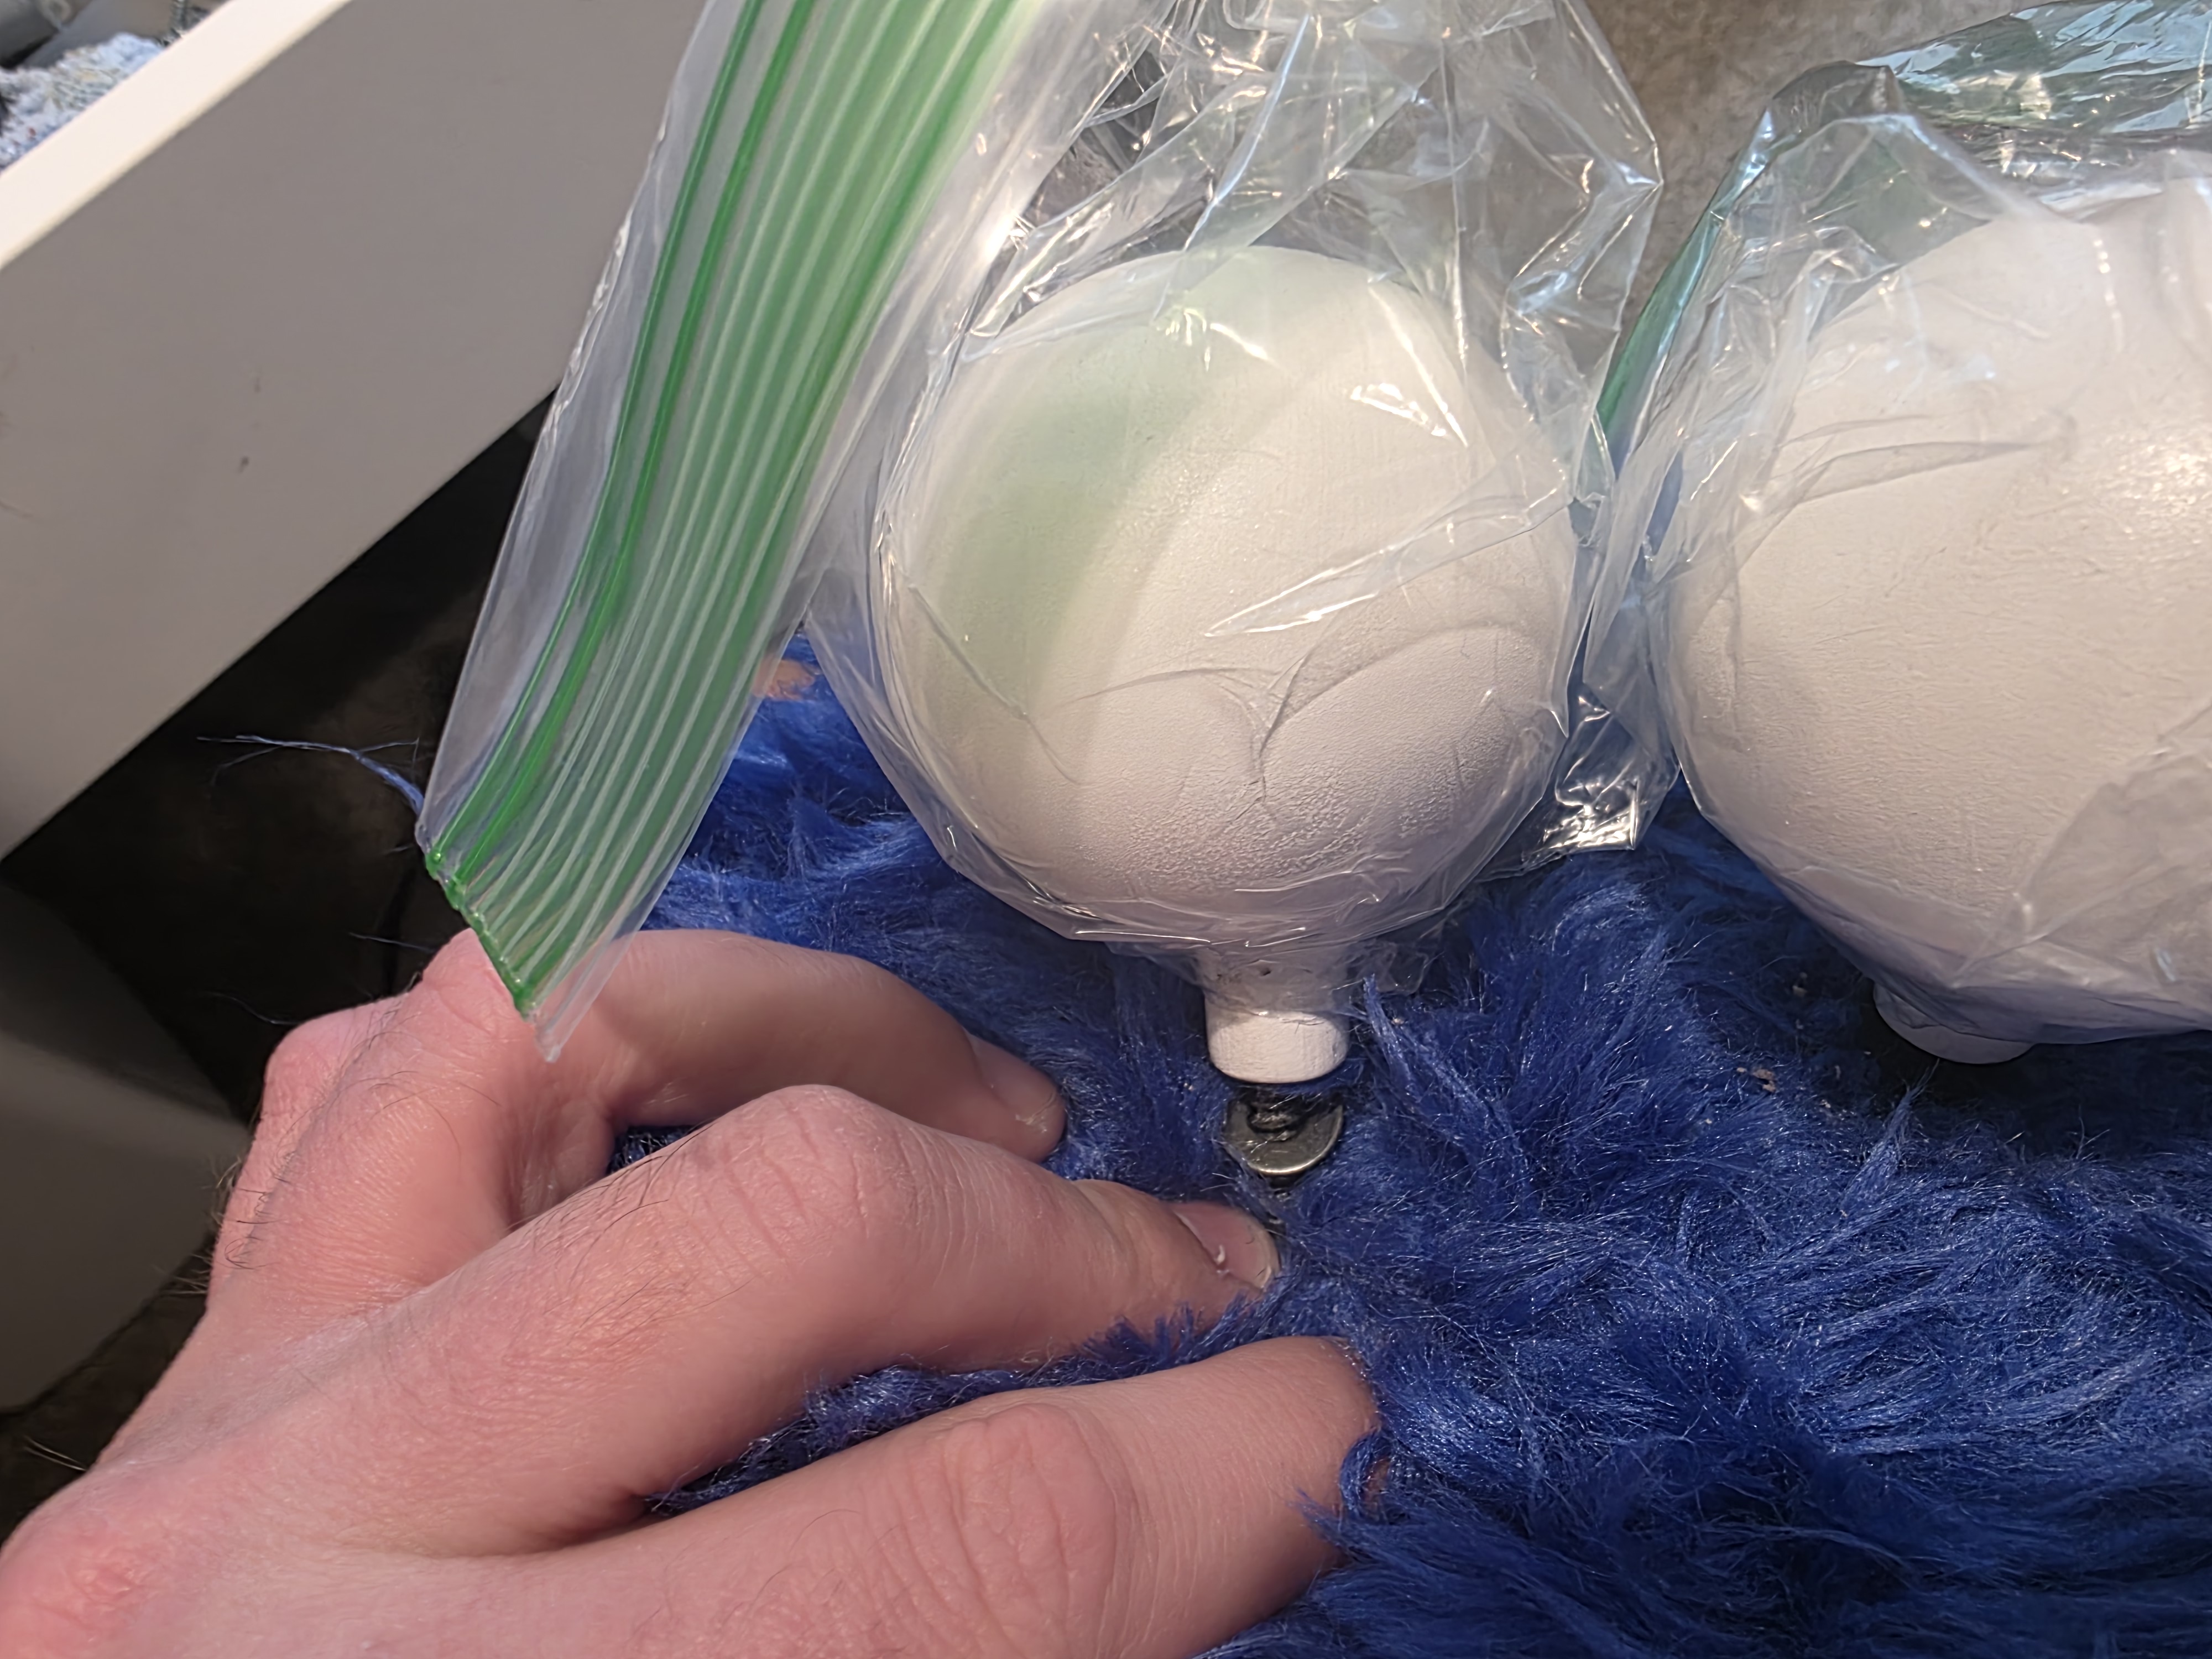
With the bracket on the inside, you can see how the screw pops through to attach to the wood dowel of the eye. I put a washer on each side. There is a washer between the screw and bracket and then there is a washer between the fabric and wood dowel. I have the plastic around the eyes to protect them from scratches and dings as I connect them.
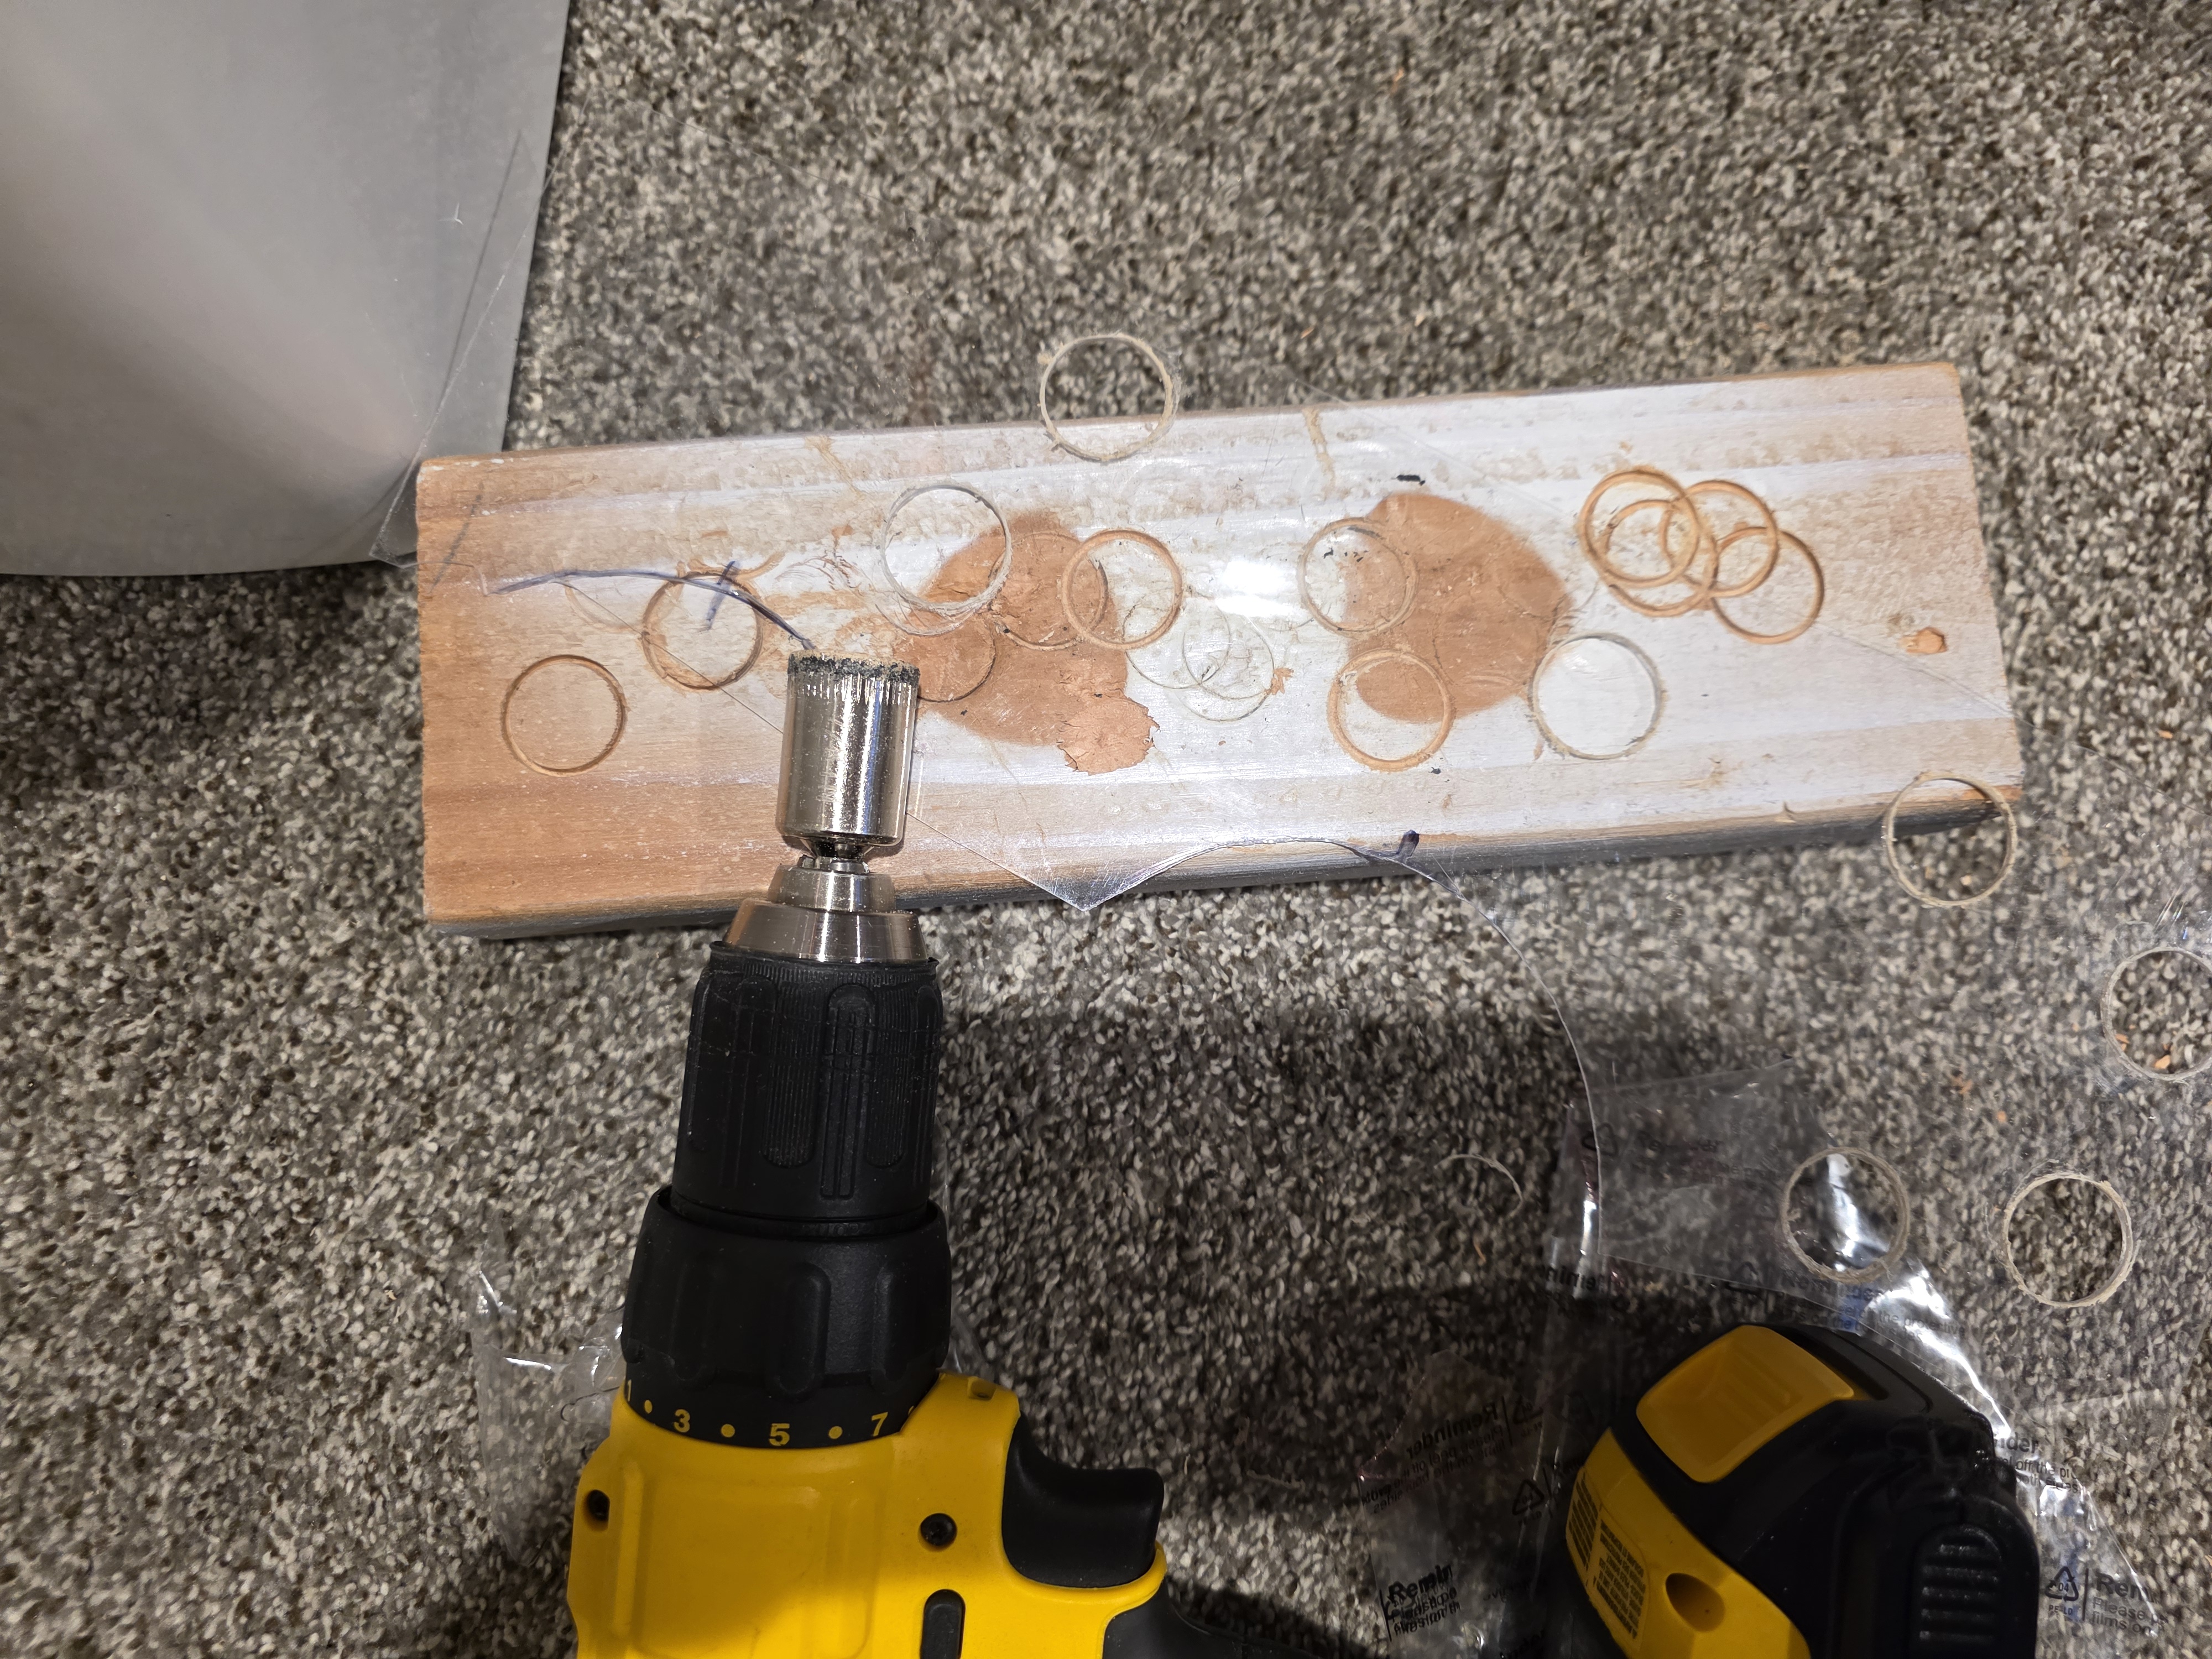
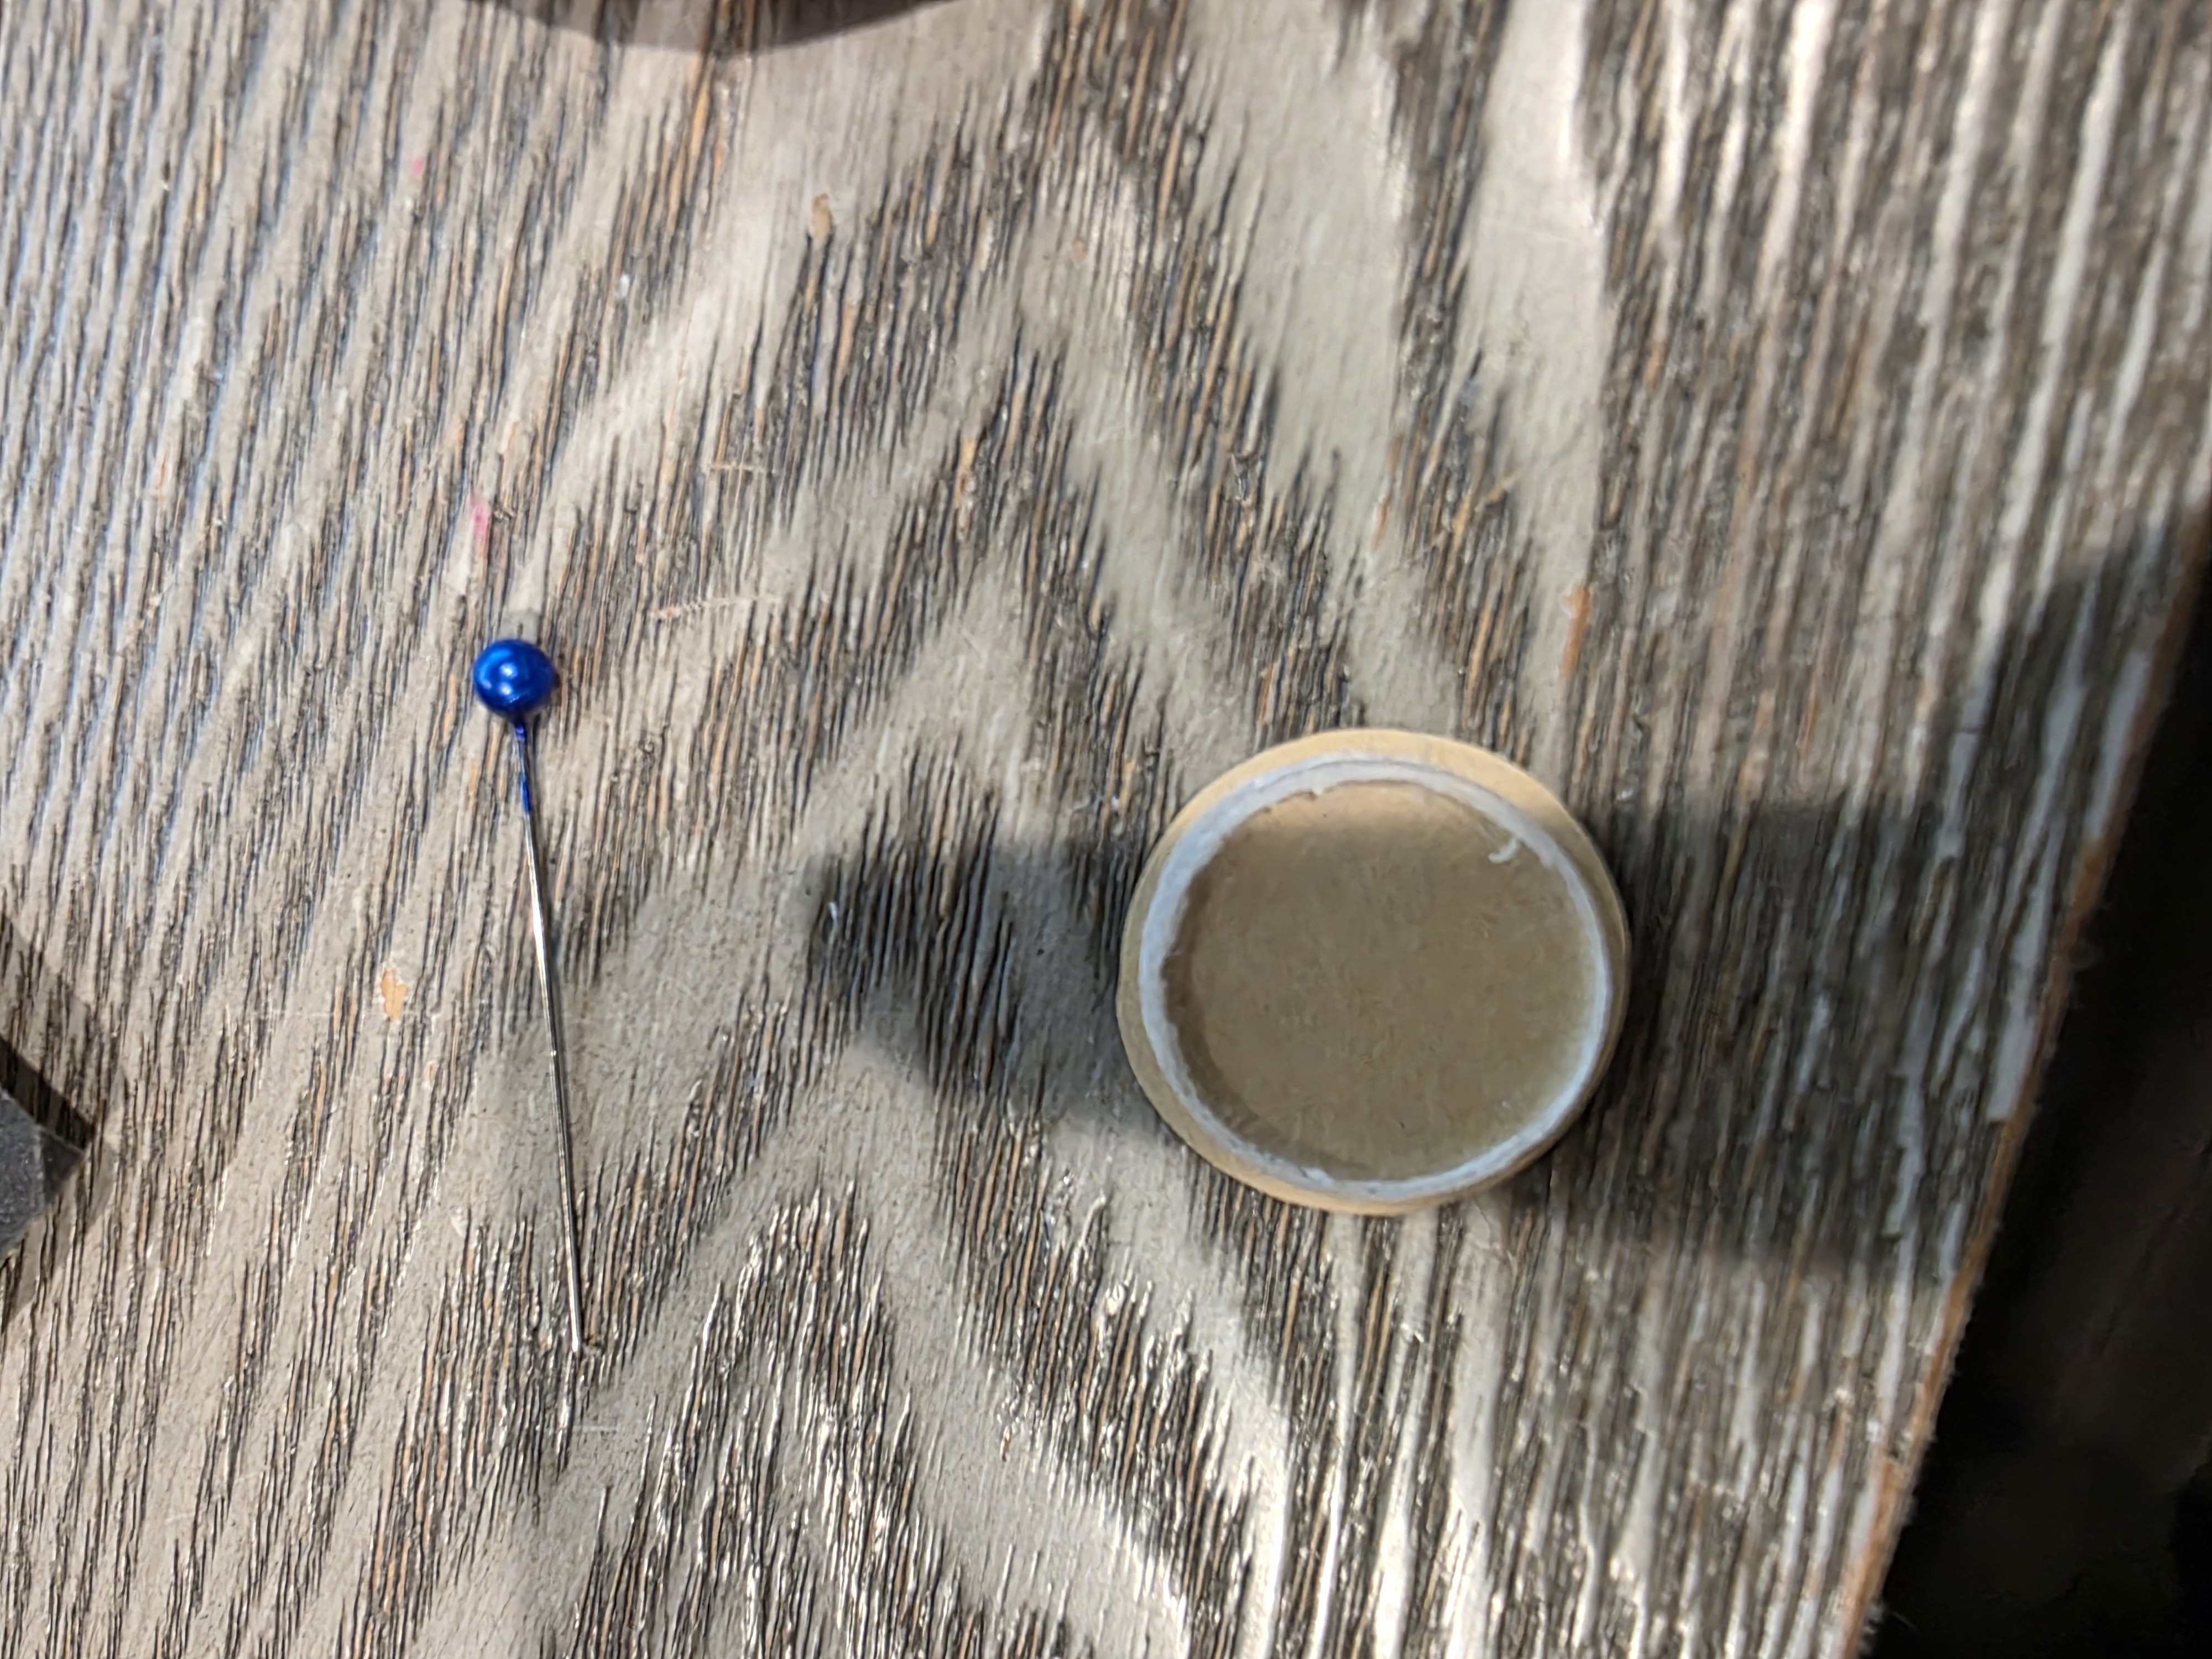
I then started creating the pupils. I used a light plastic sheet and used a 7/8″ circle drill bit to drill them out. After, I gave them a quick sand to clean up the edges.
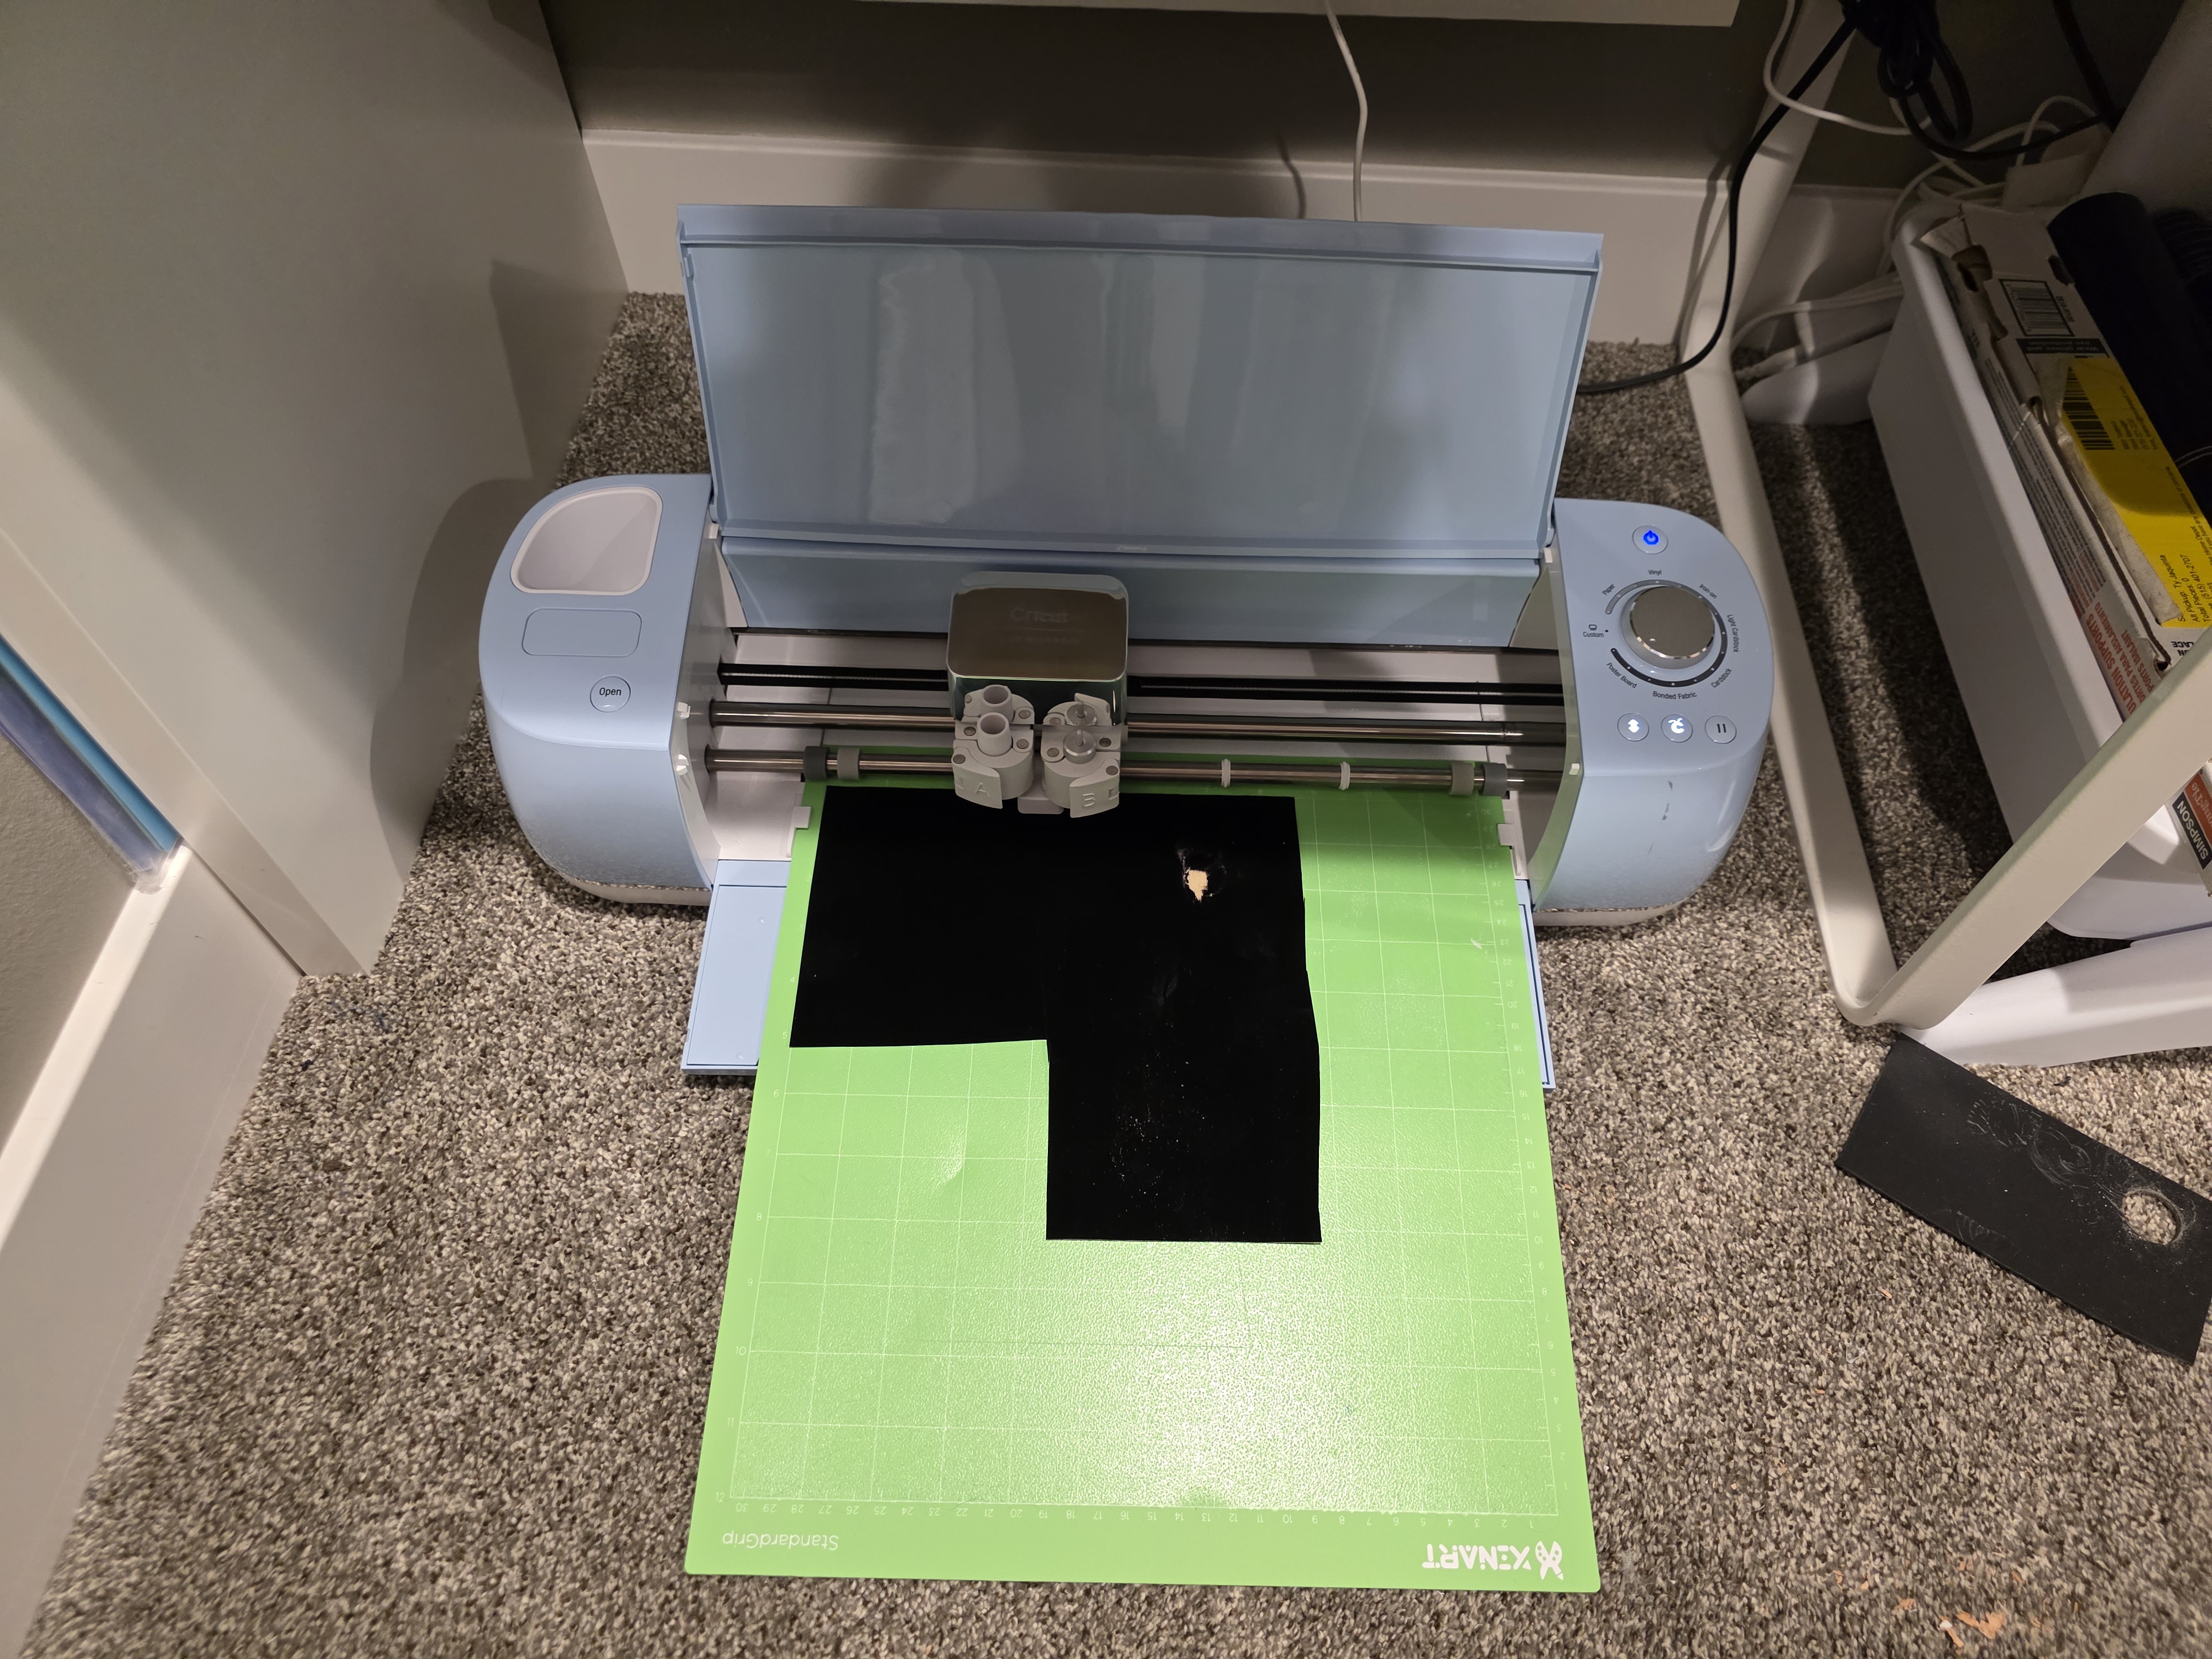
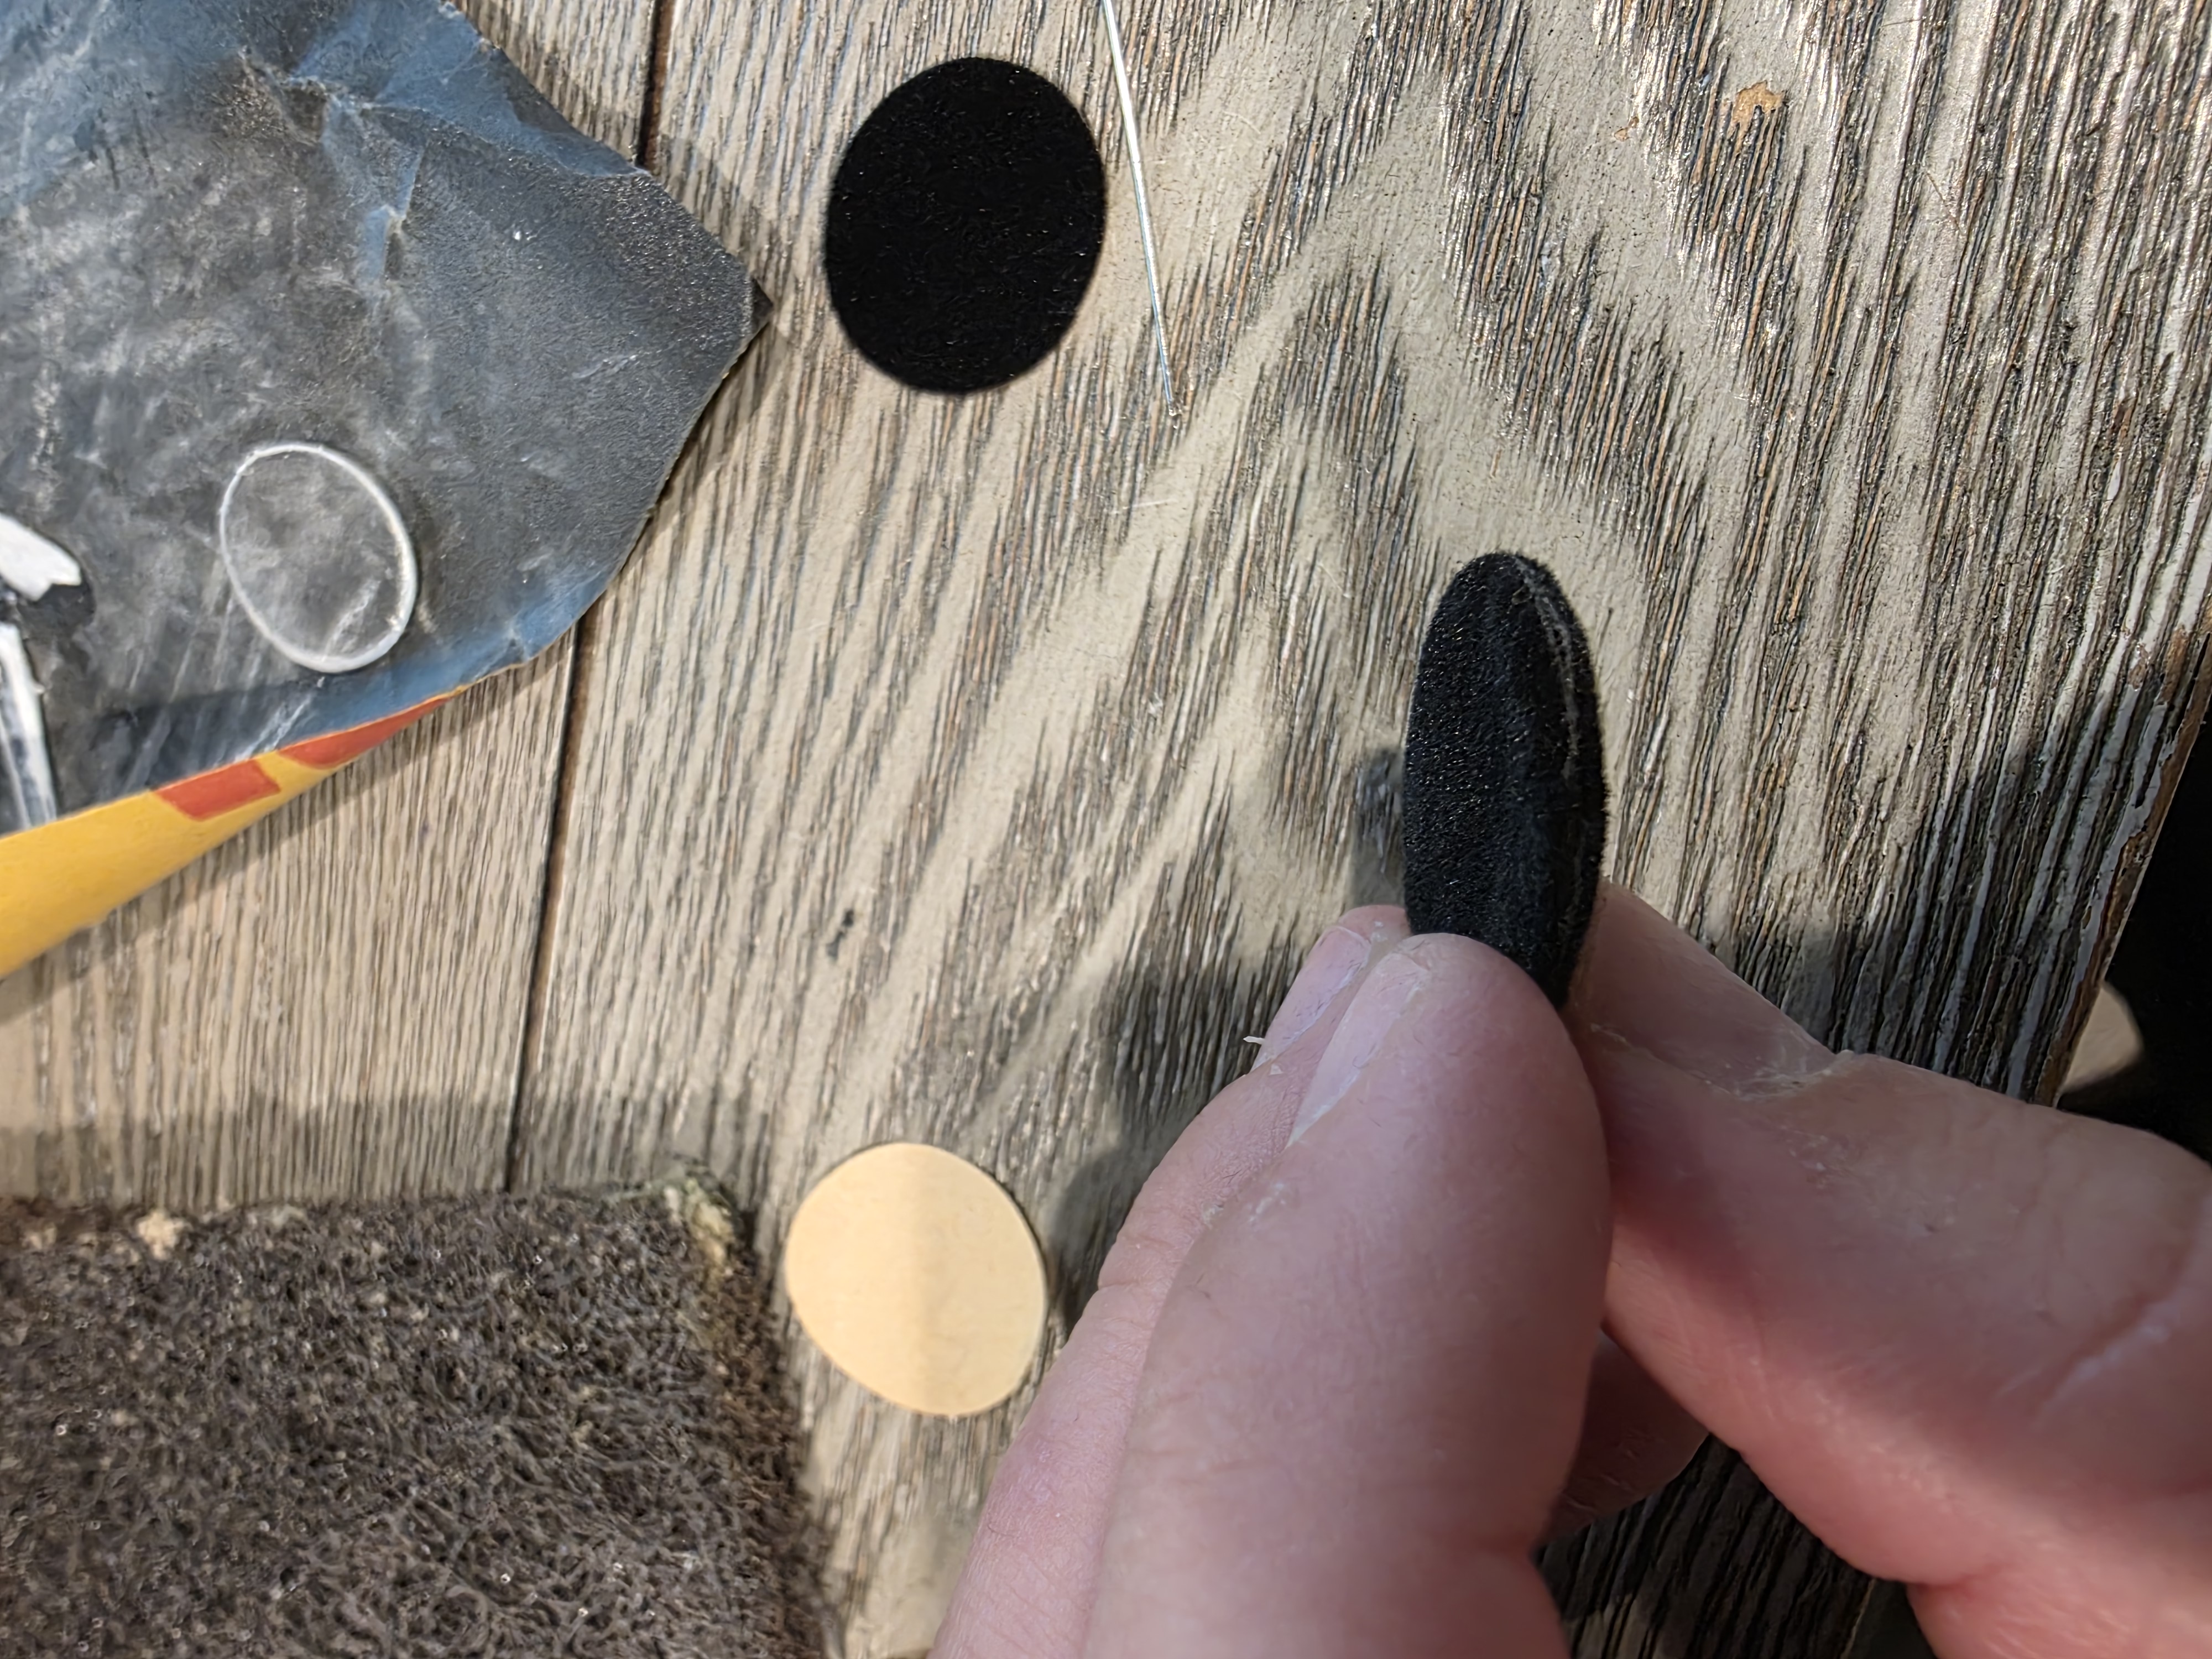
I then used my Cricut to cut out pupils from black velvet sticky paper. These are also 7/8″. A Cricut is not required, but it is my preferred method to get a perfect circle. A hammer and a punch works pretty well too.
I then attach the velvet pupils to both sides of the plastic disc created earlier.
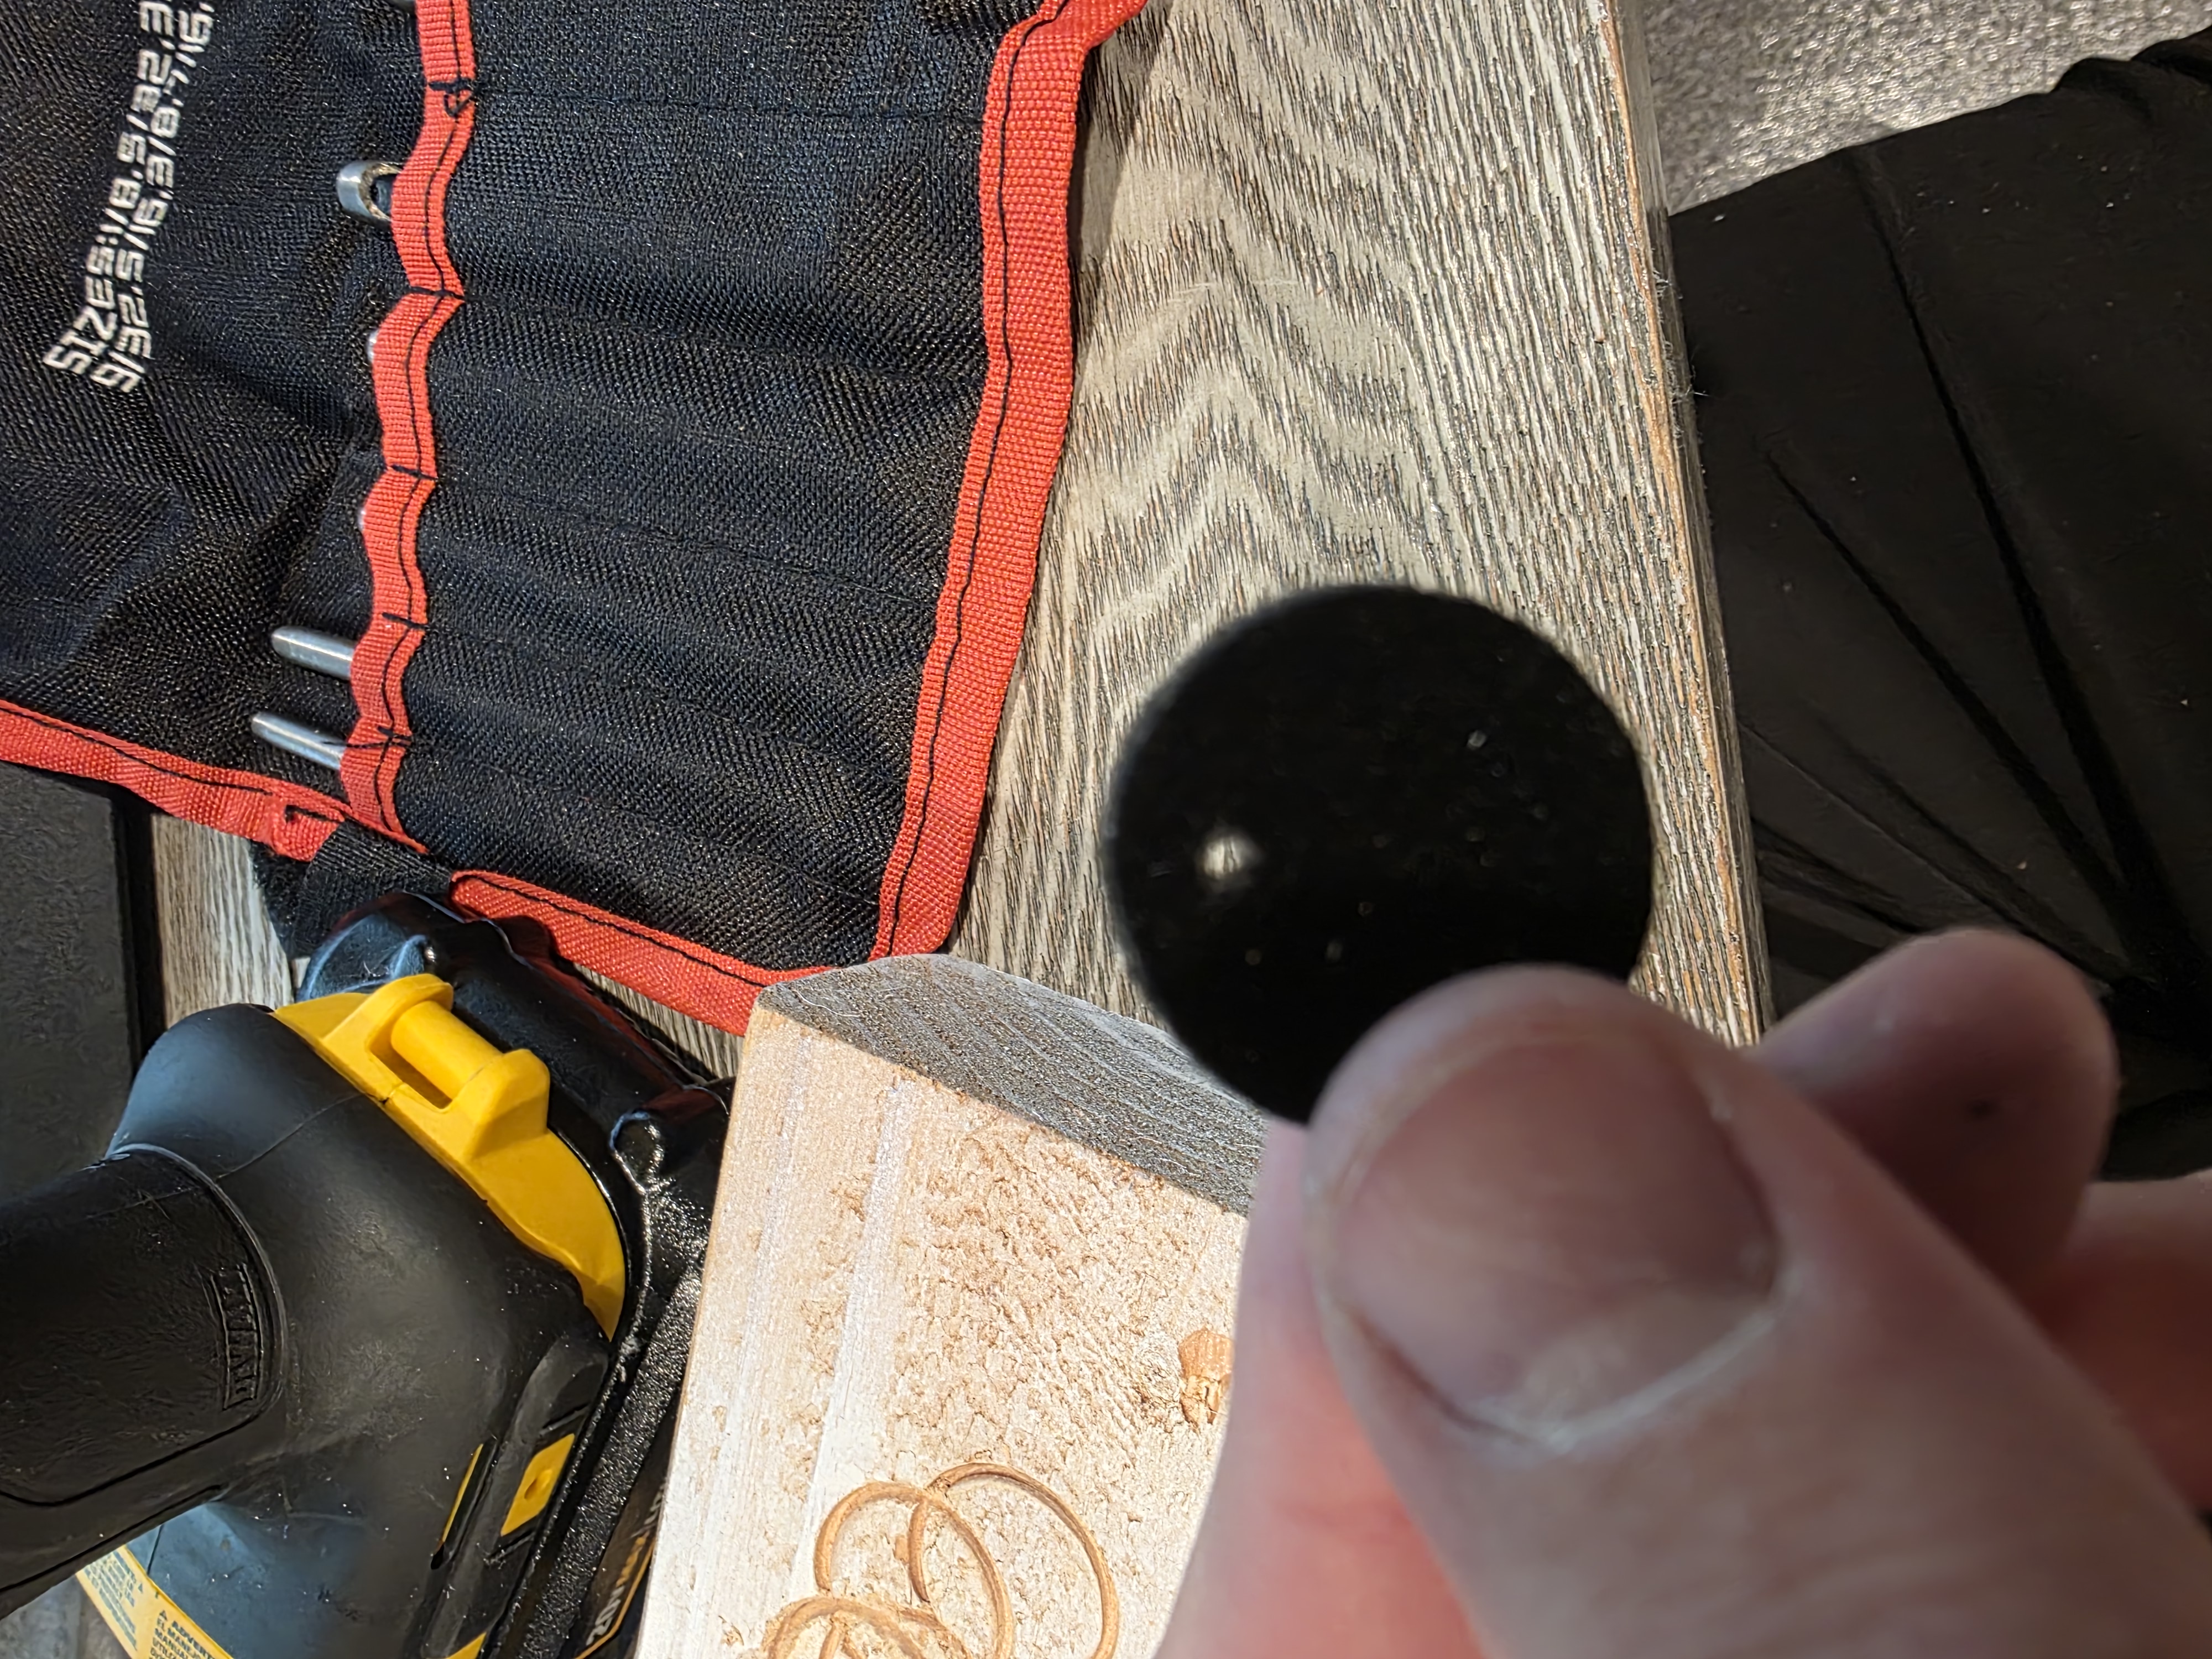
I then drill a hole toward the top of the pupils. This needs to be big enough to allow it to spin on a nail.
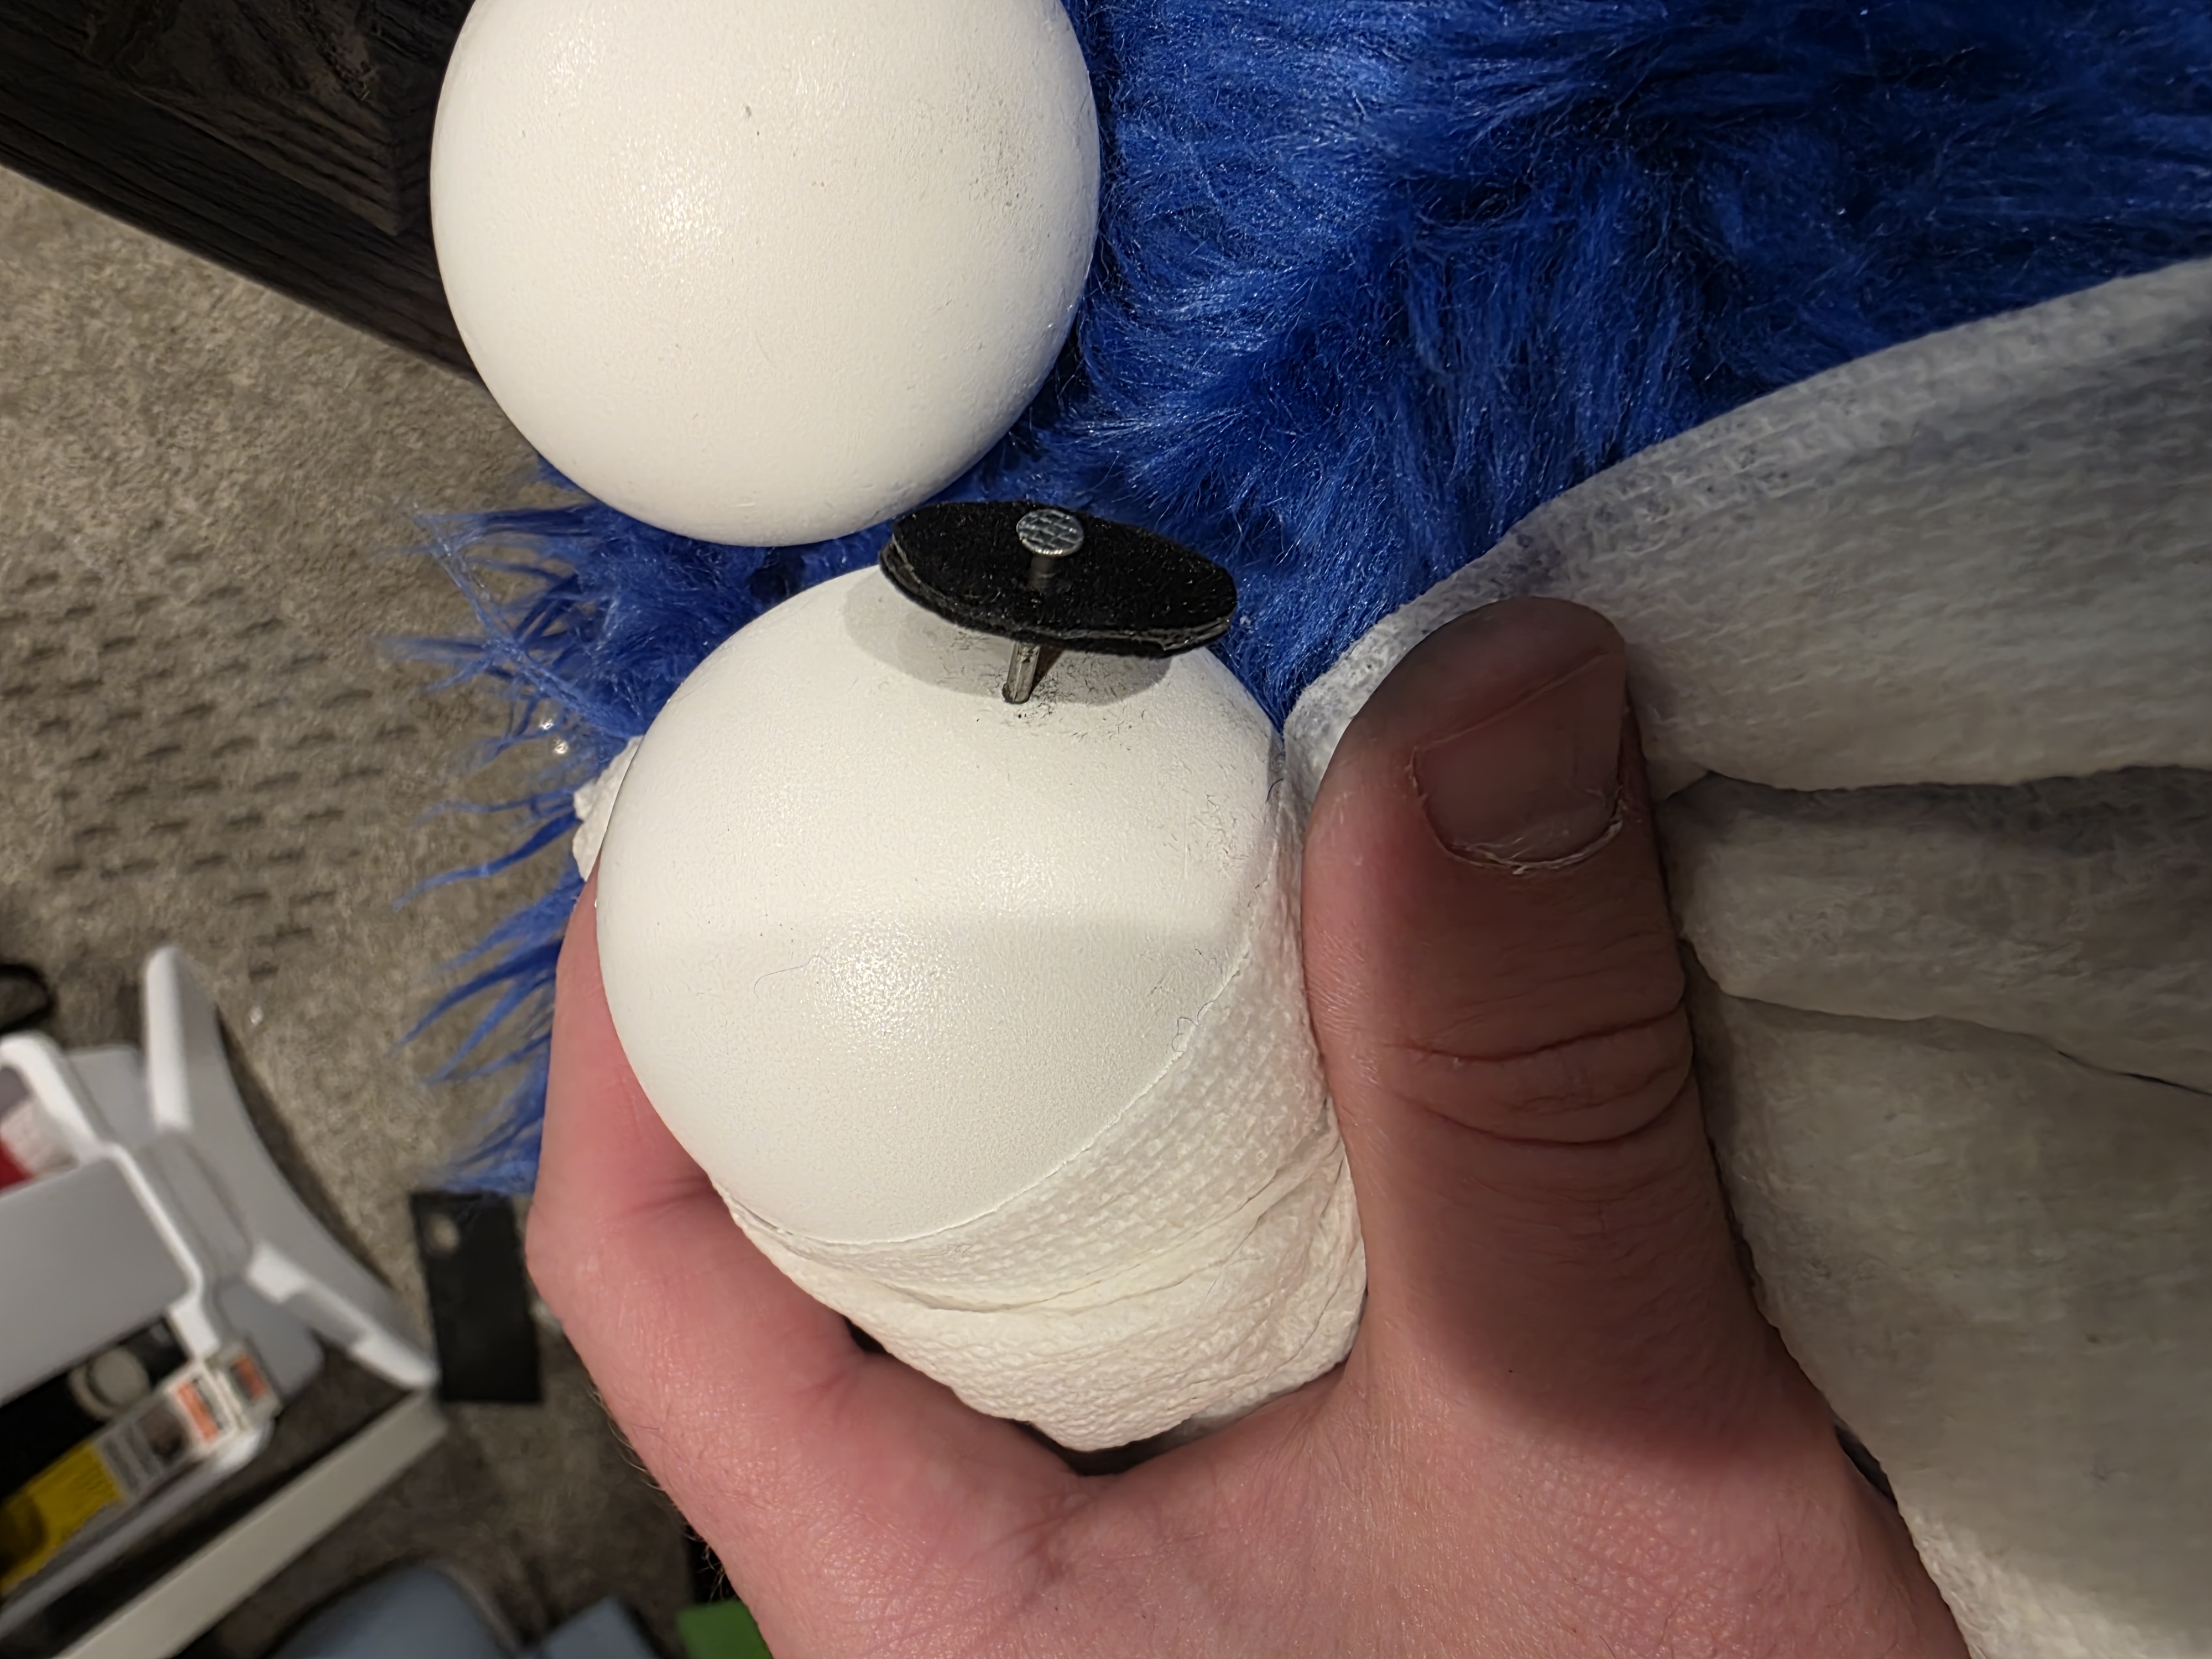
After the pupils are created, I used a pencil to mark a small dot in the hole of the pupil to align where I wanted the pupil to go on the eye. Once I had those markings, I drilled a small hole in the eye that goes through the ping pong ball as well as the wood dowel that’s on the inside. Then I used nails that were long enough to reach the wood dowel to nail it into as well as leaving a bit of room on the outside to allow the pupil to spin. Make sure the end of the nail is big enough to avoid the pupil from coming off. Gently hammer in the nail into the wood dowel.
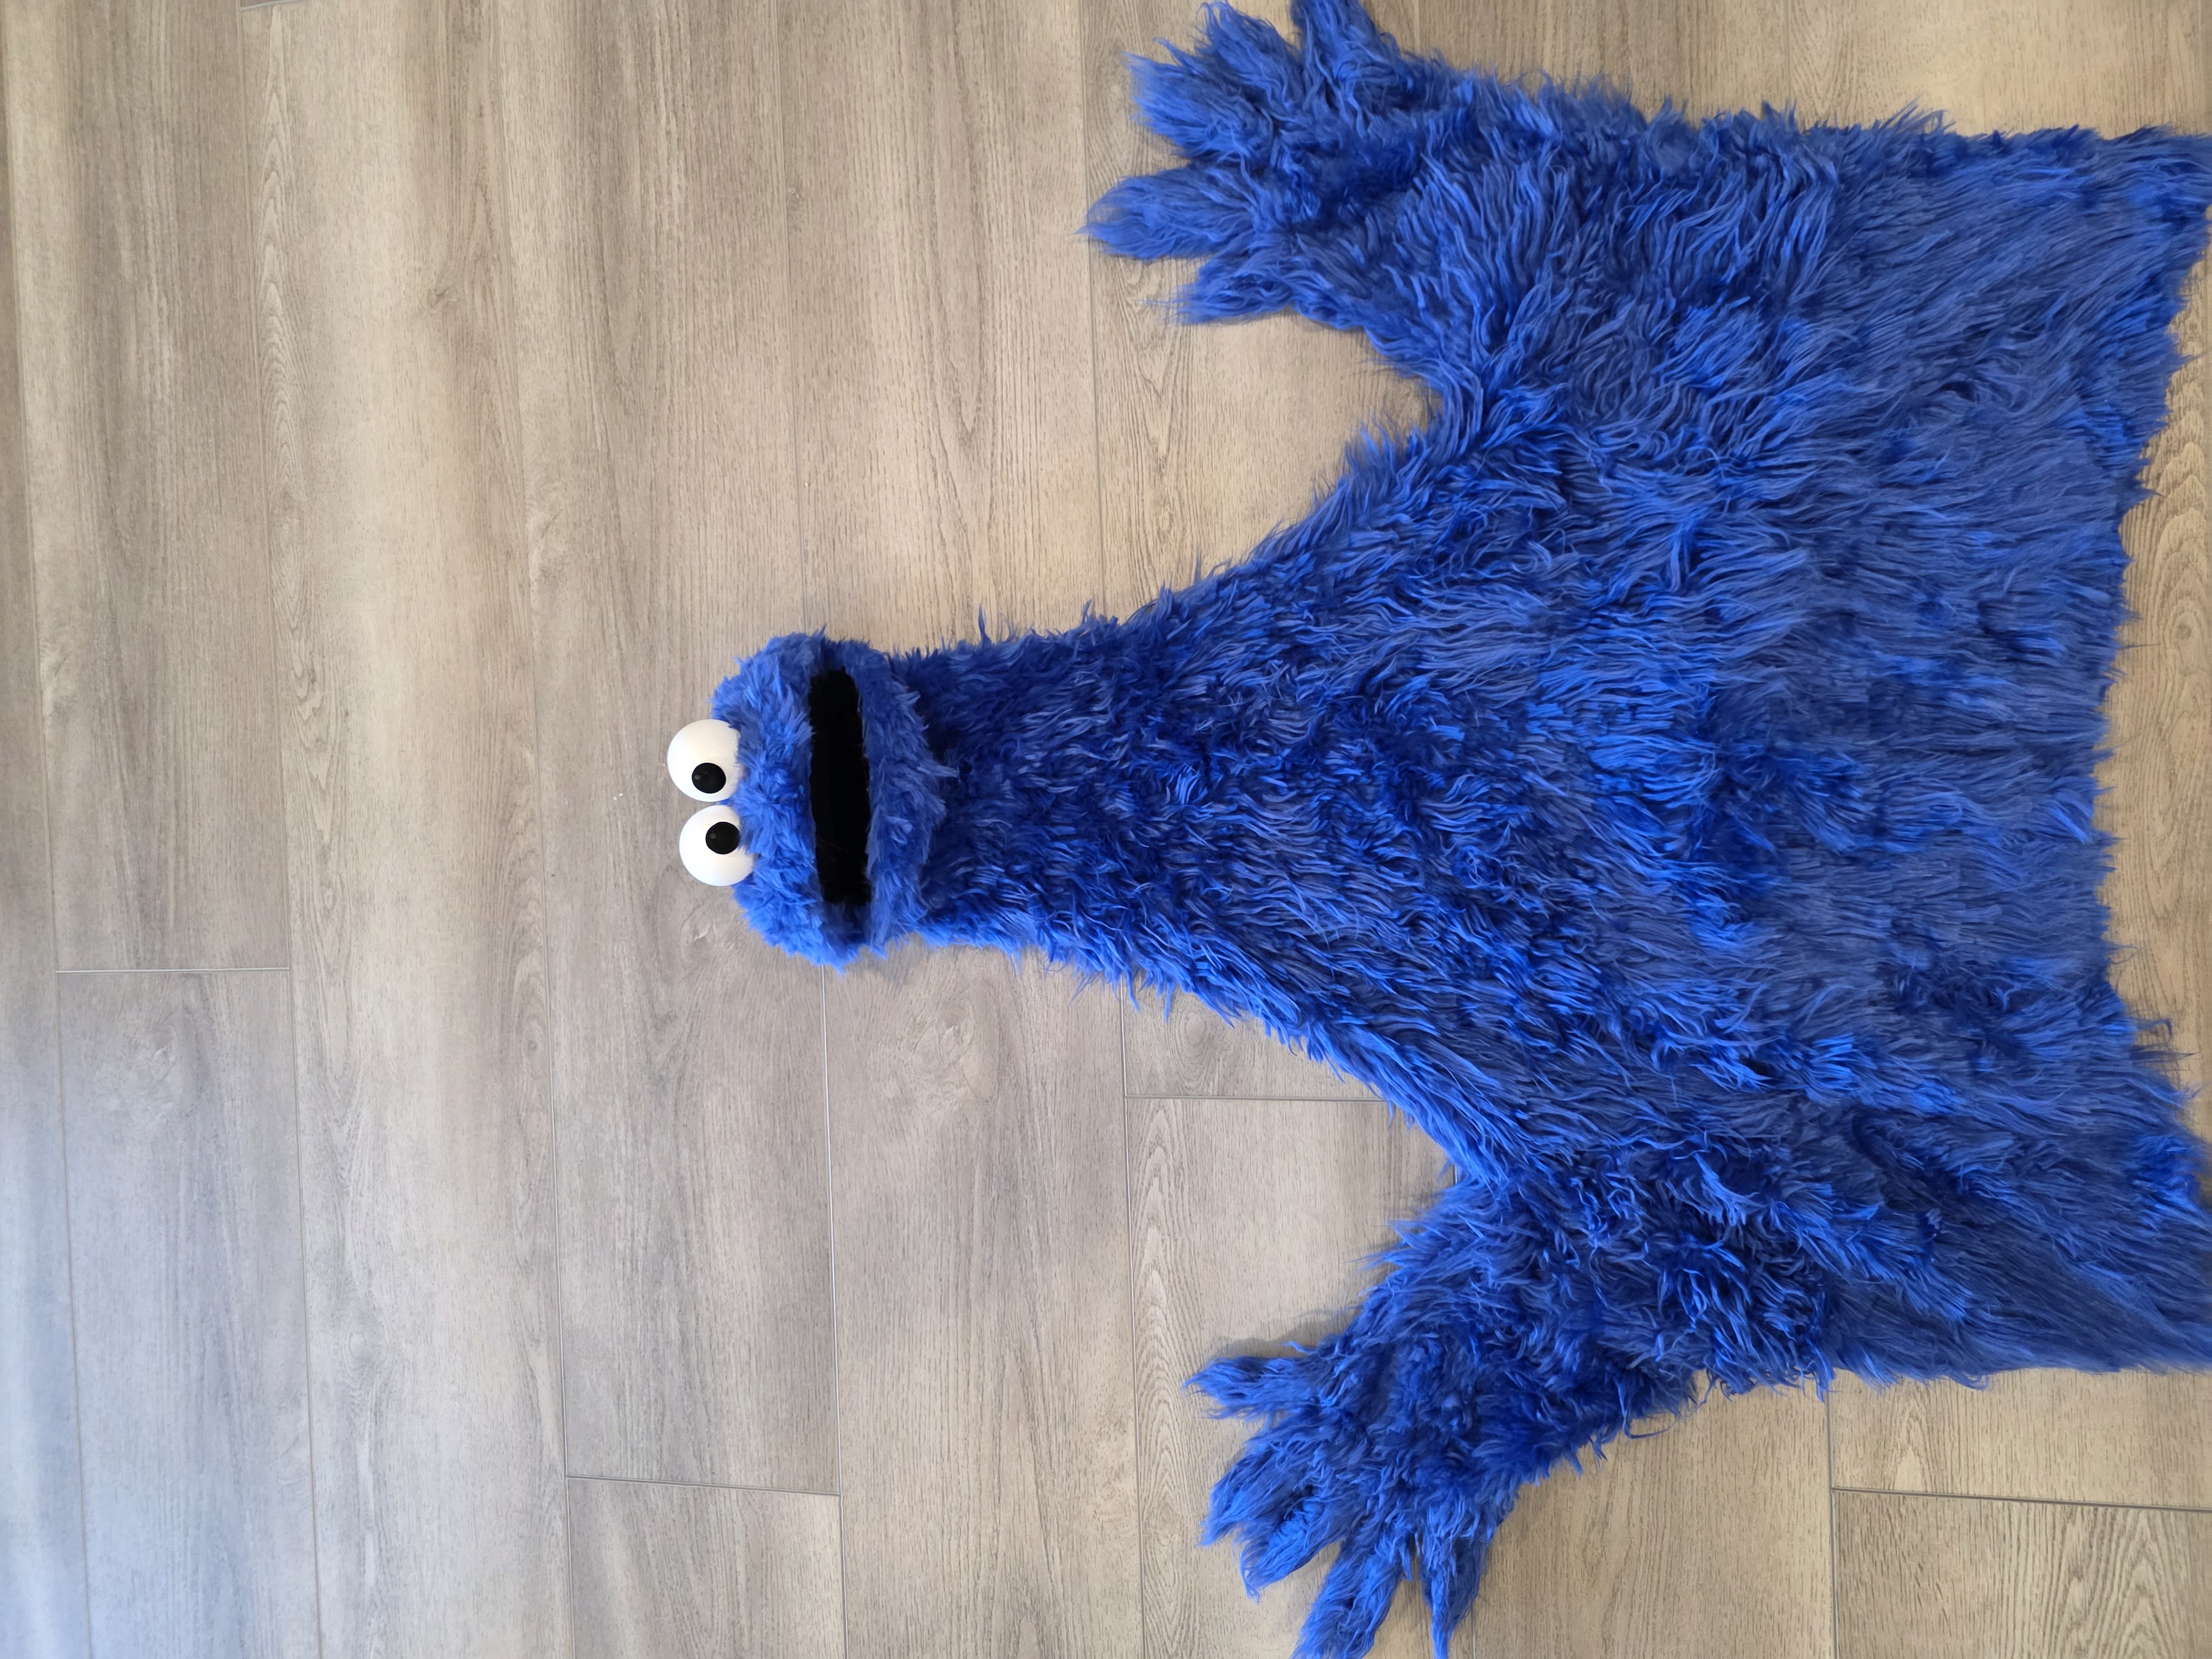
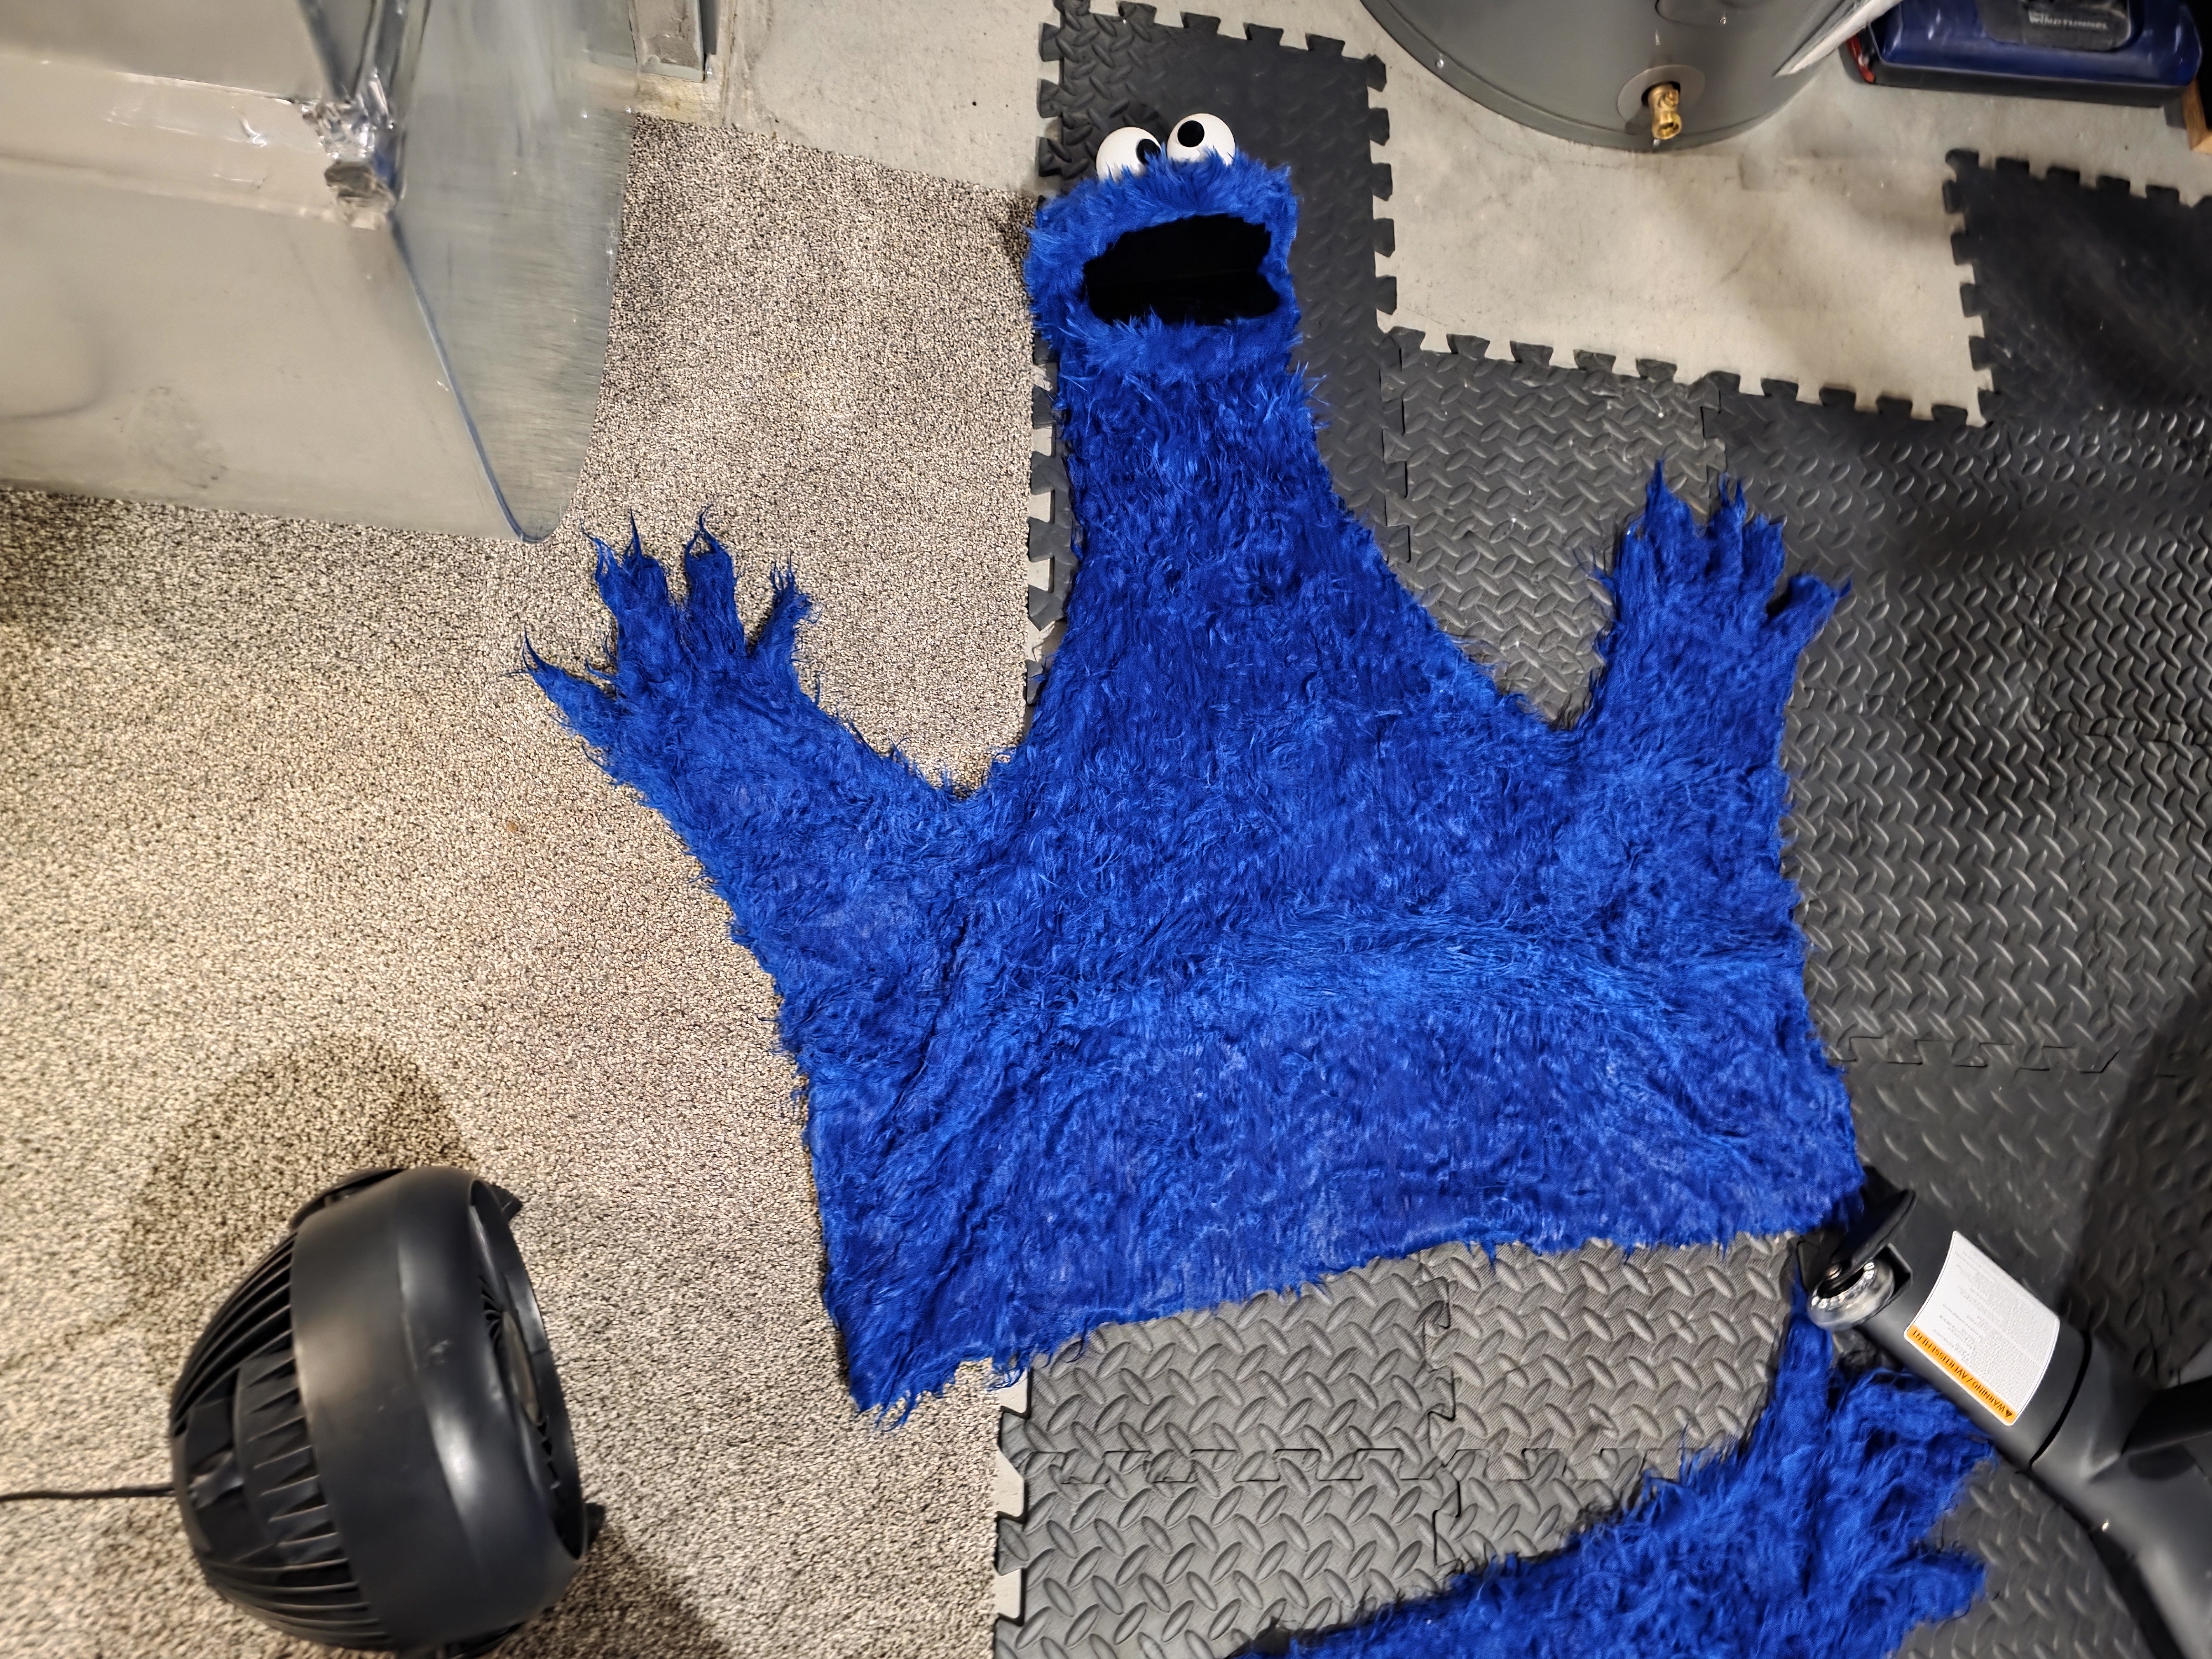
I then use a black paint marker to color the end of the nail so it blends in with the black pupil. After this, the construction of the puppet is done, but now it’s time to give it a big trim. I had to trim everywhere since the fur I used was so long. It’s important to trim the inside of the hands very low to give the individual fingers definition. Keep the finger tips long to mimic the real Cookie Monster.
After I was satisfied with the trim and vacuumed all the loose hair off the puppet, I then dipped him in the bath tub with hot water and gave him a scrub with my hands. I do this to help blend the seems better as well as matting down the faux fur again. I let this air dry with a fan on him over night.
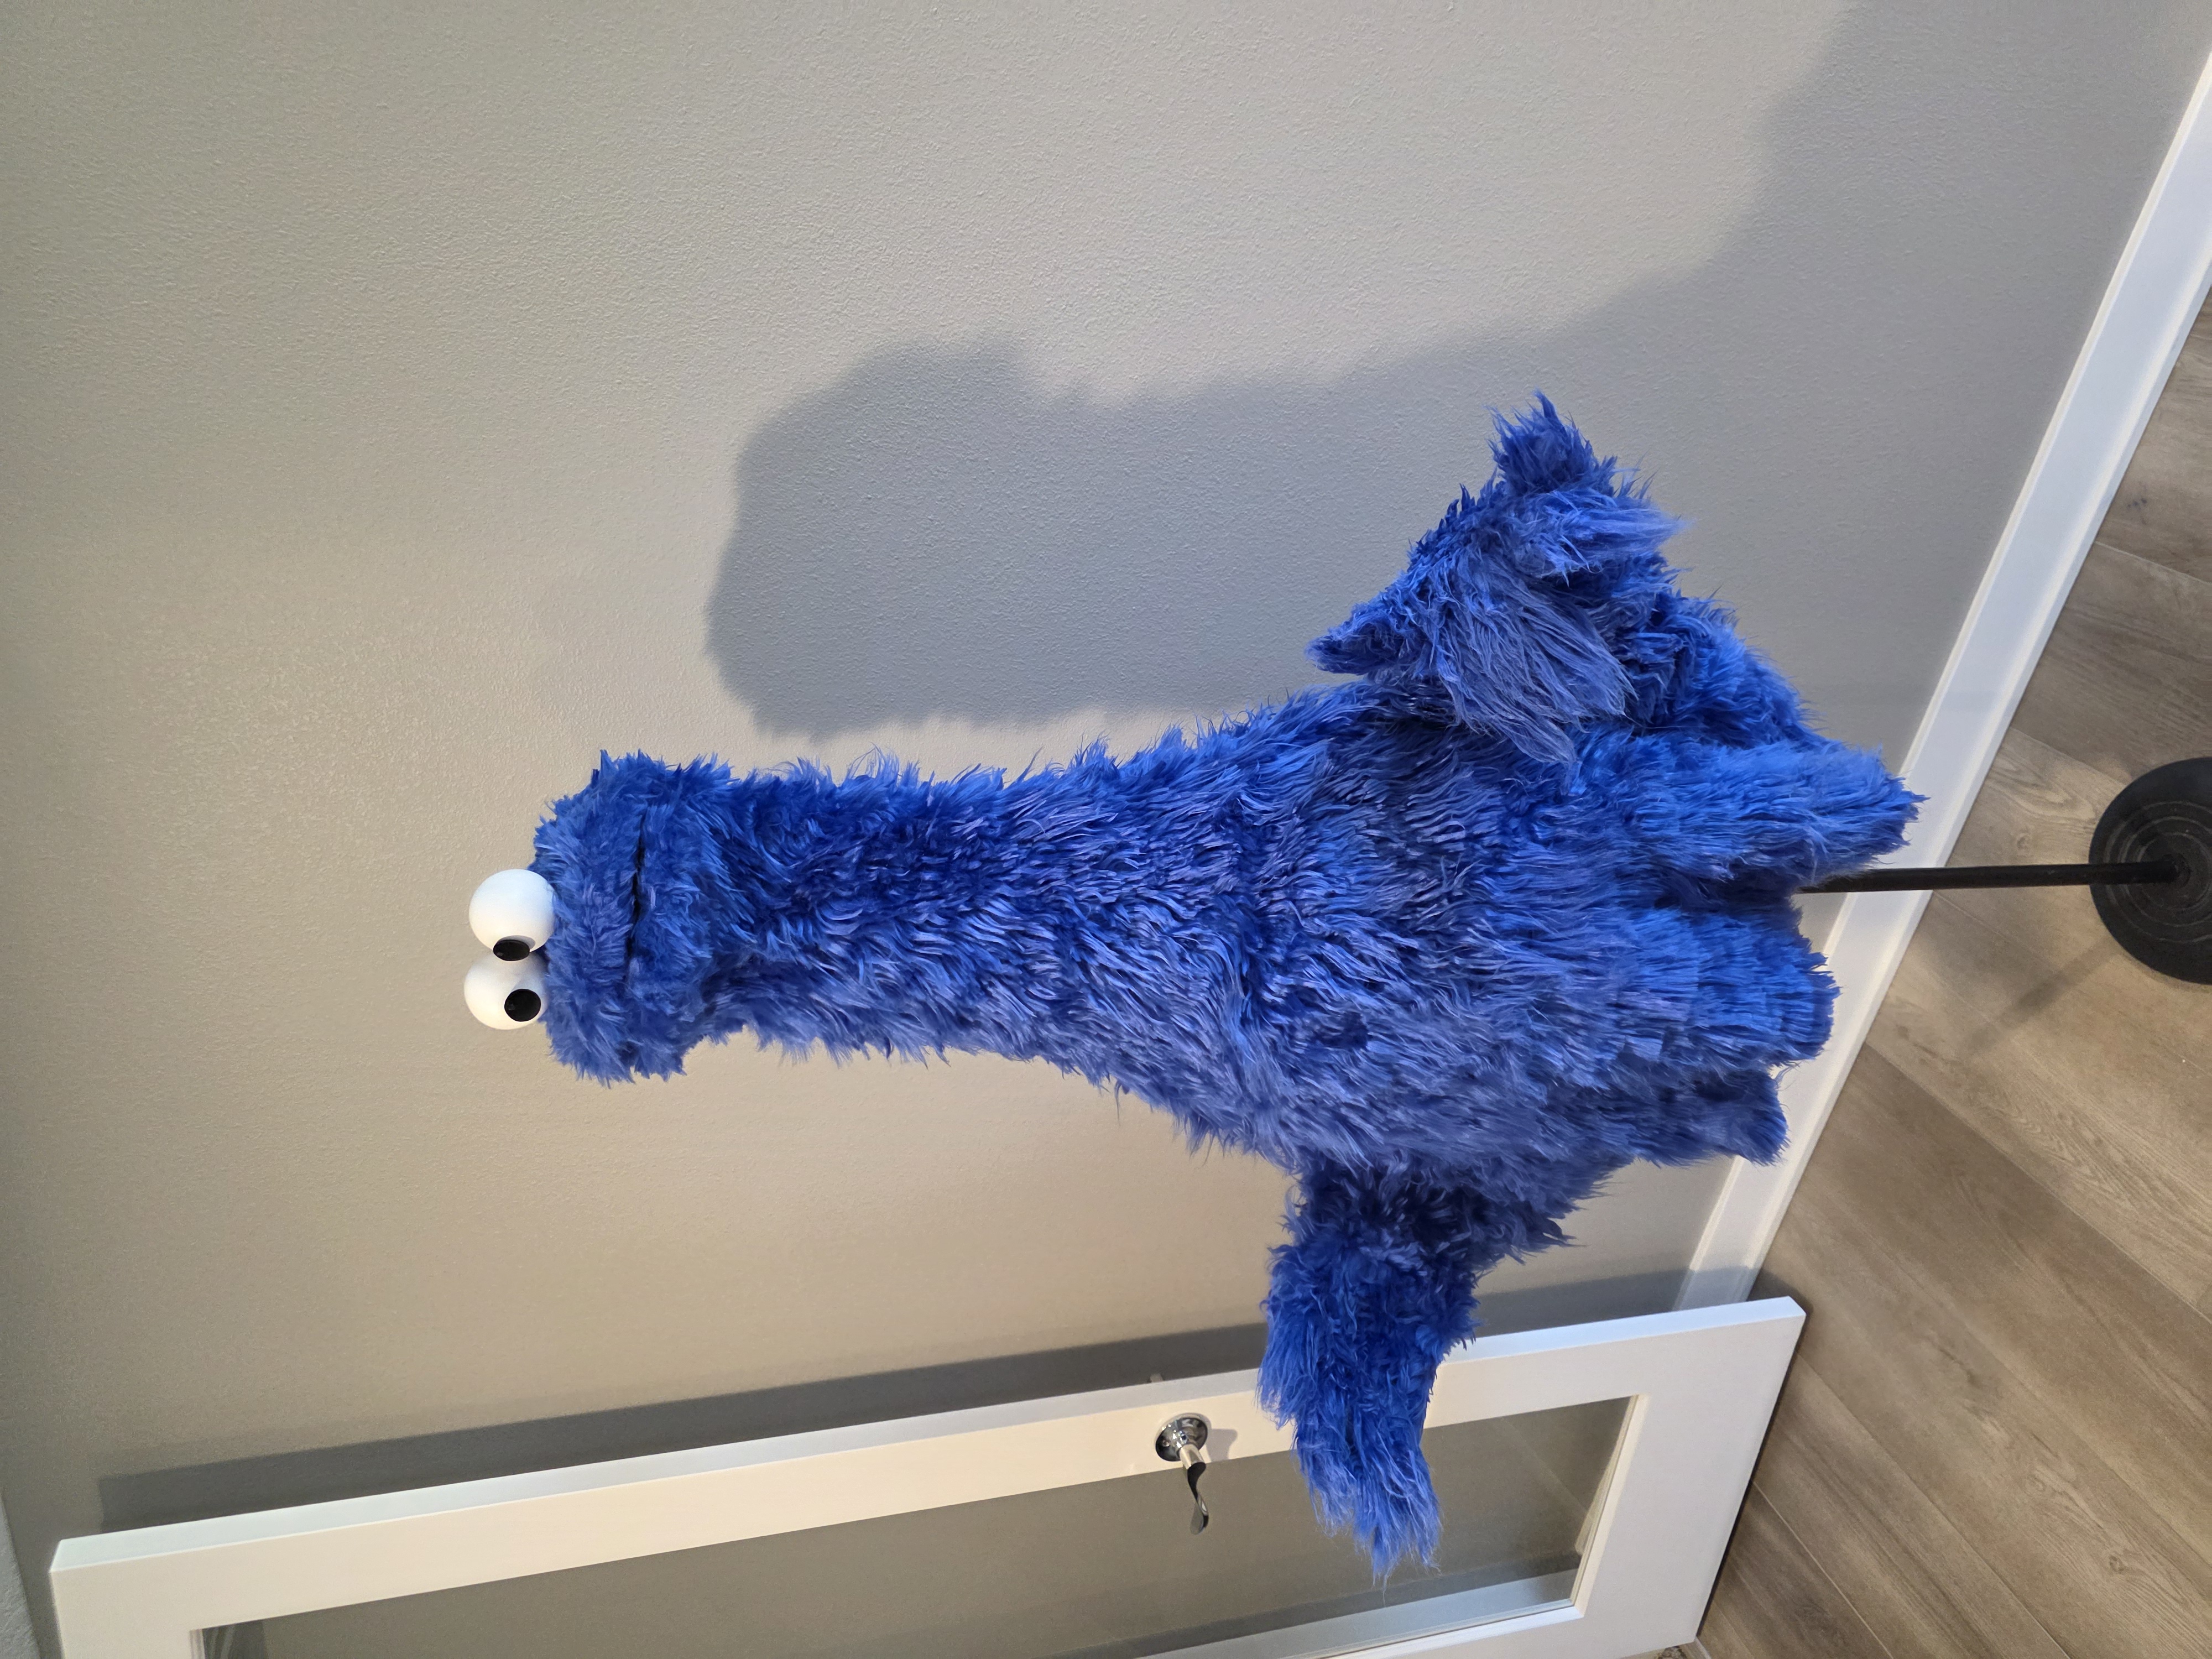
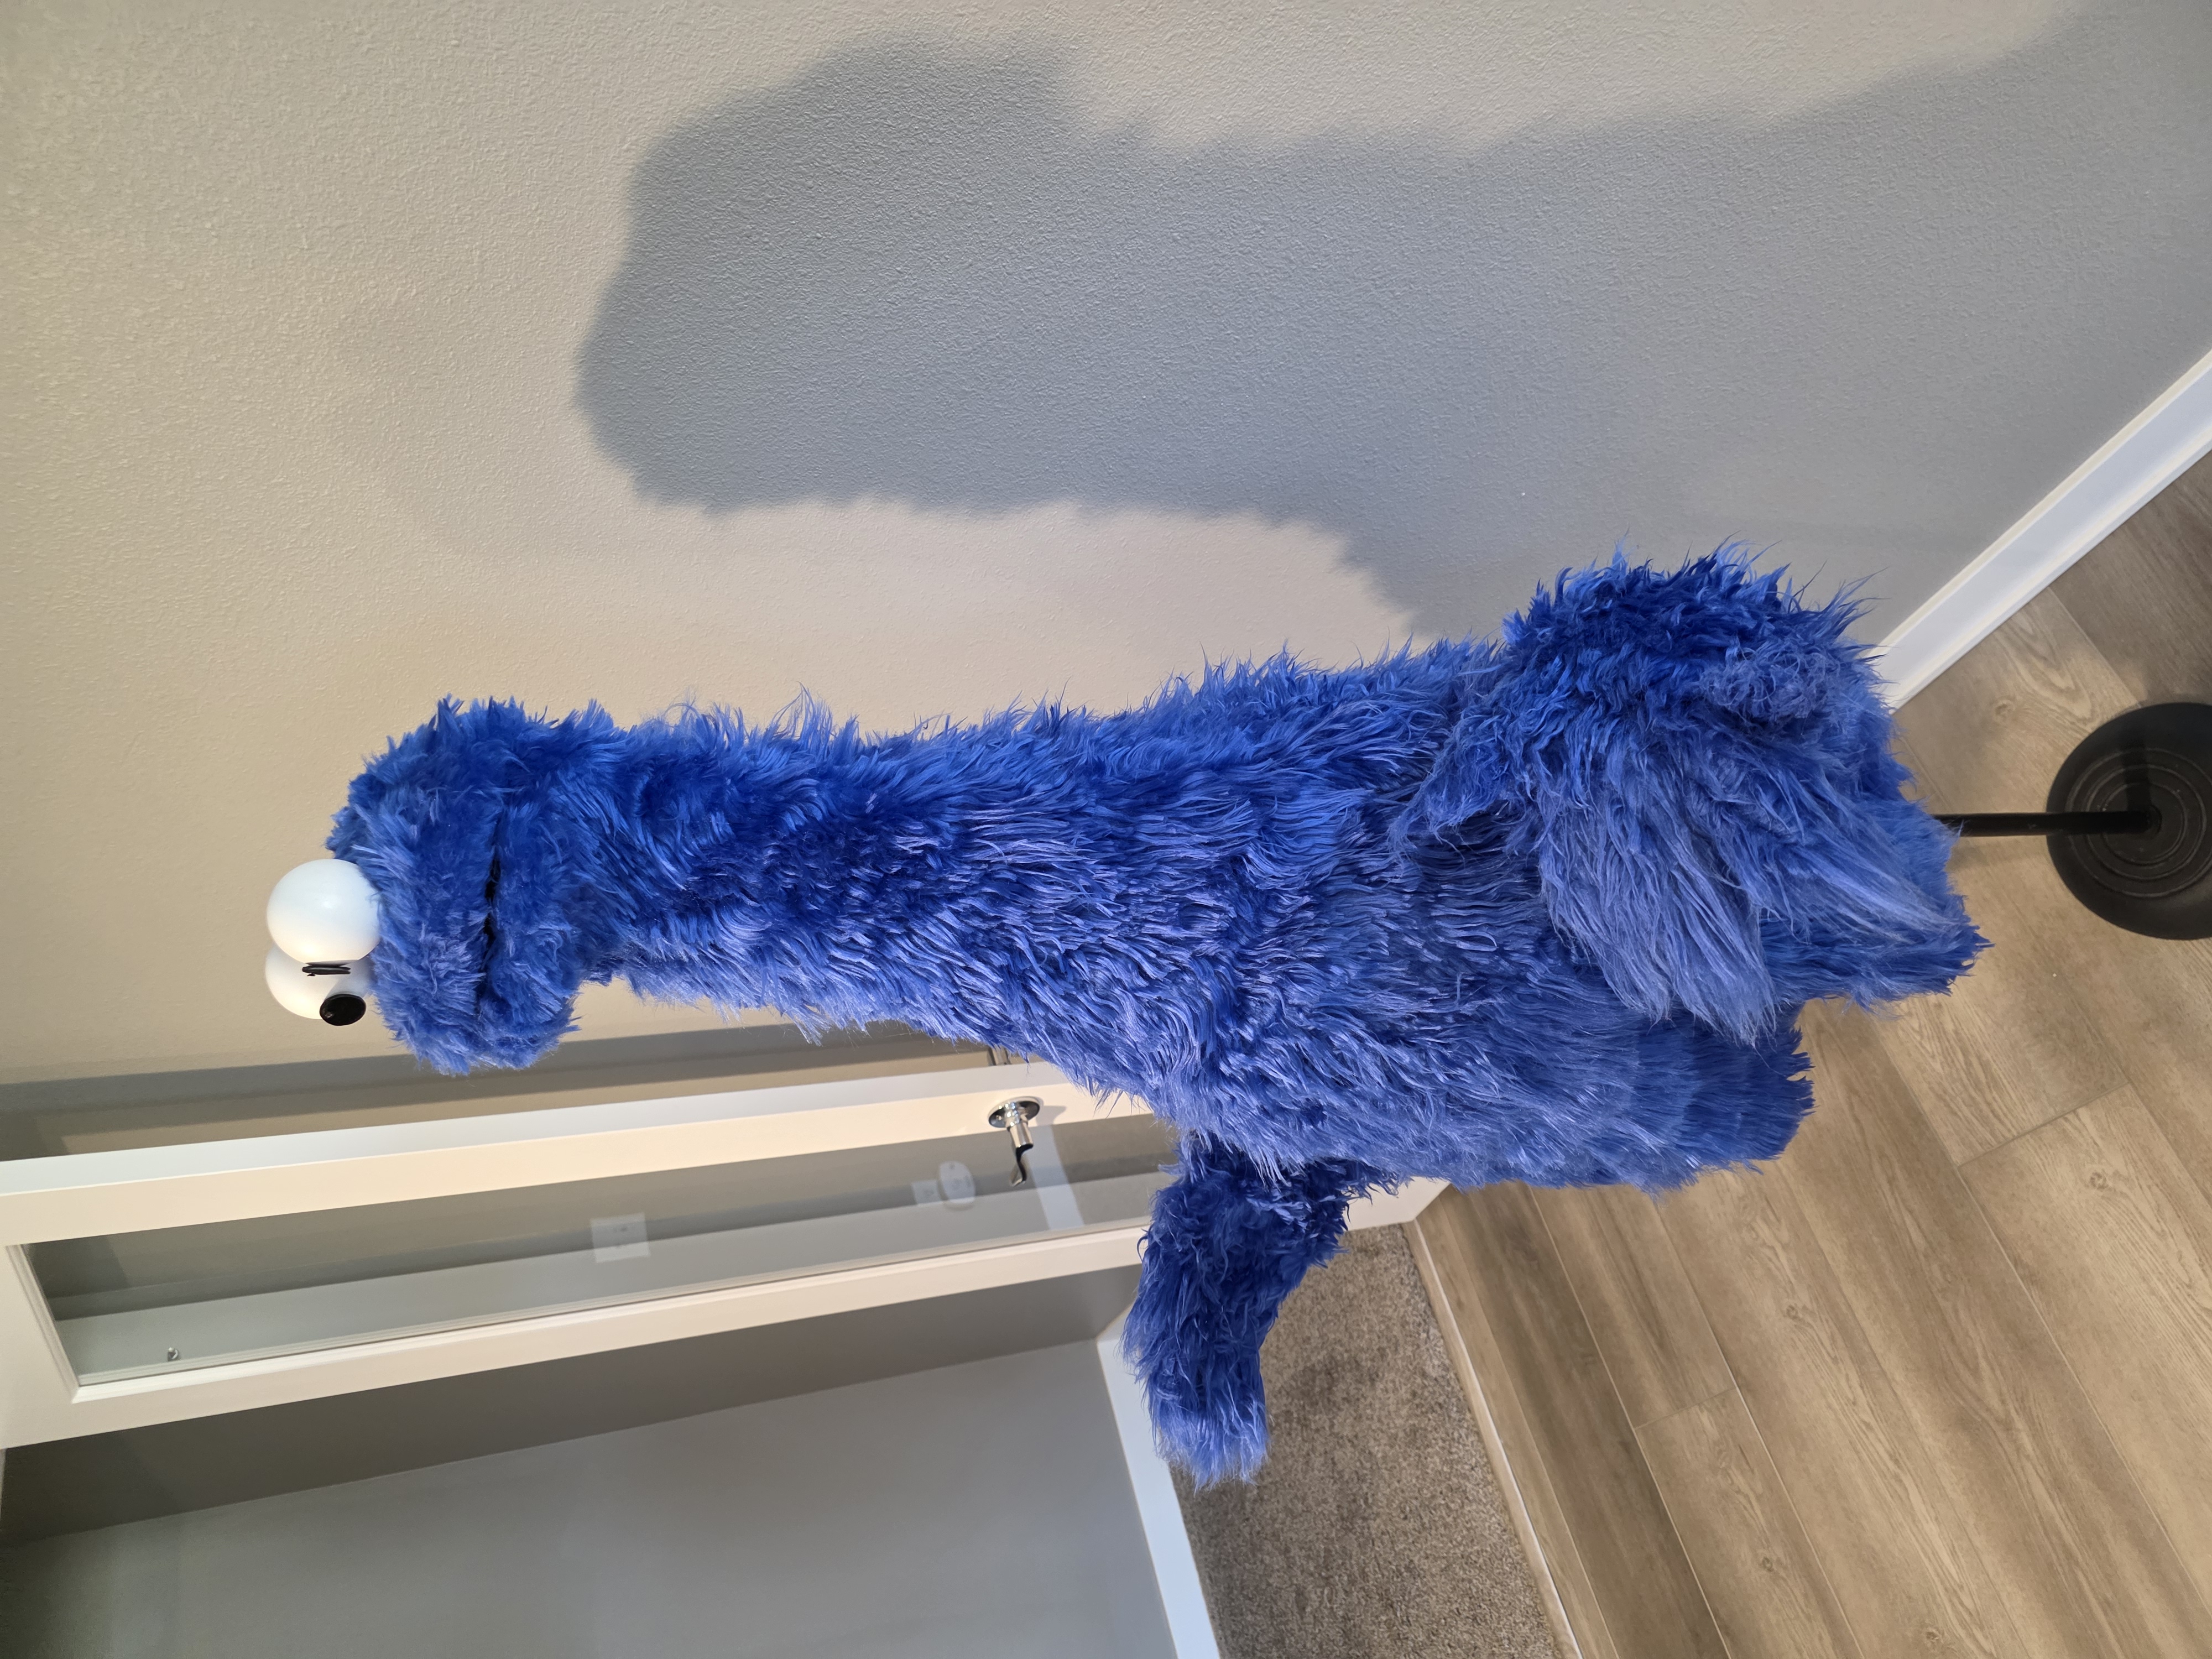
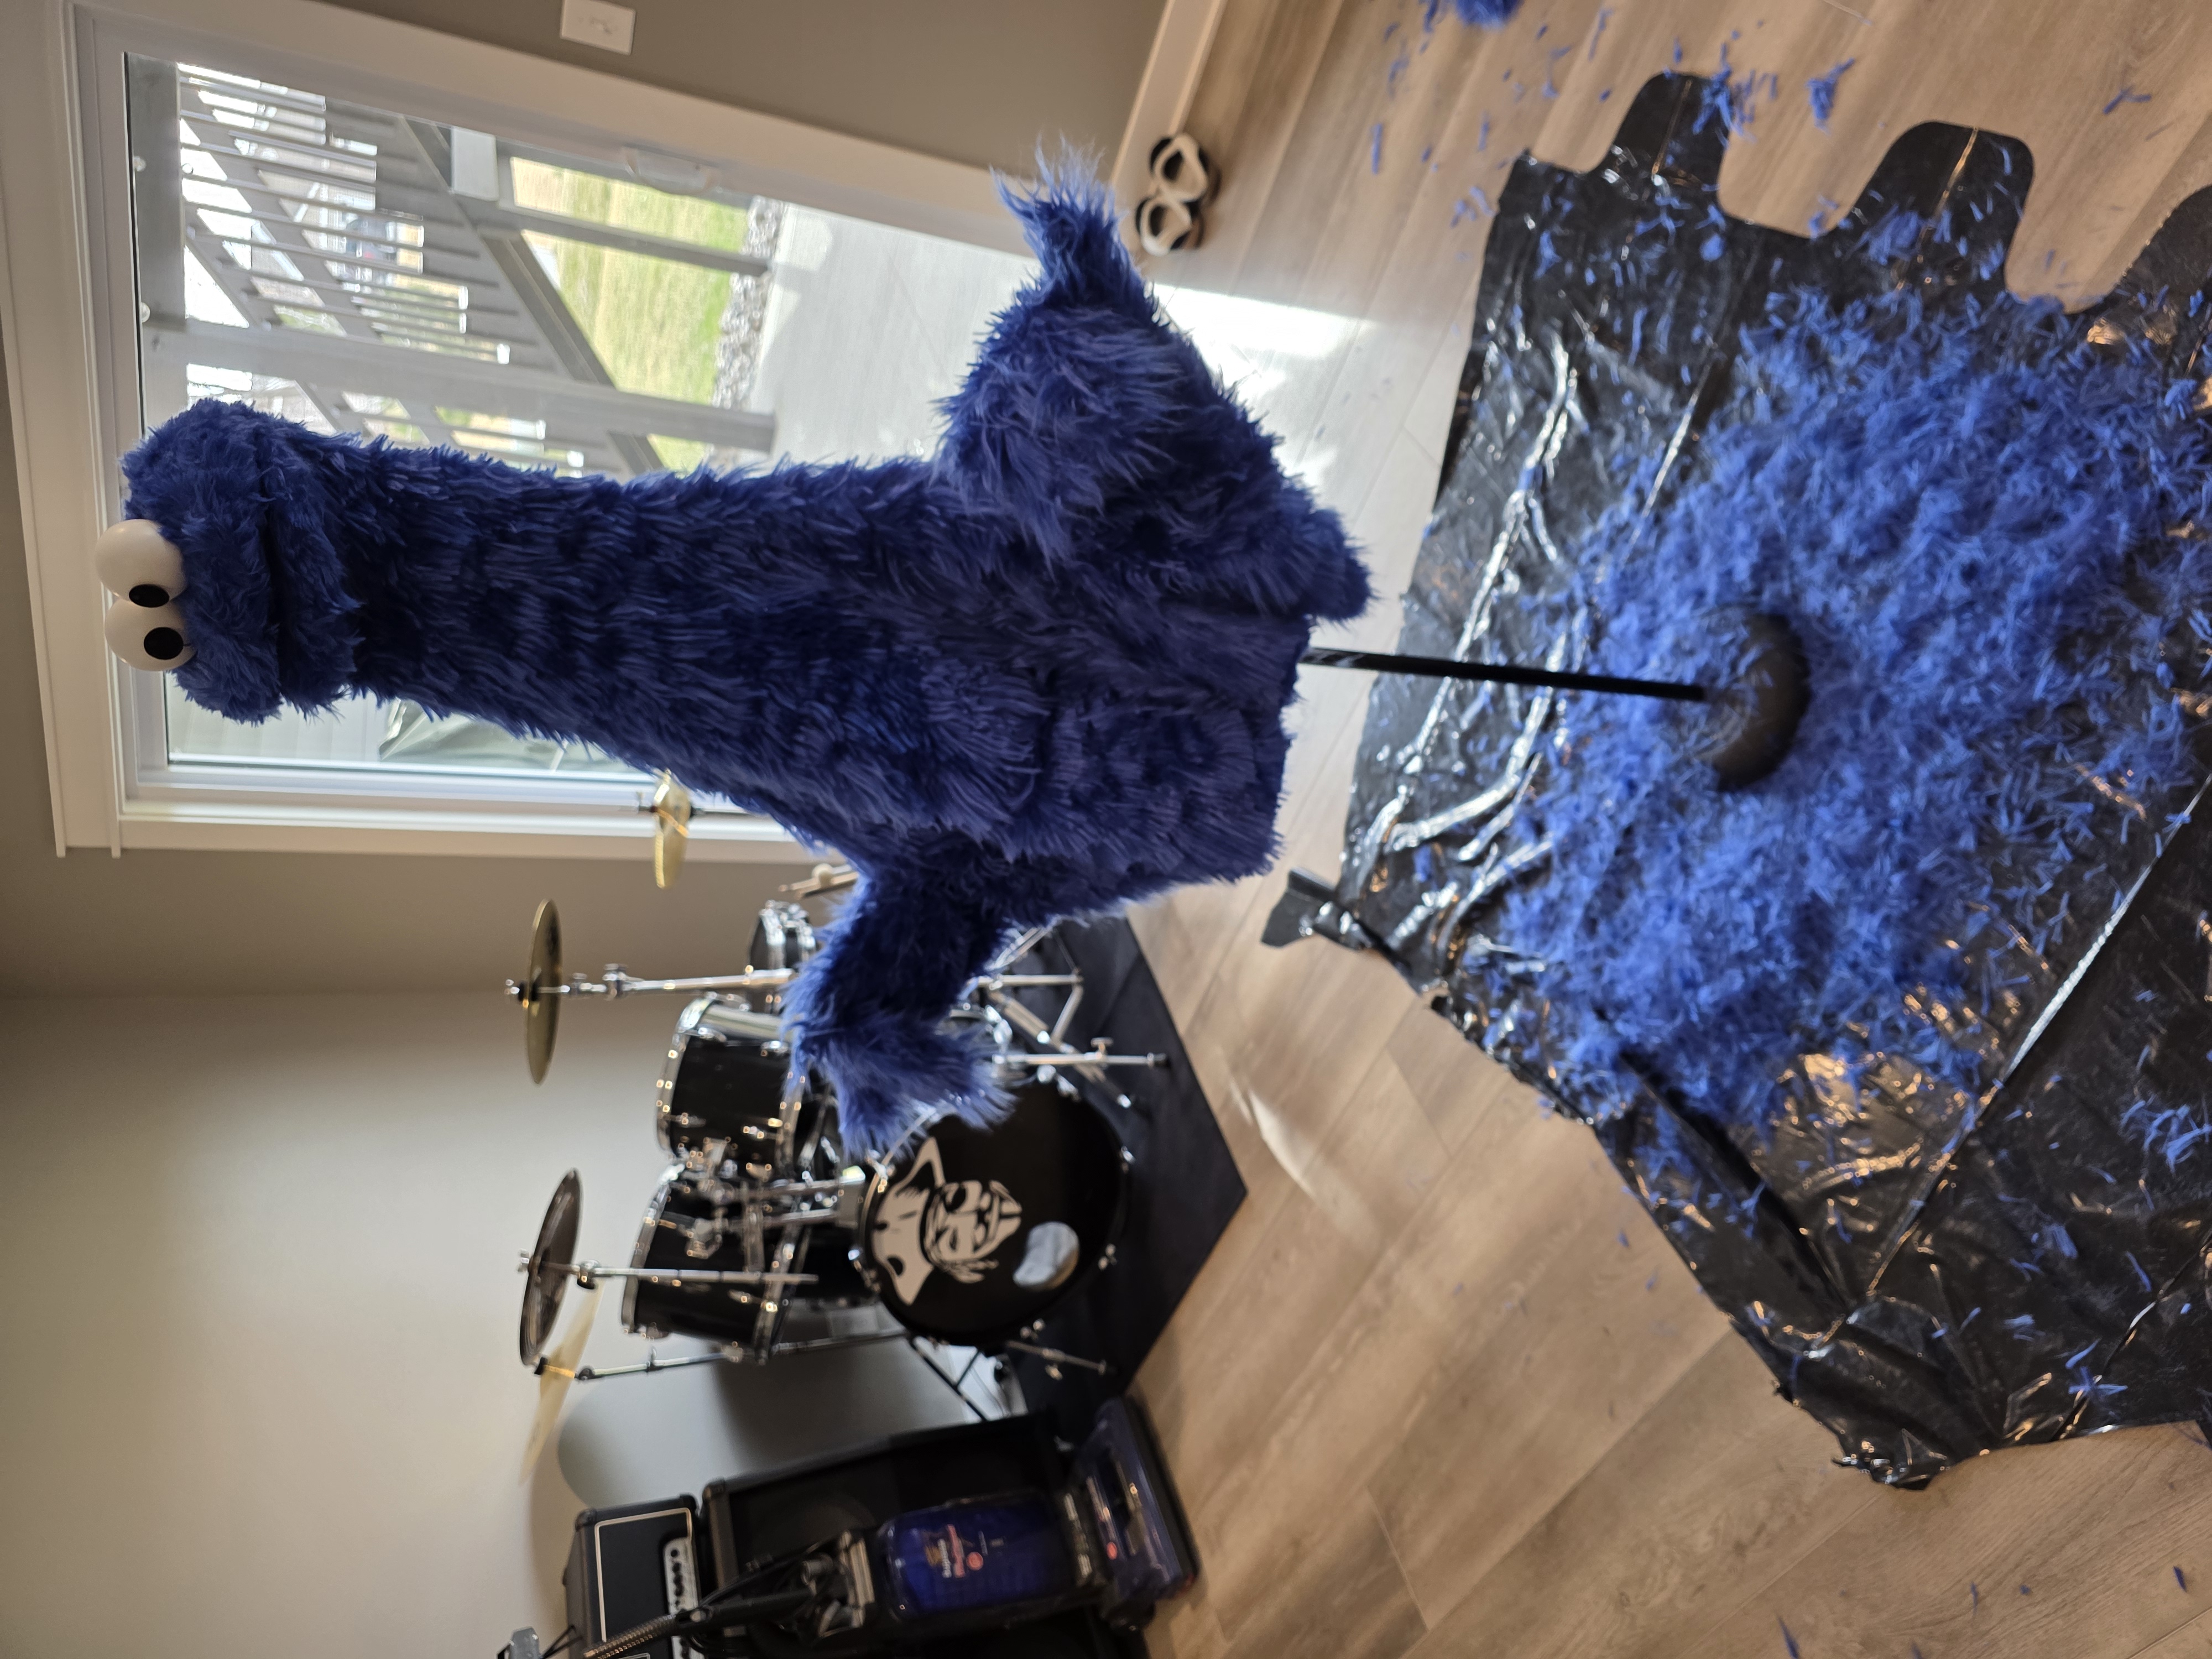
After he was all dry and doing a few touch ups, we received the final product!