Abby Cadabby Replica Puppet Build
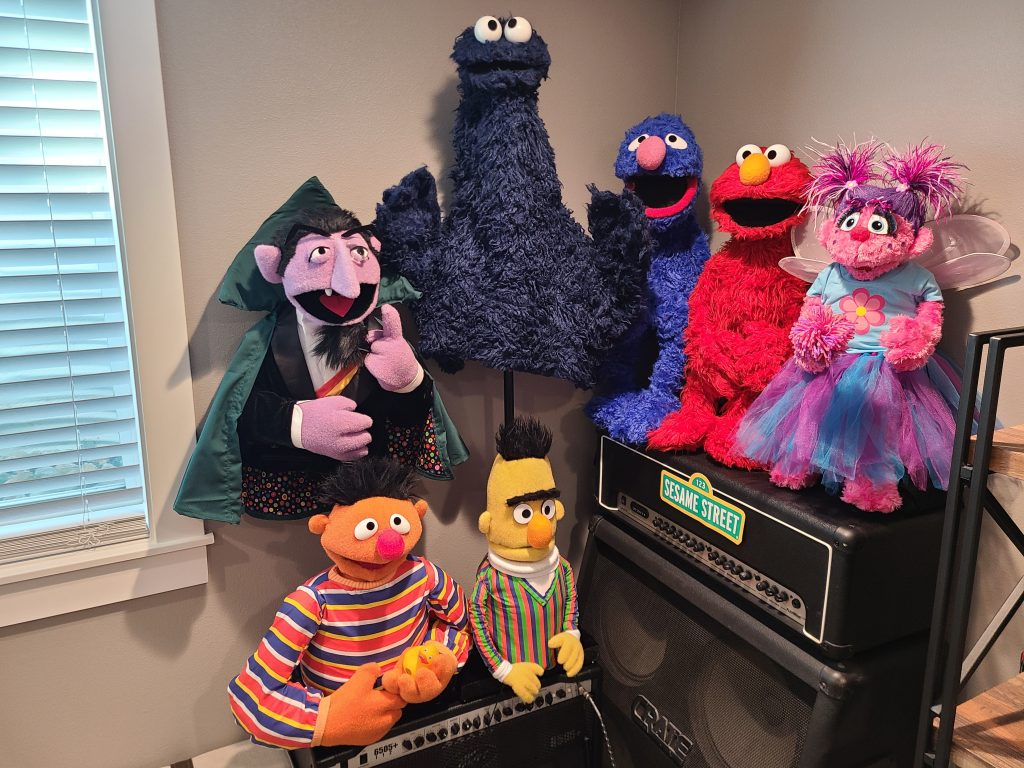
Replica Builds, Sesame StreetThis is a quick image guide on how I built my Abby Cadabby replica. I tried to provide a lot of pictures for you to give you ideas on how you can build your own. This has been by far the hardest project to date. There is no information out there on the materials used or anything. I have only seen one other person make a replica of her. I probably built everything at least 3-5 times trying to get it right. She still is not exactly like the real puppet, however, I can live this one. I would have killed for a write up like this before my build, so I hope this helps somebody out there. Enjoy and feel free to ask me anything.
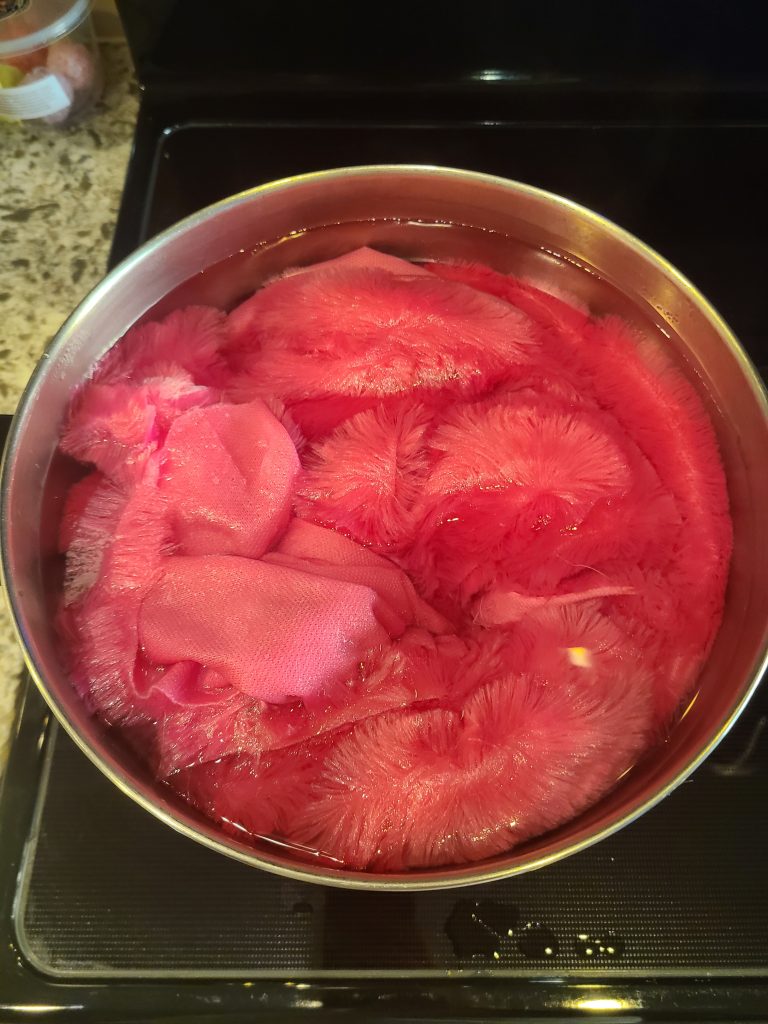
Boil faux fur. This is a short faux fur that gets heavily trimmed later.
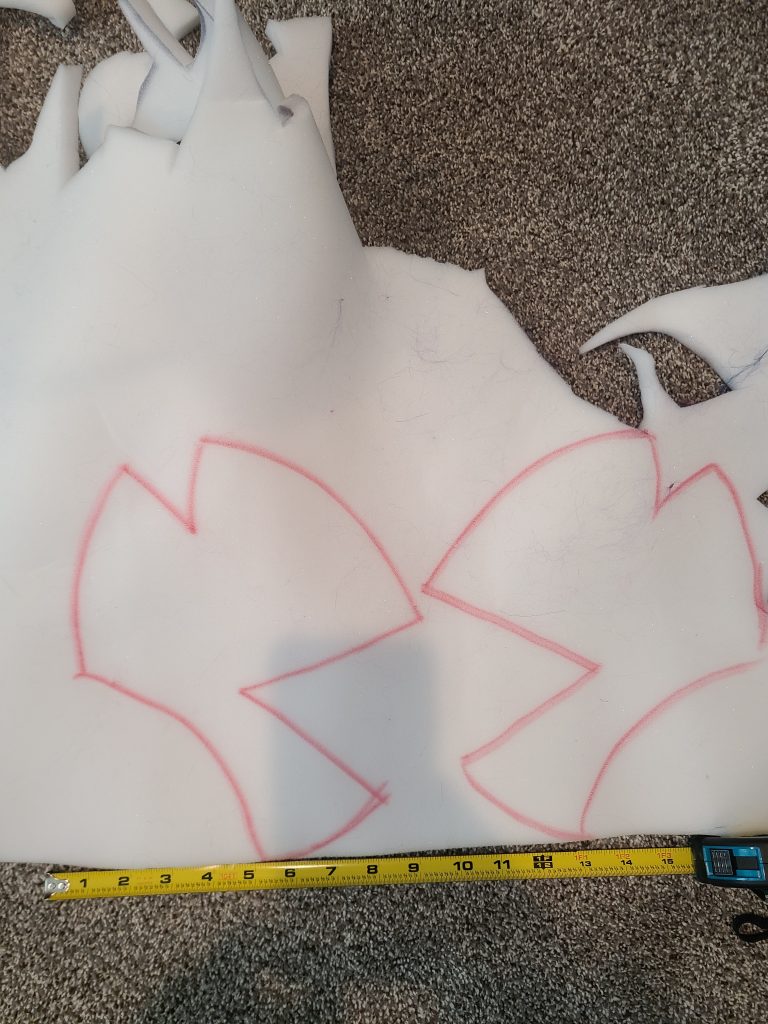
Designing foam skull. Please note that I went through at least 5 different shapes and sizes and scrapped them all before coming up with this one.
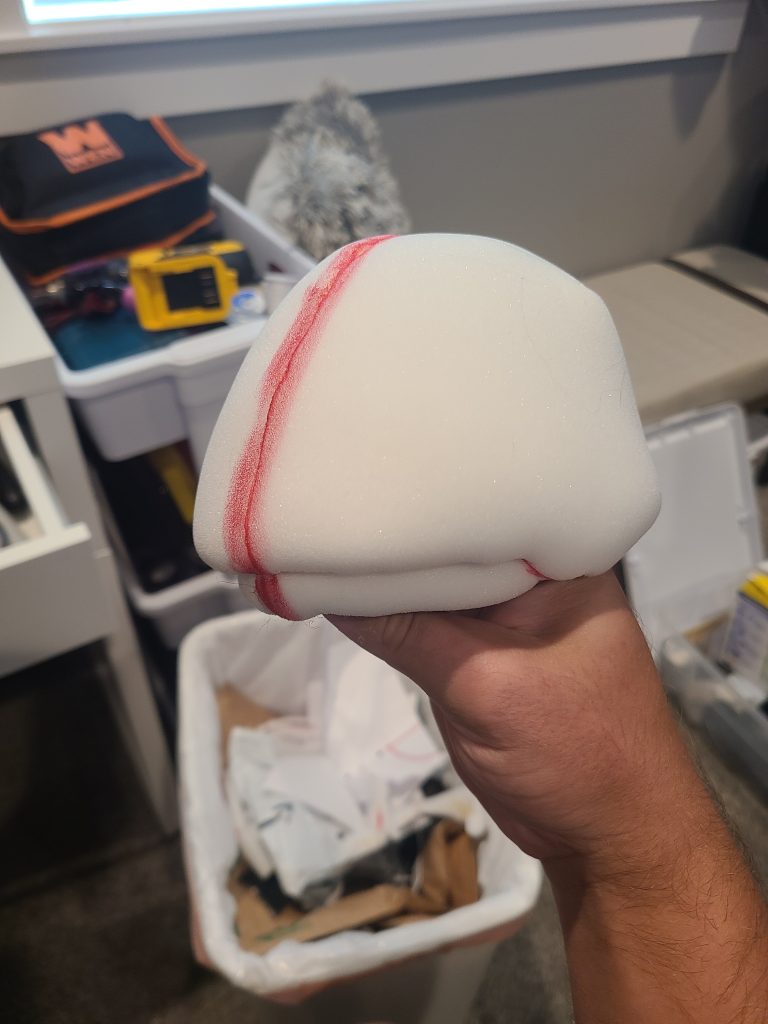
I also glued portion of the mouth pieces together to develop cheeks. I also rolled in the jaw/chin to create an overbite as well as trimming some of the foam away to get the best head shape. I added poly boning inside of the foam skull to manipulate the head shape even more. I created the mouth plate from storage bin plastic and gaffers tape. I glued in the mouth plate to the foam skull. I forgot to snap a picture of the mouth plate design, but I have the paper templates if someone needs them.
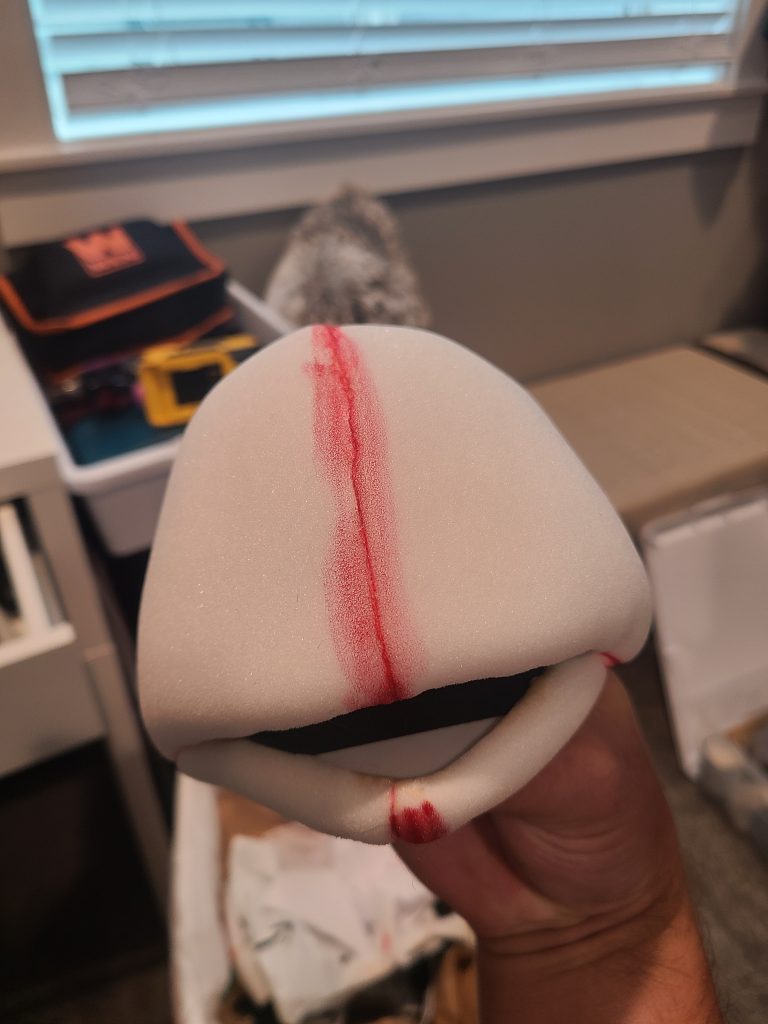
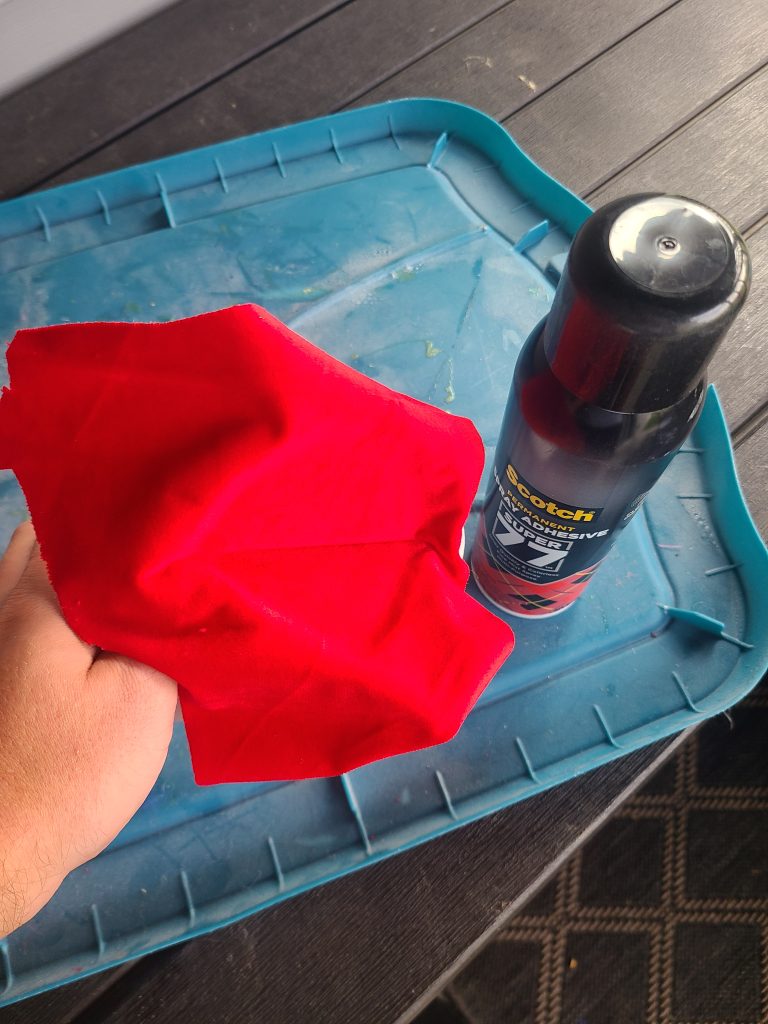
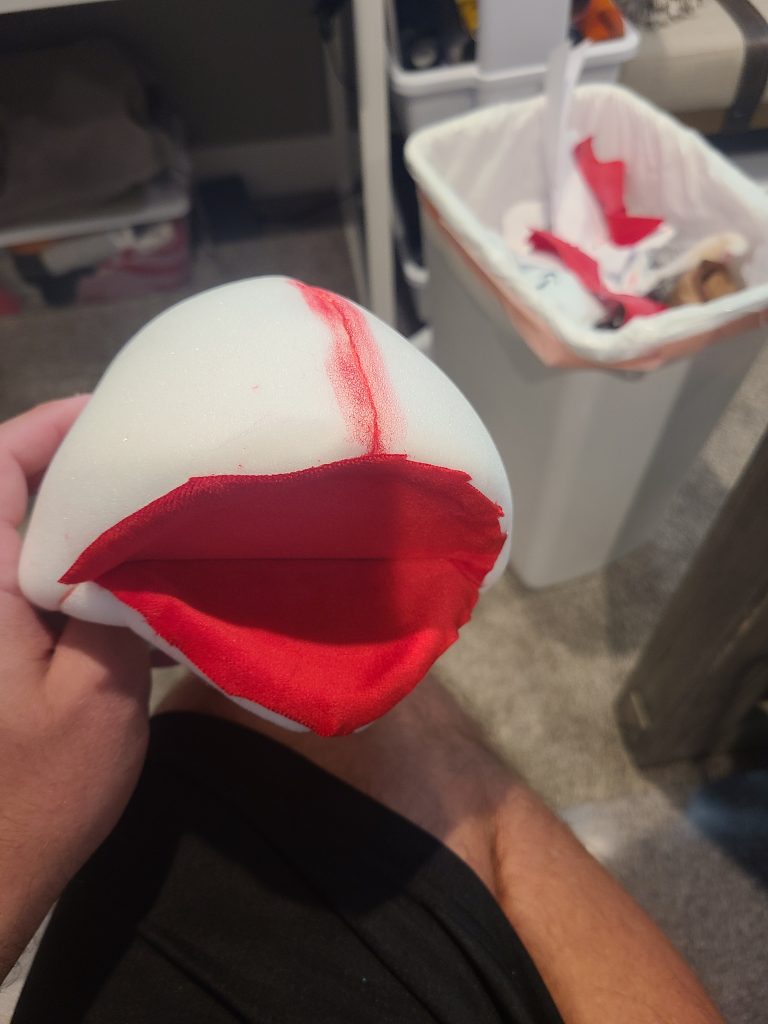
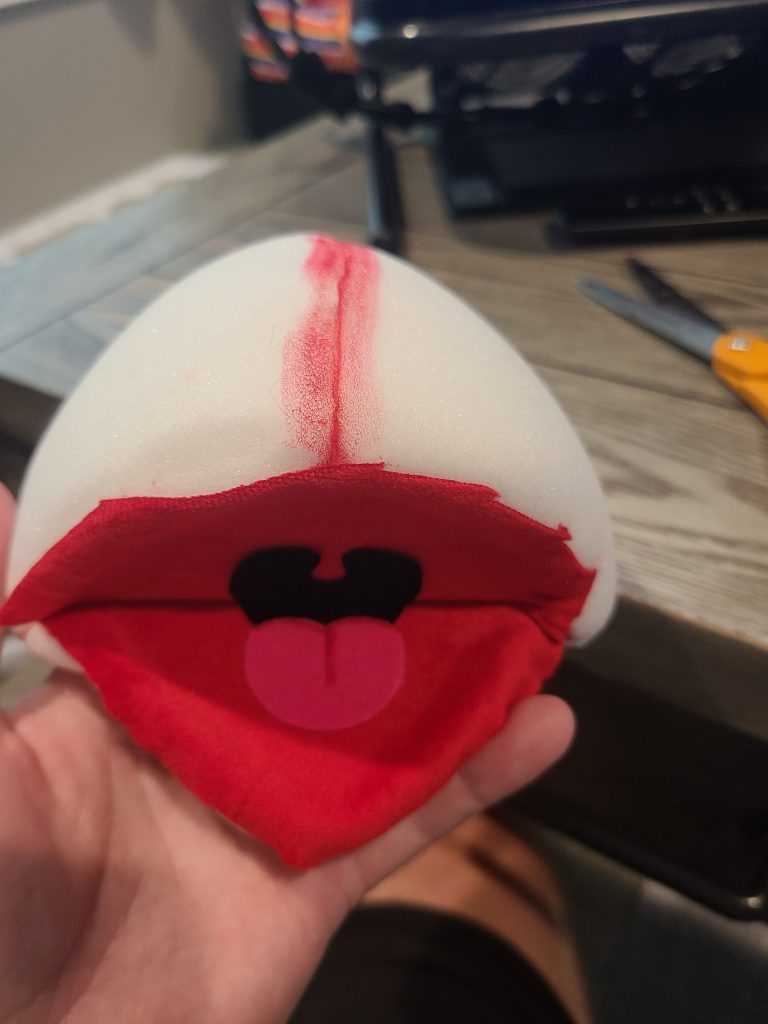
Added red velvet fabric to mouth piece. I spray the backside of the fabric as well as the mouth plate with super 77 adhesive spray. I let it get a little tacky before placing the fabric on the plate. I trim away the extra fabric after it dries.
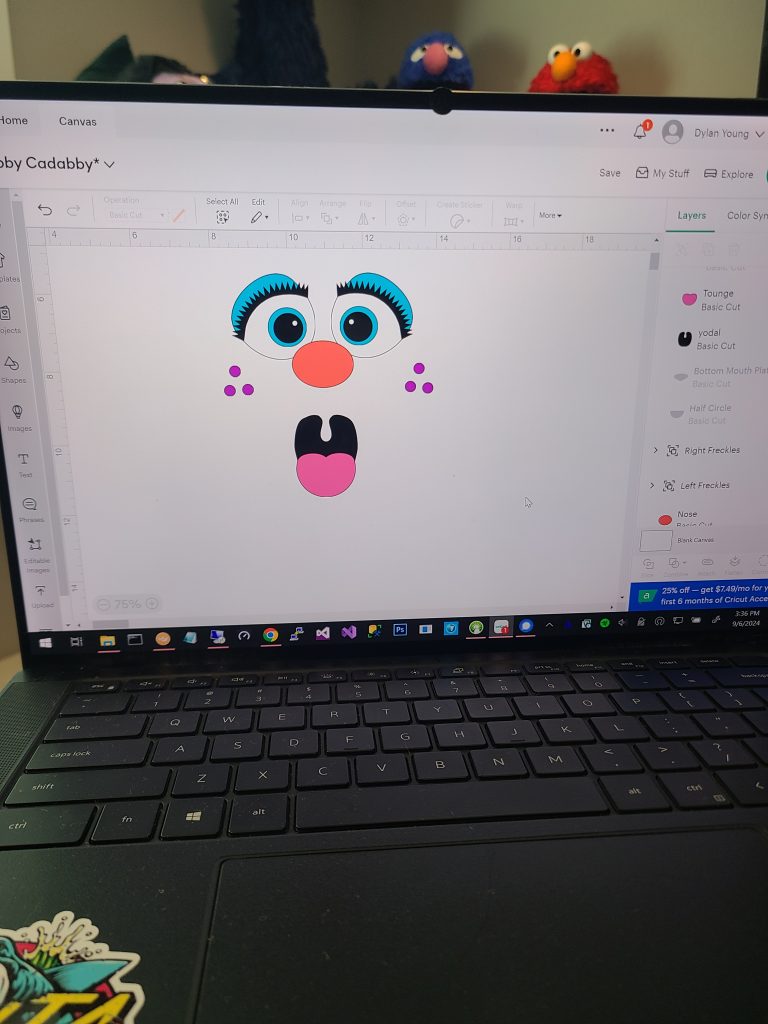
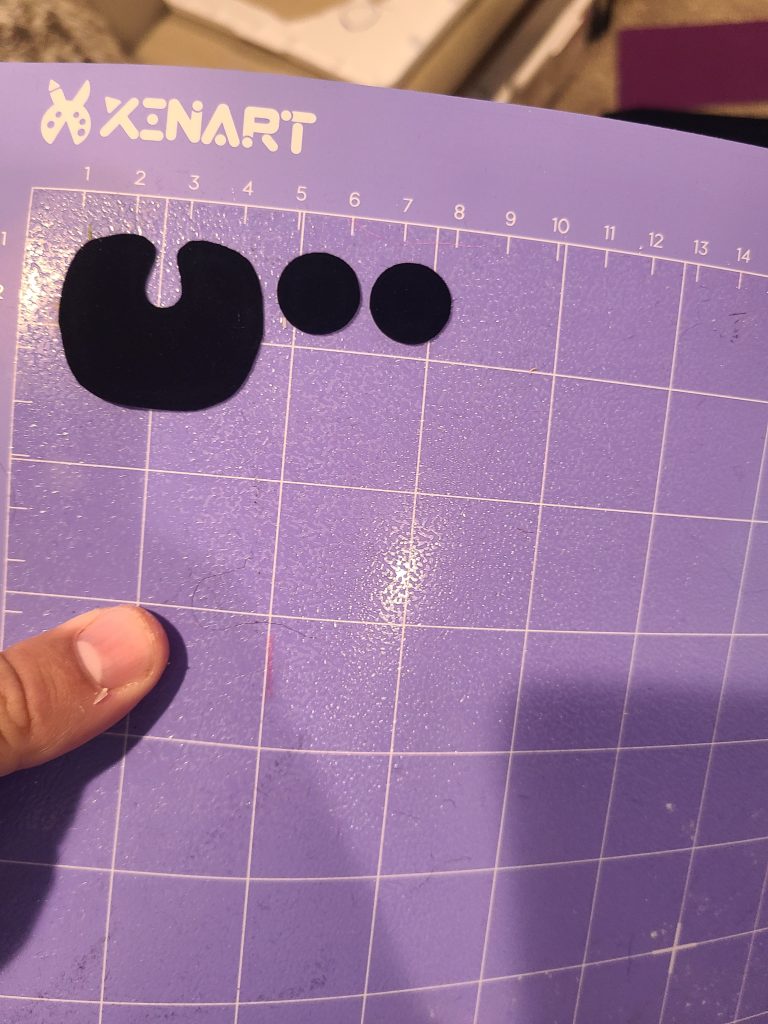
I used my Cricut to cut out the uvula and tongue from sticky velvet paper. I also designed the eyes from this software and used it to cut out the various pieces as well.
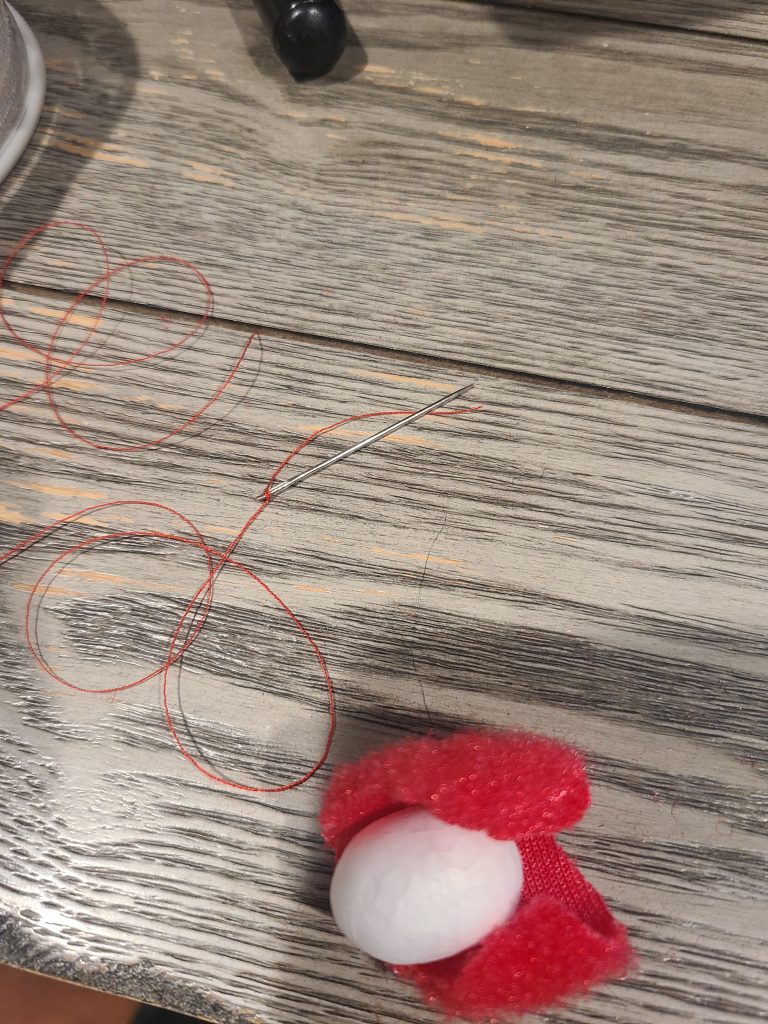
Built nose from a mini foam egg positioned horizontally. I covered the egg with red dyed fleece.
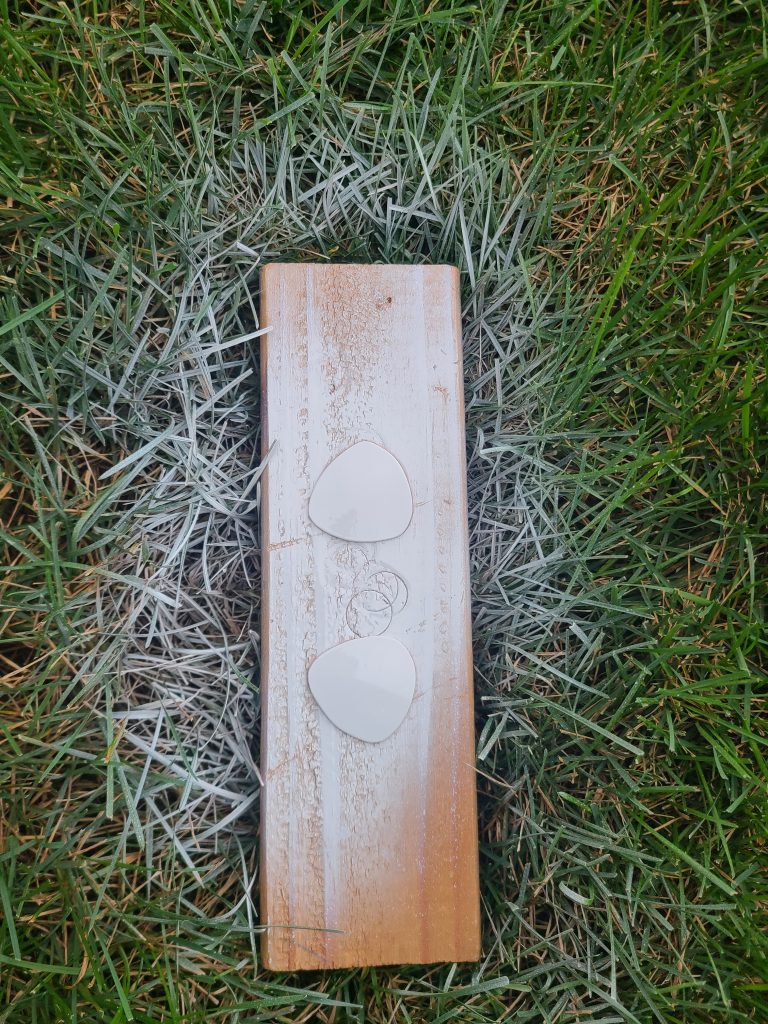
I built the base eye shape with Photoshop and used the Cricut to cut it out on cardstock so I could use it as a template. I traced the template from a plastic storage bin lid, cut it out with scissors, and sanded off the harsh edges. After that, I gave it a quick sand and sprayed it with white spray paint.
I then attached the eye pieces cut out from the Cricut to the base of the eye after it dried. I used women’s fake eye lashes for the eye lashes. I cut them down significantly and tried to cut in a triangle pattern.
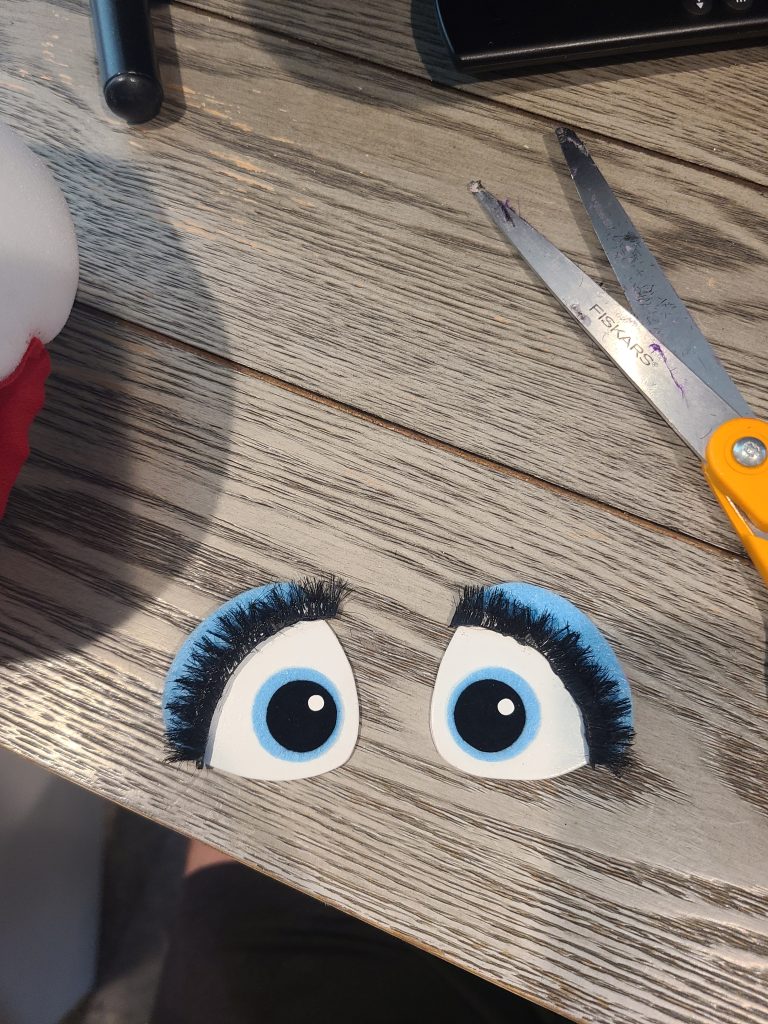
Test fitting eyes and nose to foam skull to see if I am even in the ballpark.
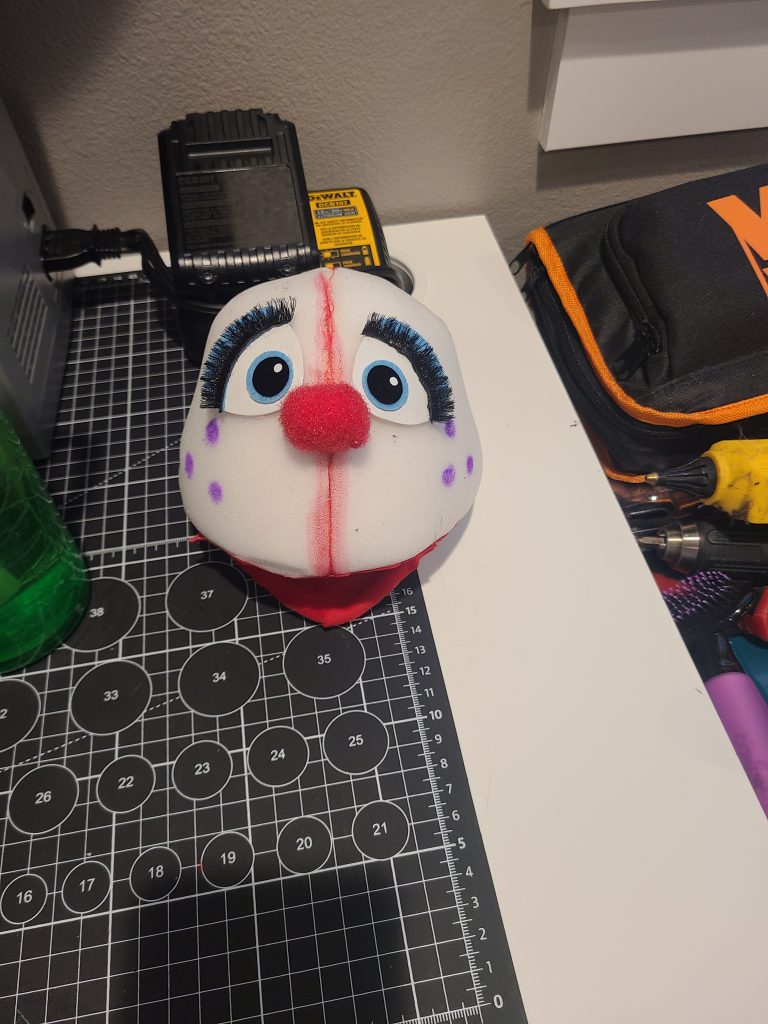
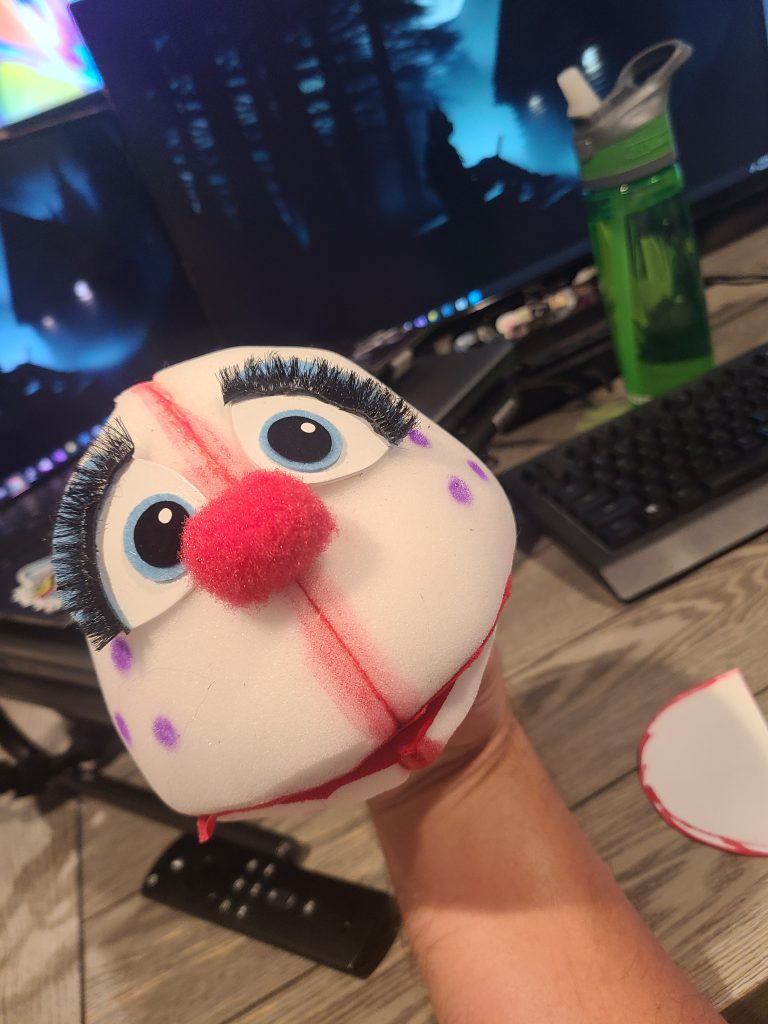
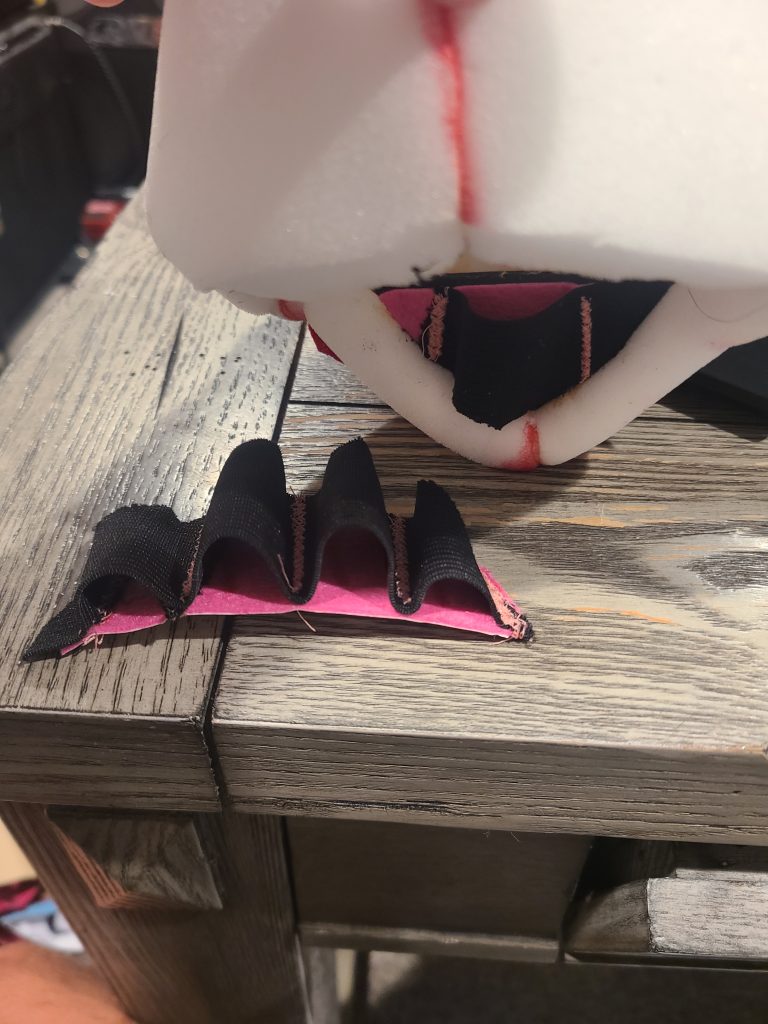
Created finger loops and attached to mouth plate for grip. I just sew on a wide elastic band onto felt and then attach the felt to the bottom and top mouth plate.
I started creating the foam body.
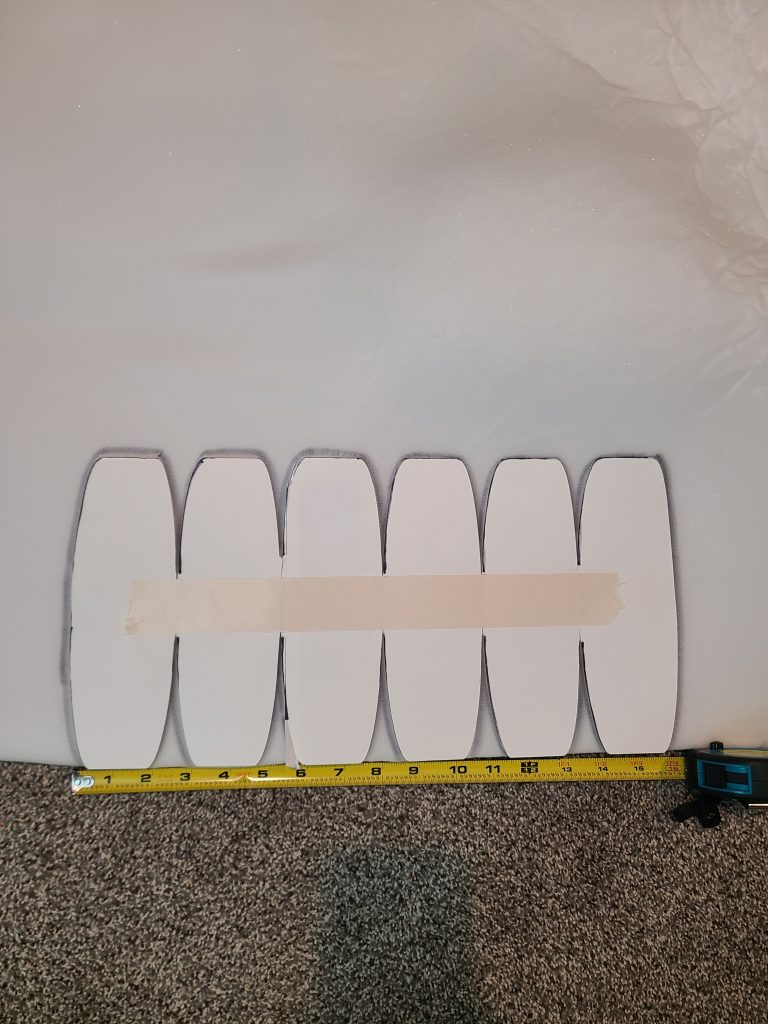
I cut out the foam body and glued it together with contact cement. I then added poly boning to the inside of the foam body to make it stronger and hold it’s shape better.
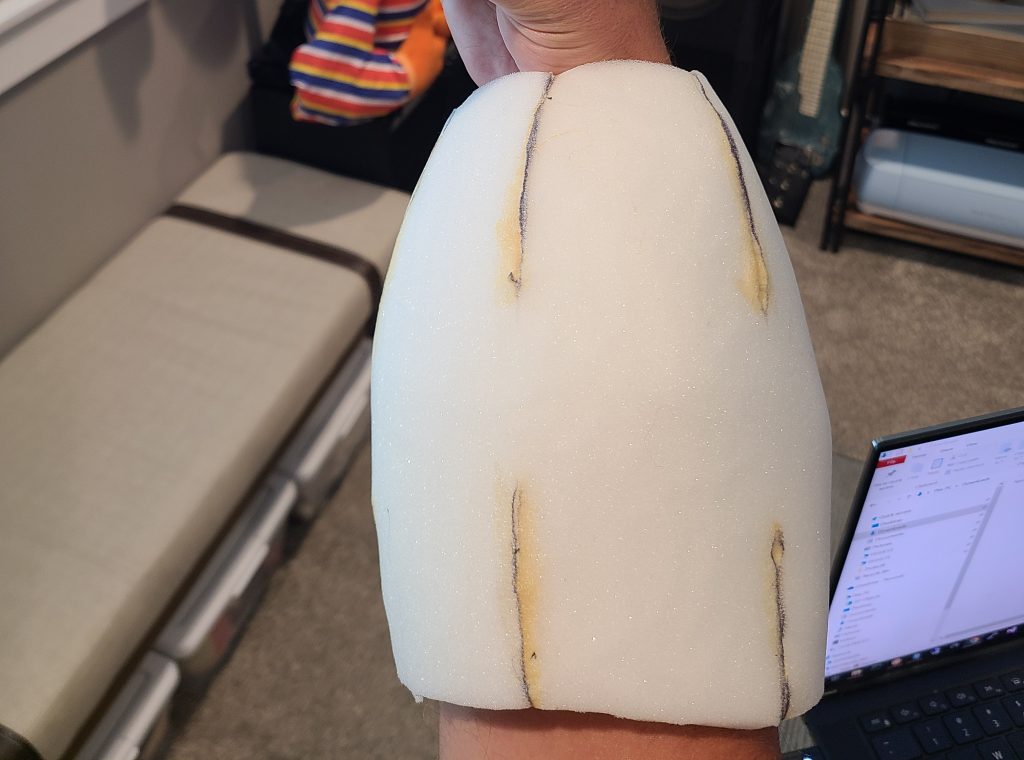
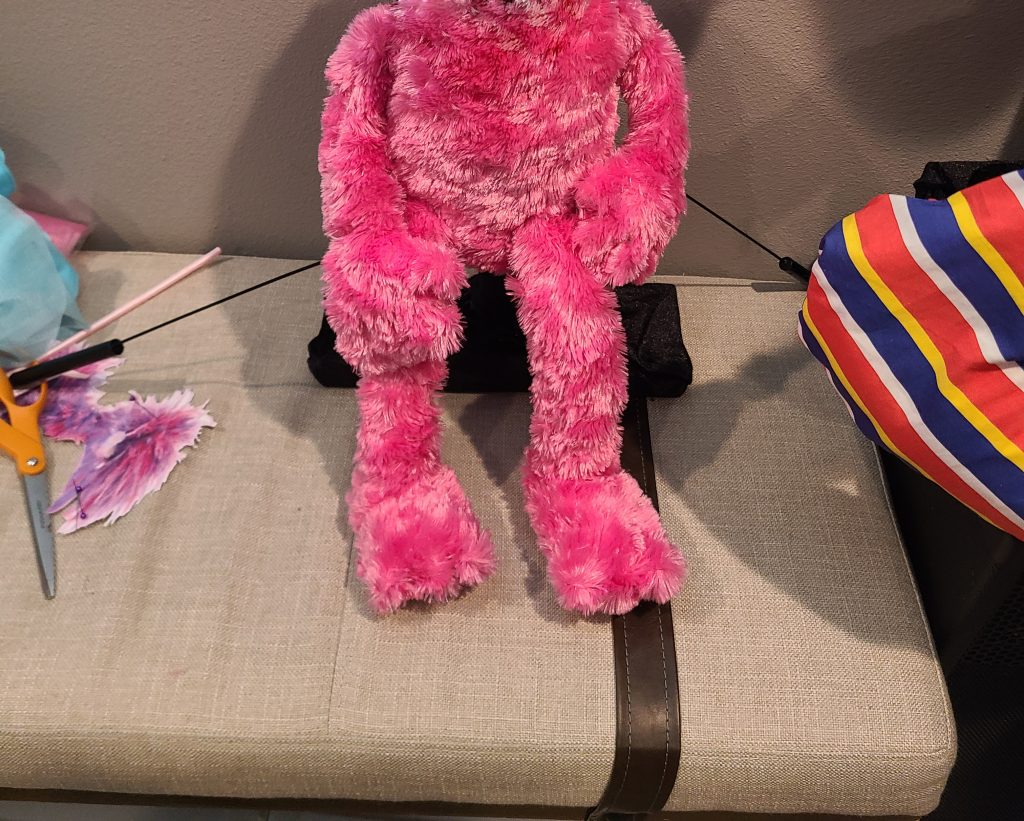
I used the foam body pattern for the fur body pattern and added a little extra for seam allowance and room. I cut that out and put it over the foam body.
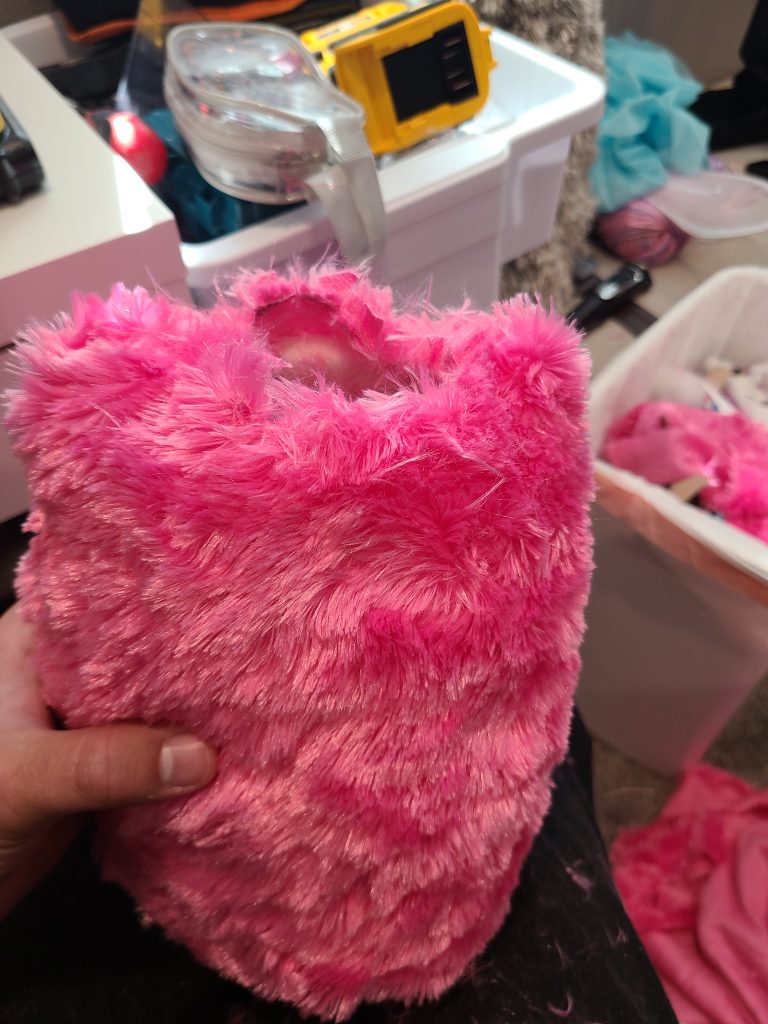
I then cut out and sewed the fur arm and leg patterns.
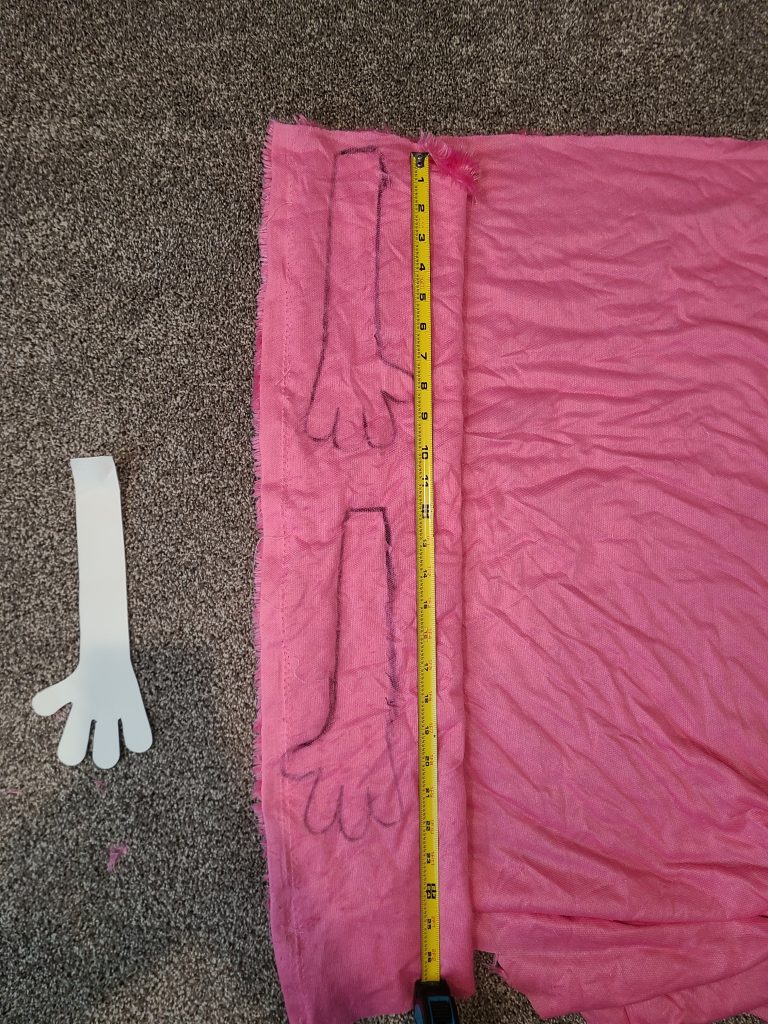
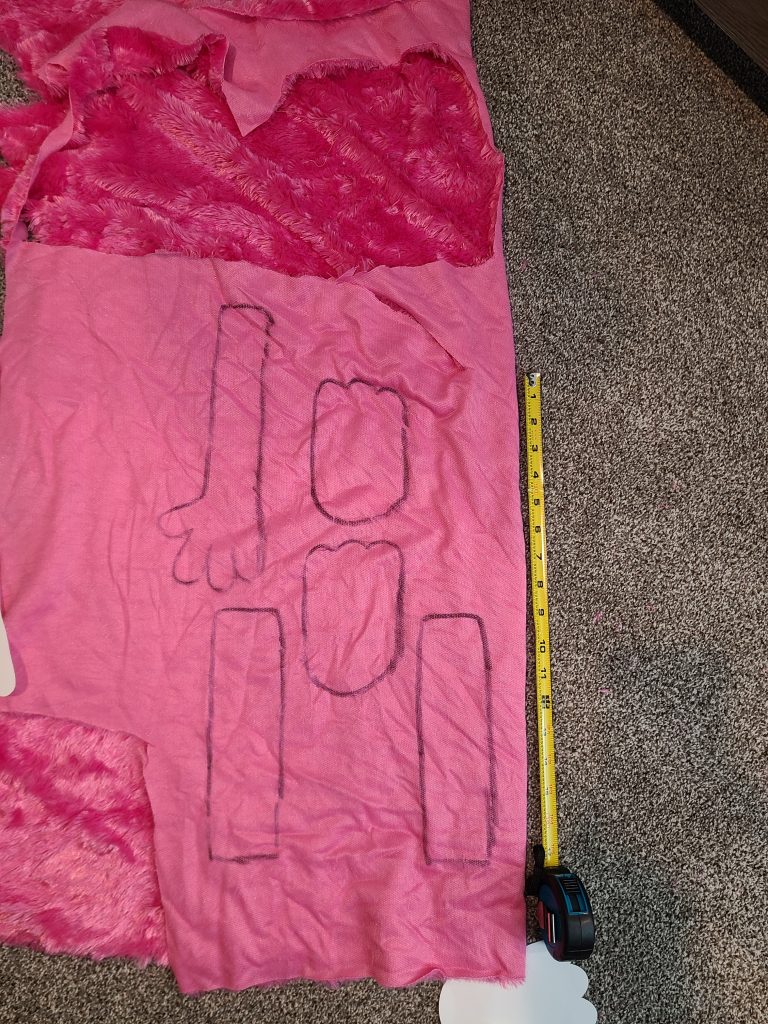
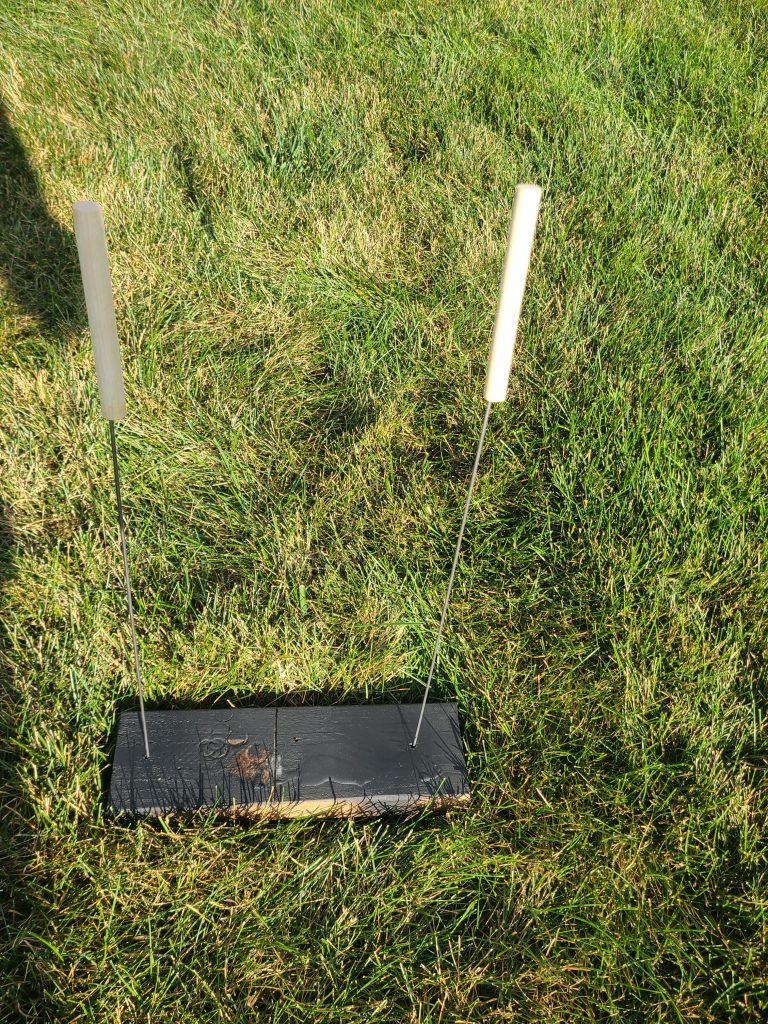
I created the arm rods with steel wire and wood dowels. I attach them by drilling a hole in the wood dowel and filling it with epoxy and sticking the wire in it. I then spray paint it all black.
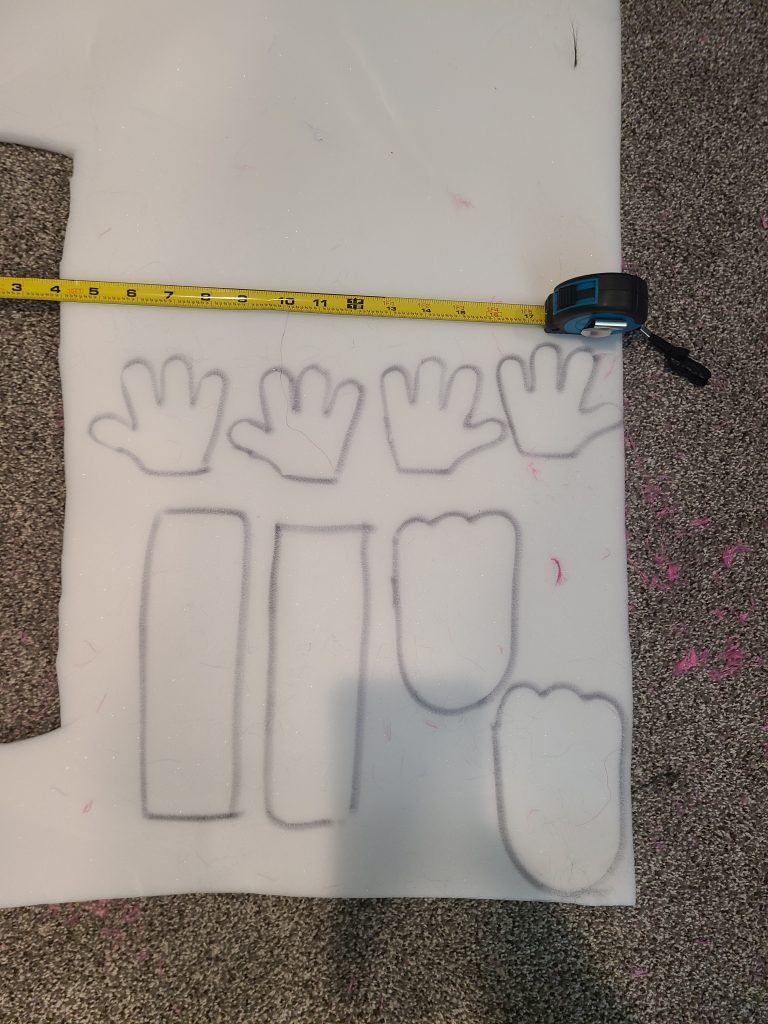
I created and cut out the foam hands, legs, and feet patterns. For the legs I rolled them and glued them with contact cement to create a cylinder shape.
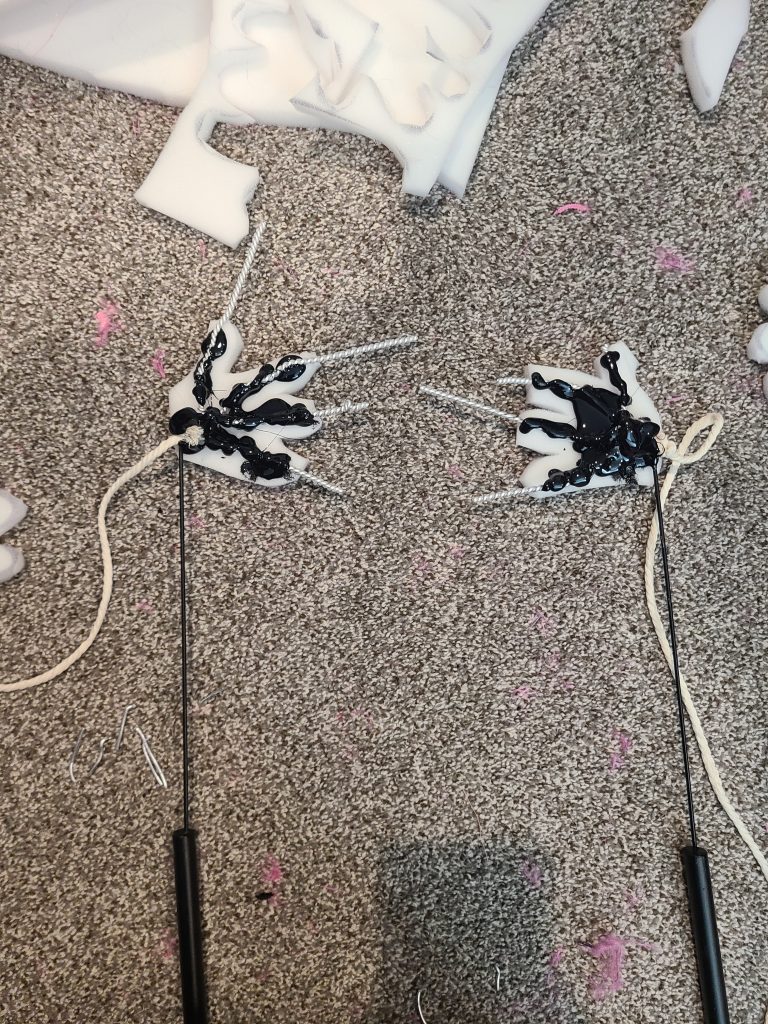
I used wire for the poseable fingers and attached to the arm rods. I cover the wire in hot glue for protection and to strengthen the wire. I sandwich all that together with each piece of the foam hands with contact cement. I also tie on string to the arm rod so I can add wood beads to it. The wood beads add nice weight and arm movement.
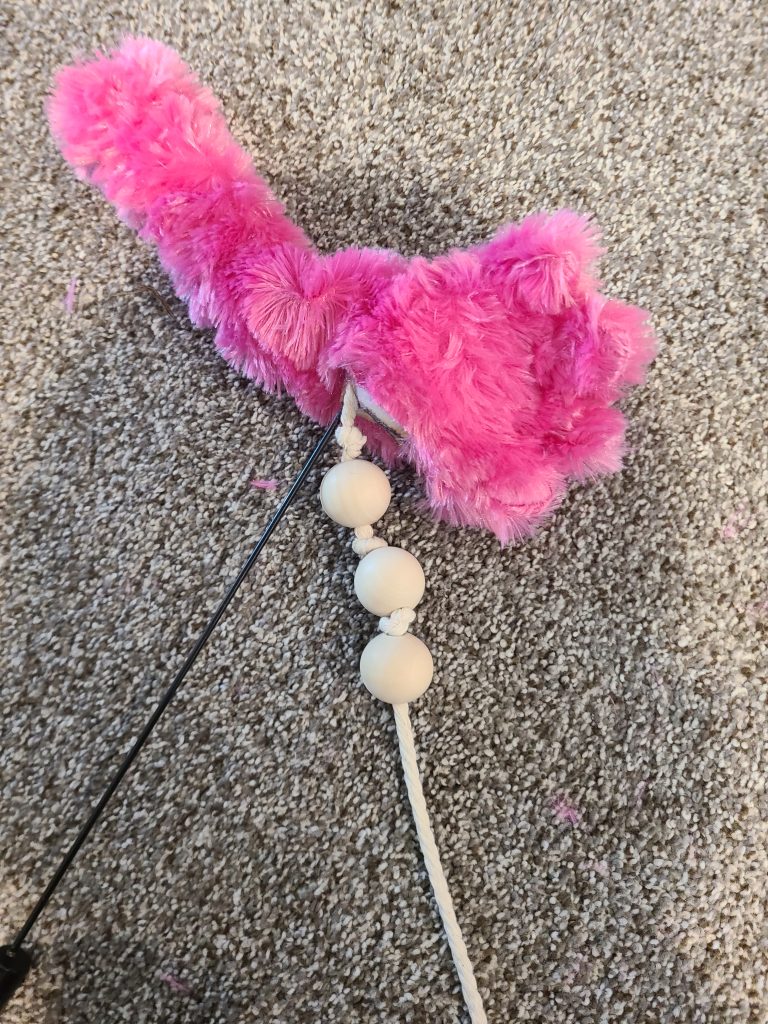
Here I am putting in the hand and arm rods into the fur and attaching the wood beads after giving the fur a trim. I try to separate the wood beads every 1″ to 1 1/2″ by tying knots. I then will hand sew the opening closed.
I added foam to feet and legs and sewed that up. I then attached the arms and feet to the body.
Back to the head, I created the head fur pattern.
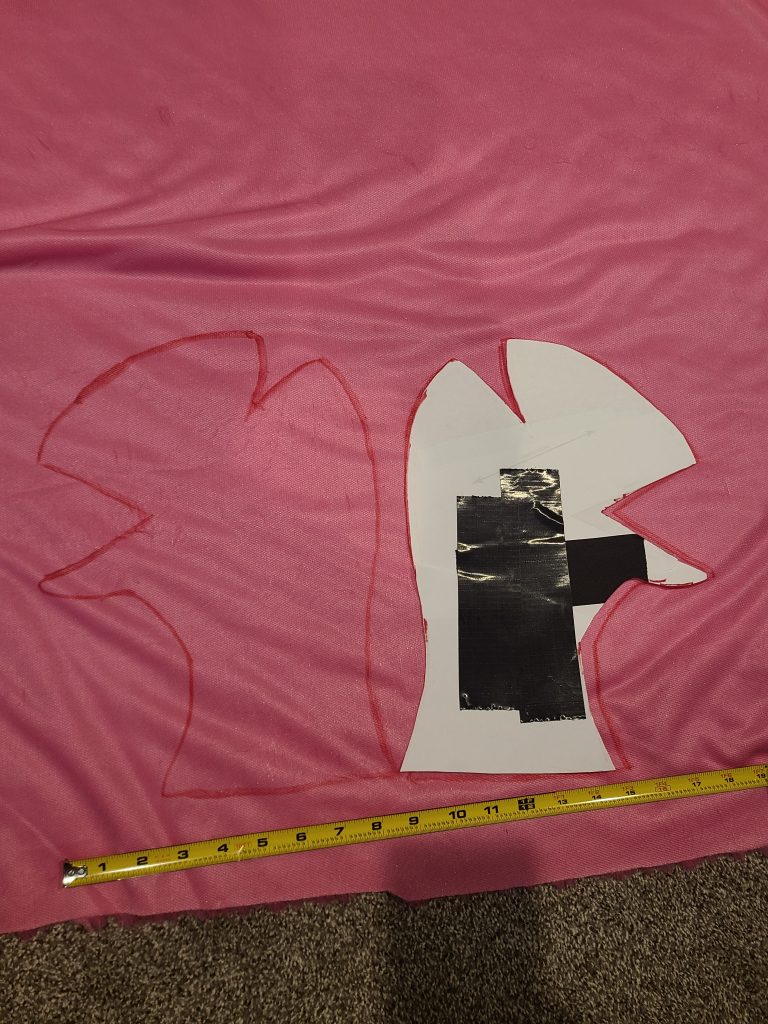
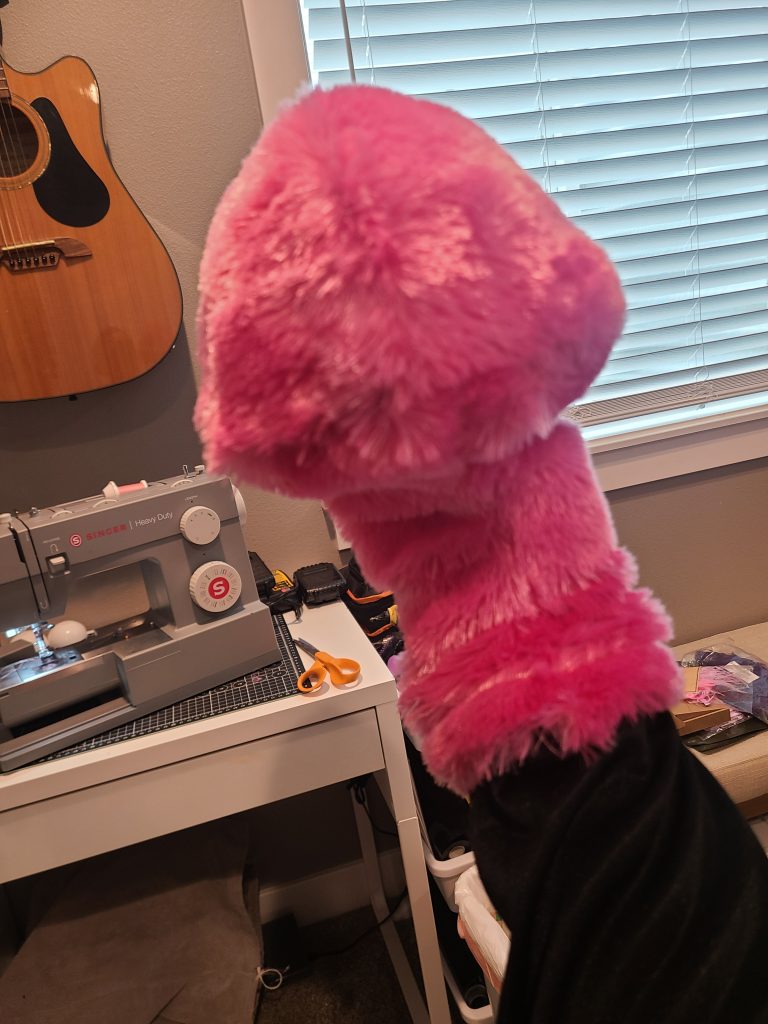
I cut that out and sewed it together. I also sewed on black velvet fabric to create a nice comfortable arm sleeve. I then test fitted all of that to the foam skull. I gave it a bit of a trim.
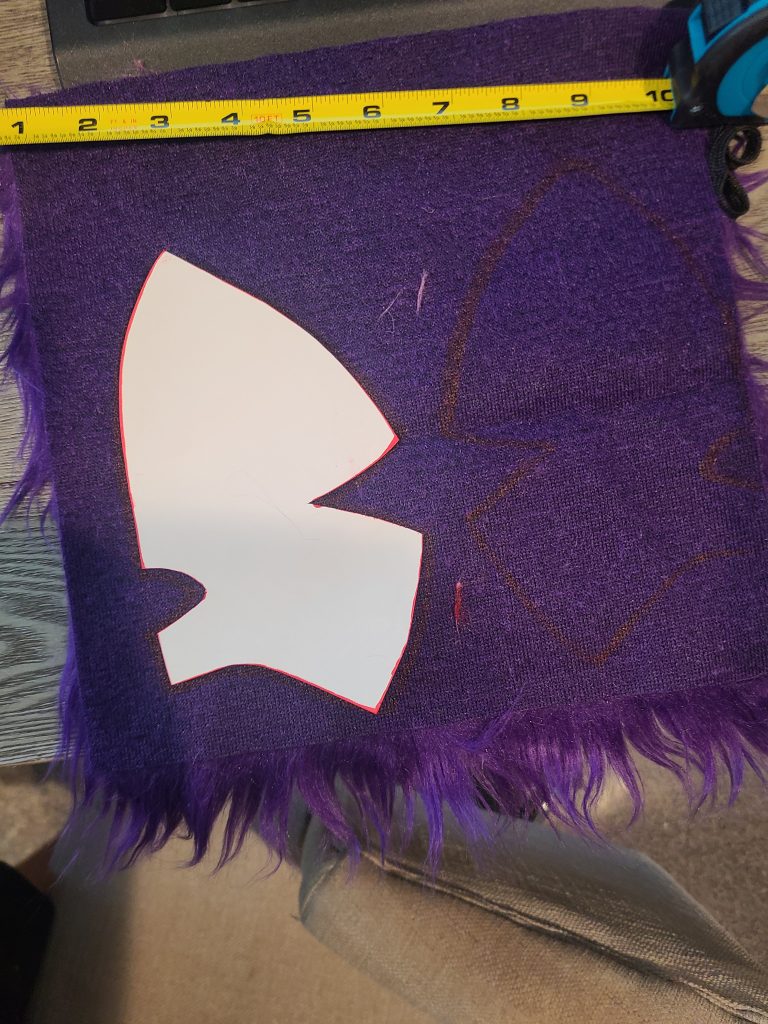
I started working on the hair. I used masking tape to tape on the skull and draw in half of the hair line. I cut out that template and used it to create both sides of the hair with faux fur. I flipped the pattern to mirror it and sewed it all together. I made the direction of the fur lay from back to front to help with styling.
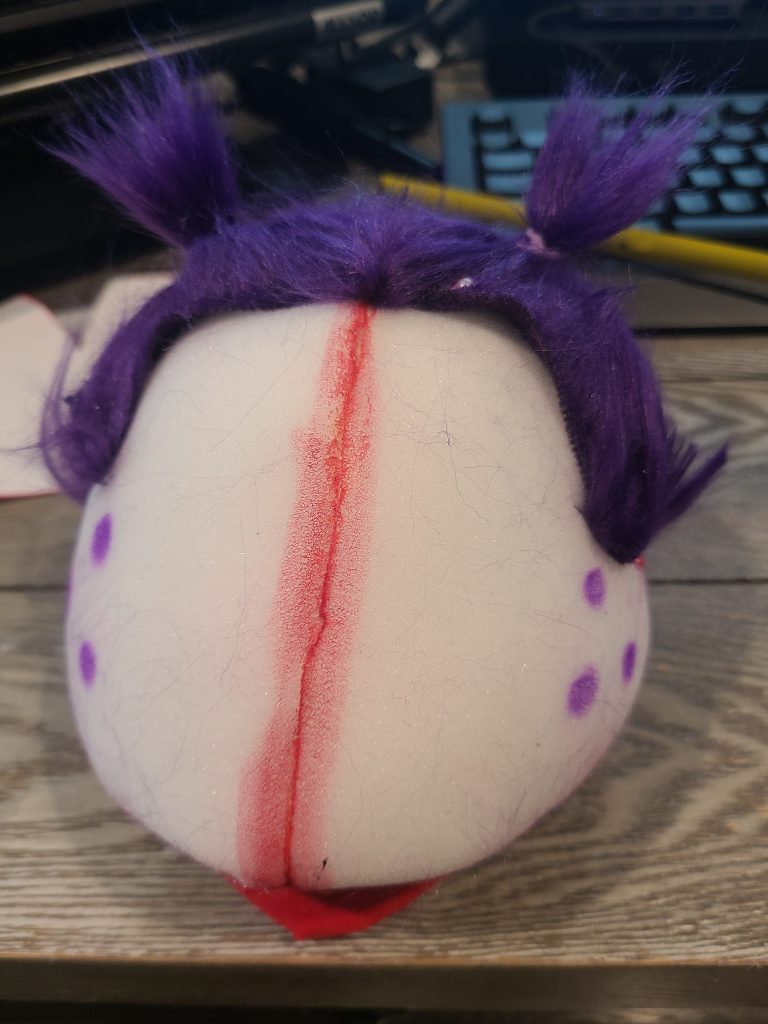
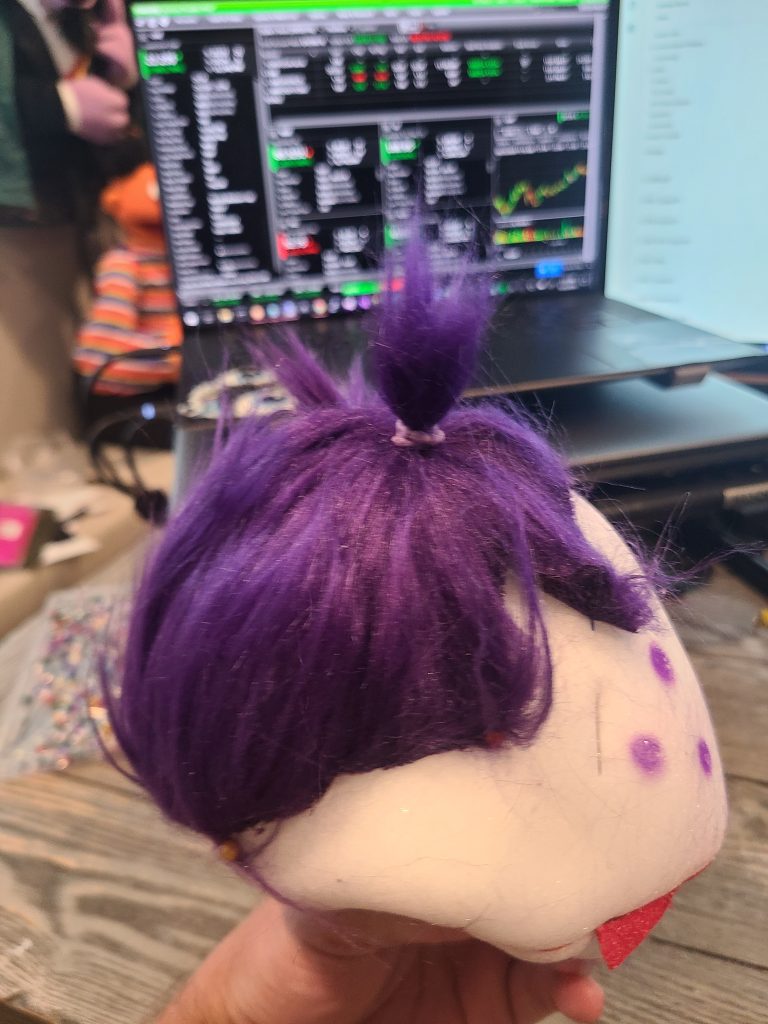
I started working on the pigtails of the hair. This all was my third attempt on the hair until I stumbled across a video on the internet that talks about the creators of Abby Cadabby. I am new at this so I could not tell what was being used in the hair, but that video mentioned that they used ostrich feathers. So finally, I found what I needed and purchased a bunch of different pink and purple ostrich feather. The important part is to get the ostrich feather attached to a ribbon. I created the pigtails by coiling/rolling the ribbon together while gluing it in place and varying colors.
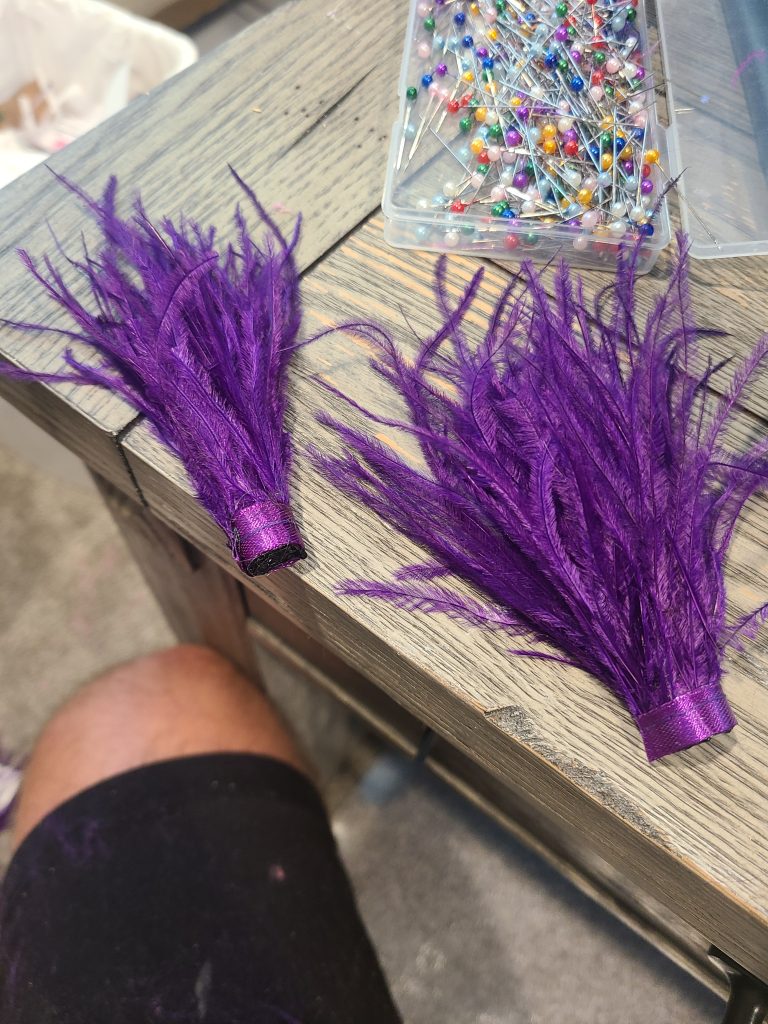
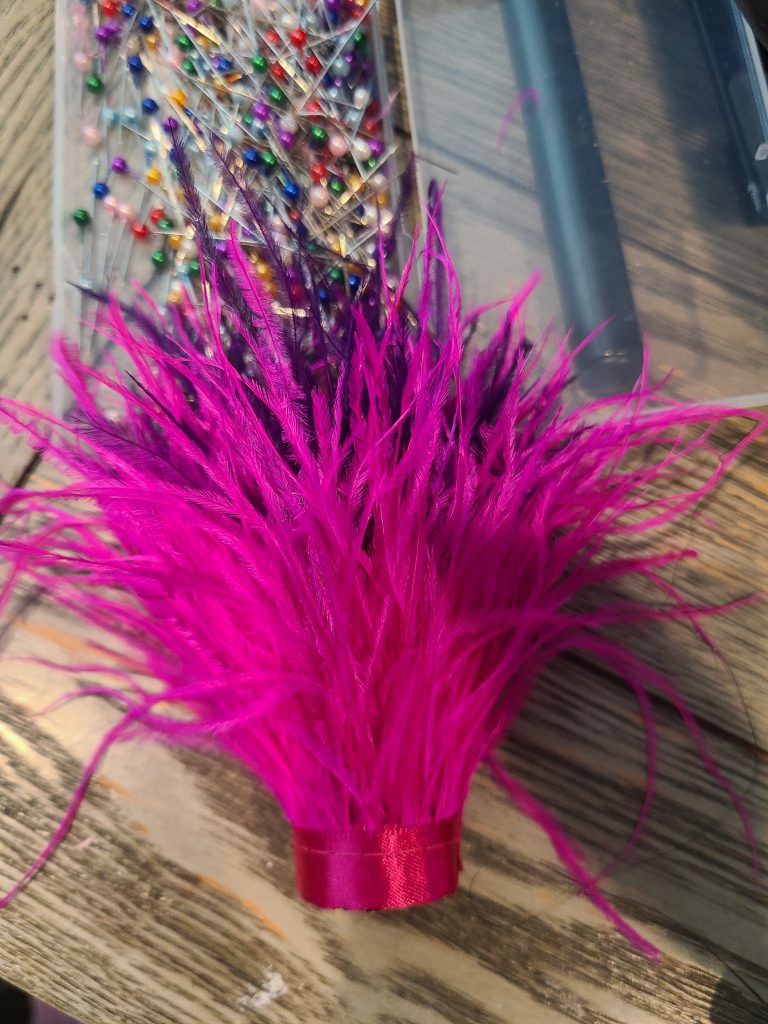
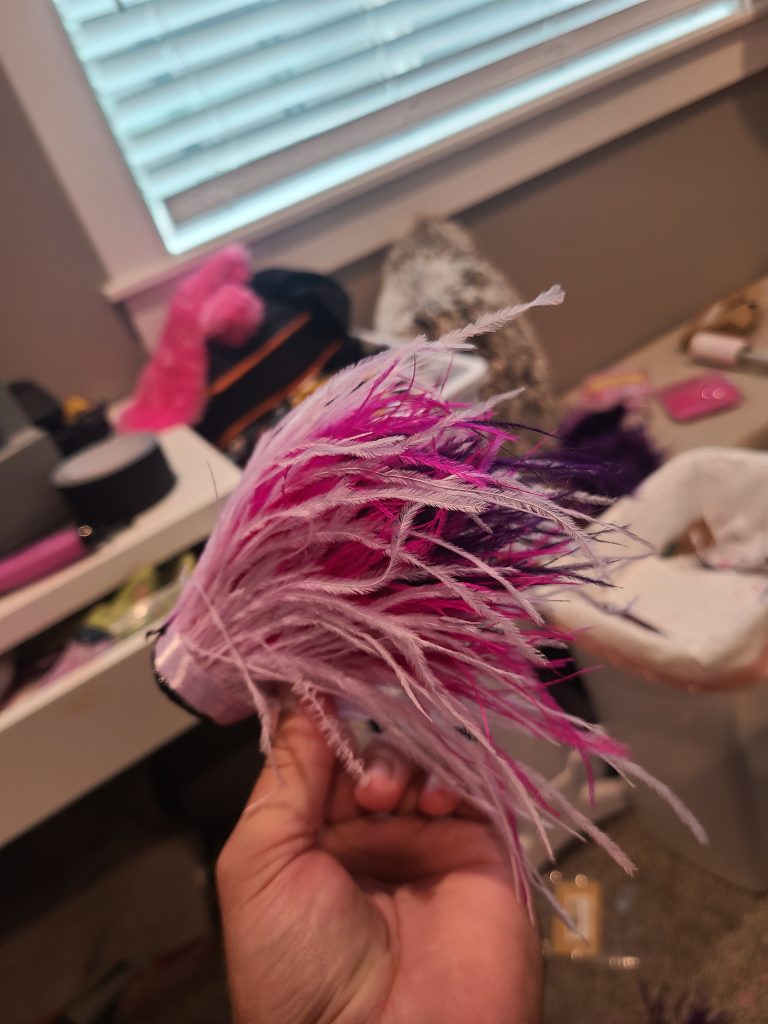
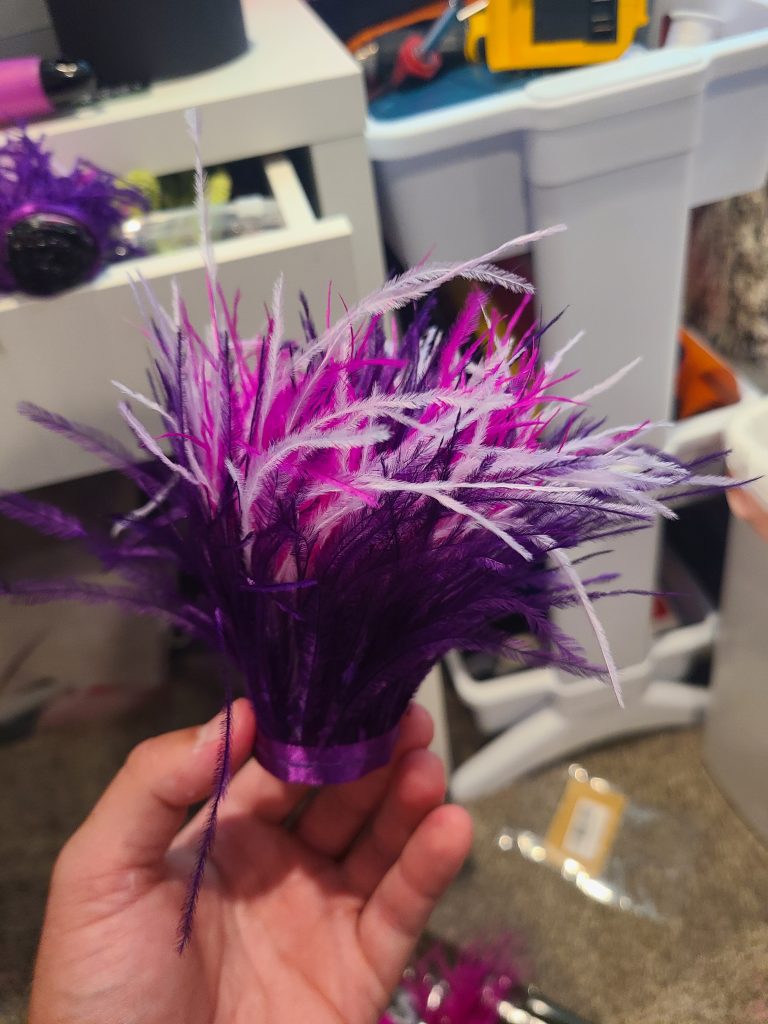
I then attached the big base/coil of the ostrich feathers to the inside of the foam skull. I added more ribbon on the outside after initially attaching it to the inside to make it larger.
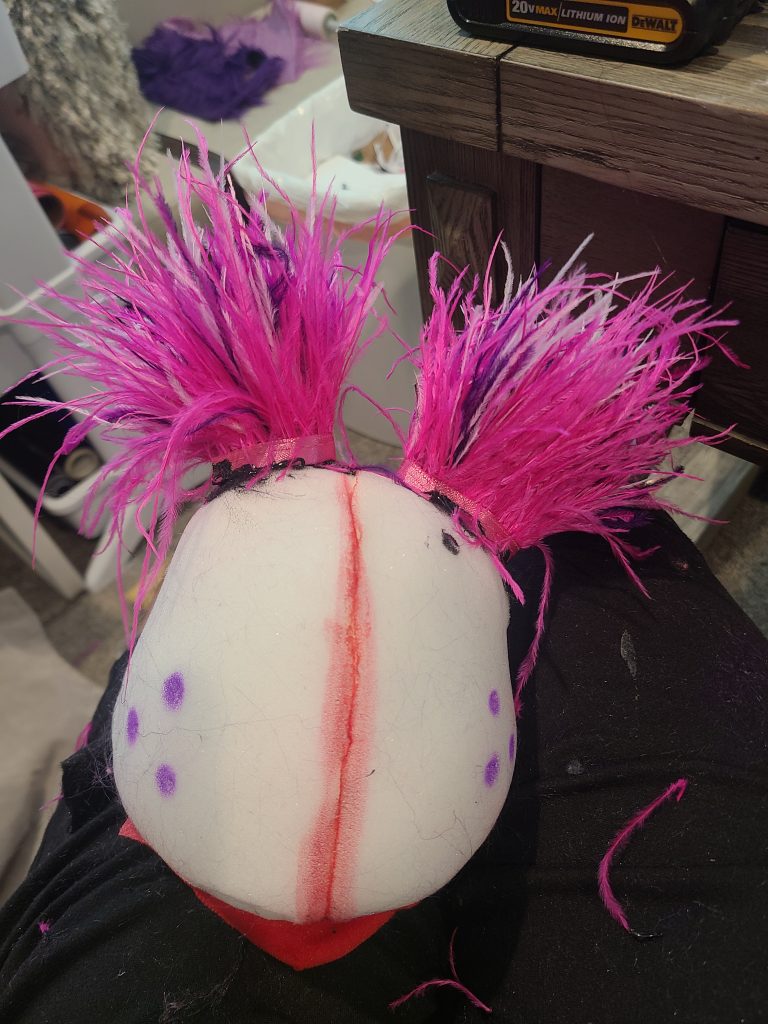
I then placed the fabric on the head foam skull adding small holes to fish out the pigtails.
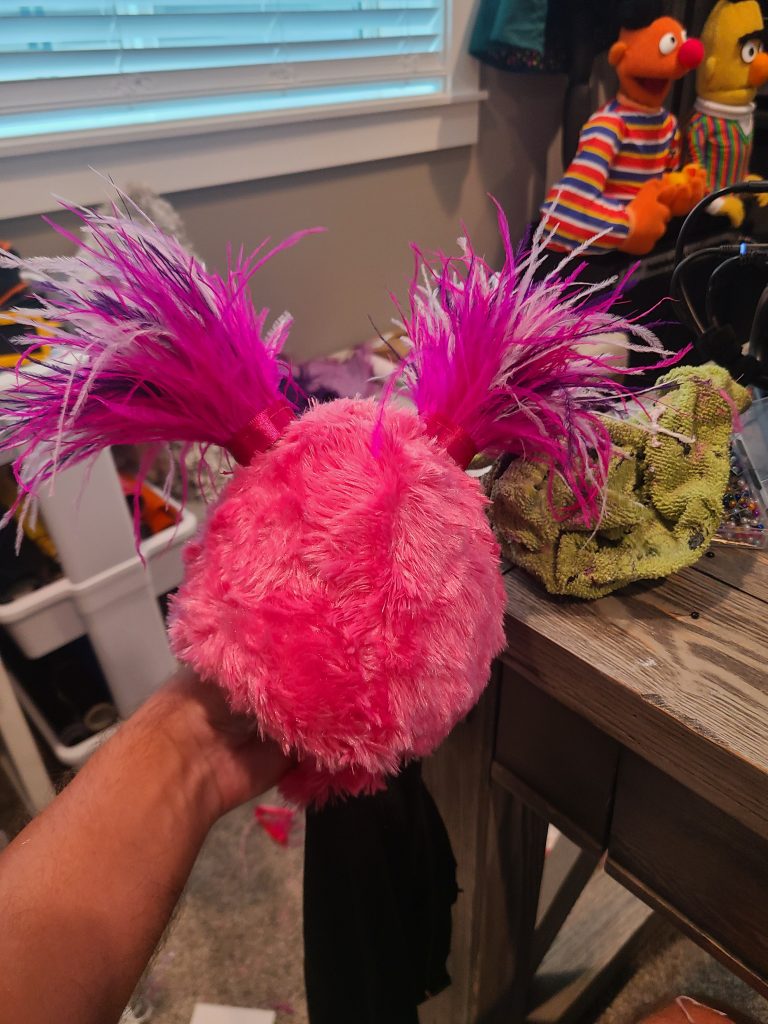
I then added the base faux fur hair wig created earlier to the skull. I again had to add small holes to fish out the pigtails. I combed and styled the hair and held the pigtails together with hair bands. I test fitted the eyes and nose.
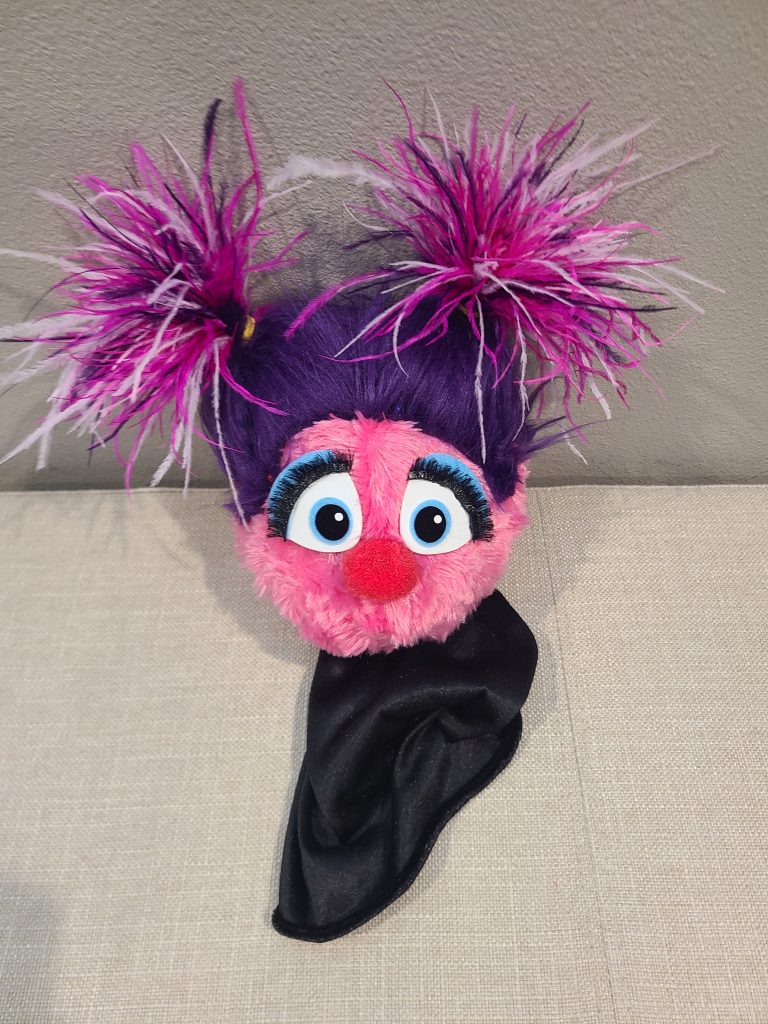
After the wig was sewed to the head I started adding individual ostrich feathers to the wig with small amounts of glue. I also used a light amount of different purple paint markers to help blend the wig color to the pig tails. This also worked well to hold the style of the hair.
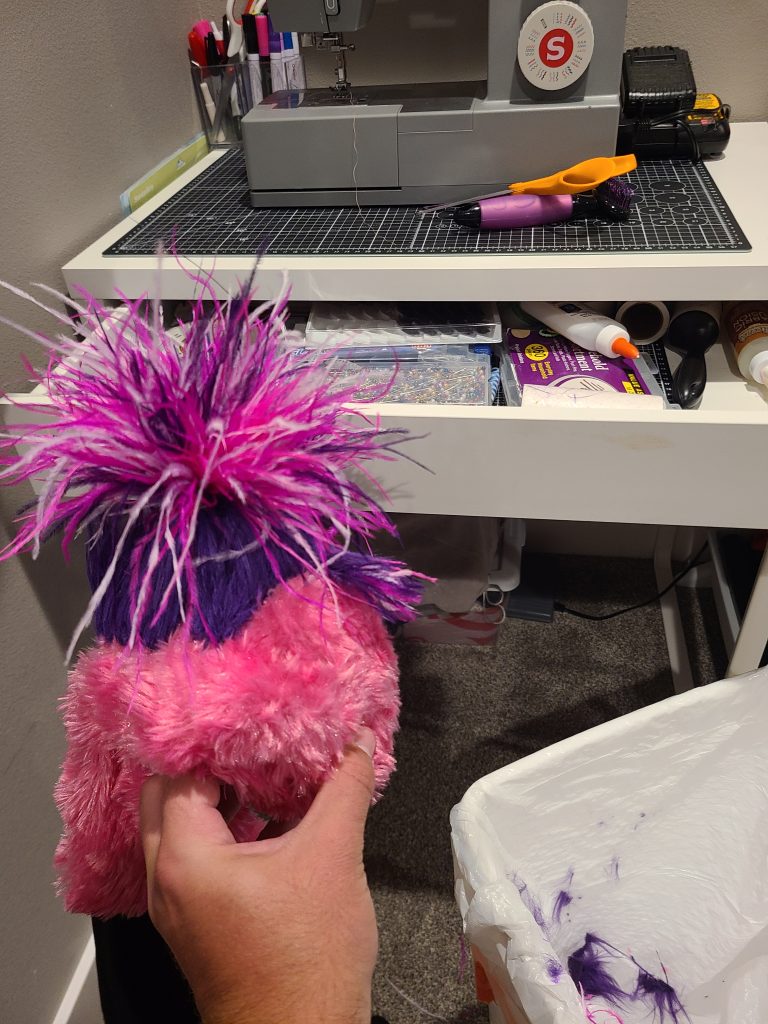
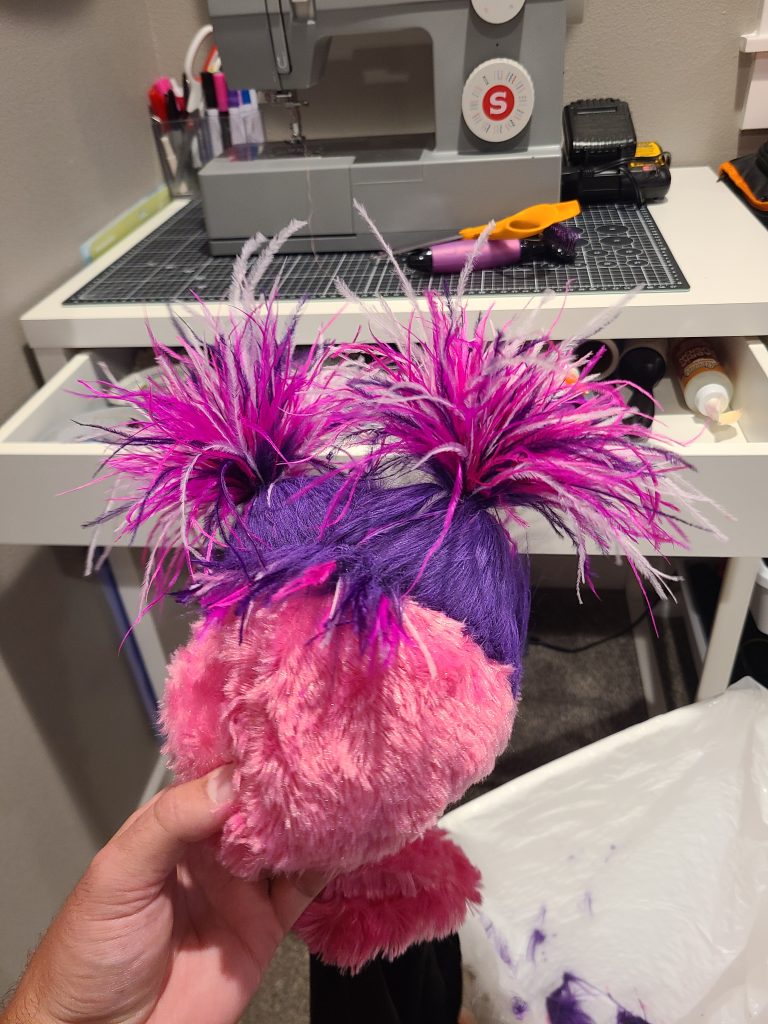
After I was generally satisficed with the hair I sewed on the nose, glued the eyes, and created the freckles with the Cricut and sticky felt paper. I used glue on the freckles as well to keep them in place better. I added sunflower hair bands to the pigtails and trimmed up the fur even more. I also gave the hair a generous spray of glitter hair spray to add a nice sparkle.
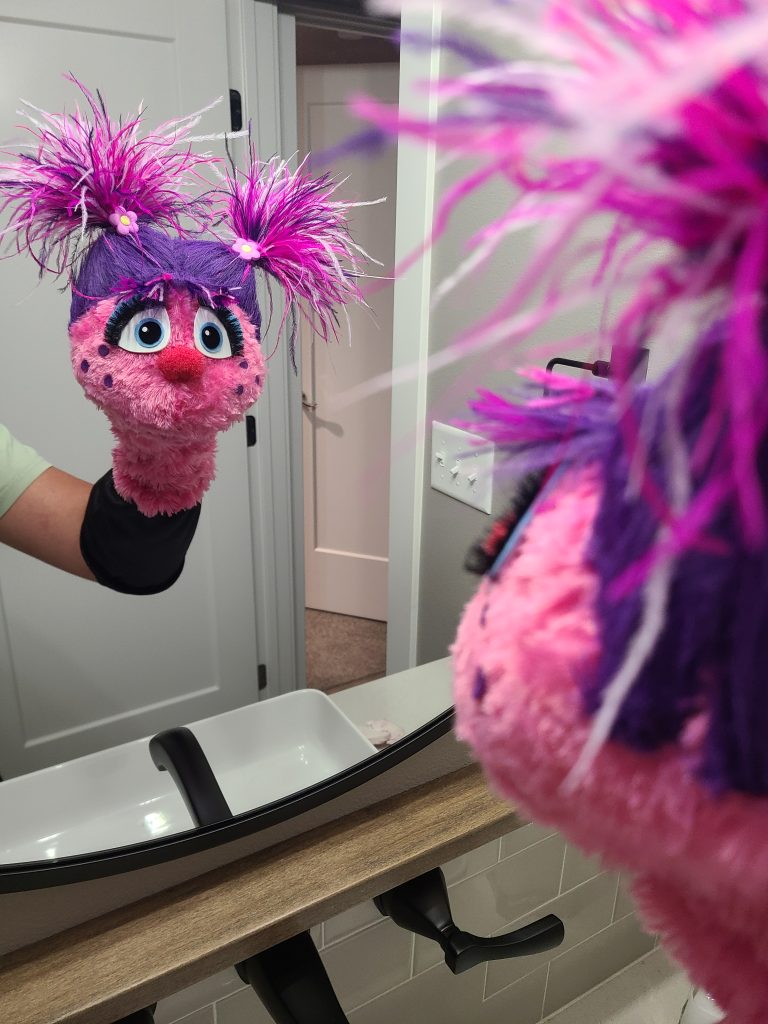
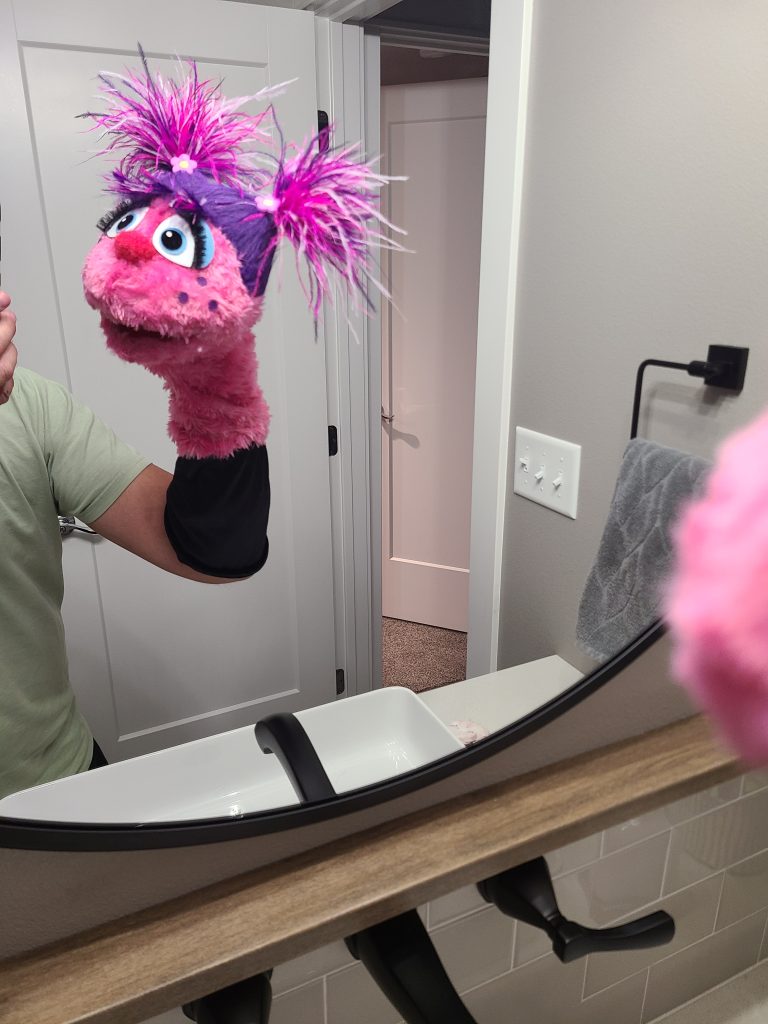
I created the sunflower t-shirt with my Cricut and heat press.
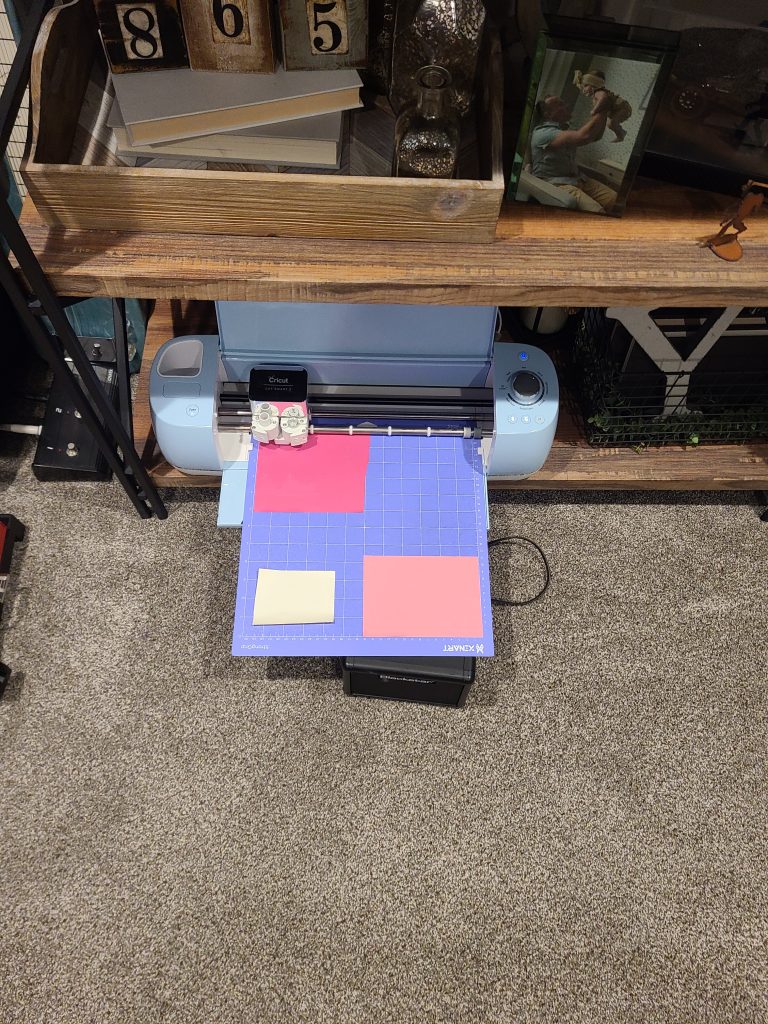
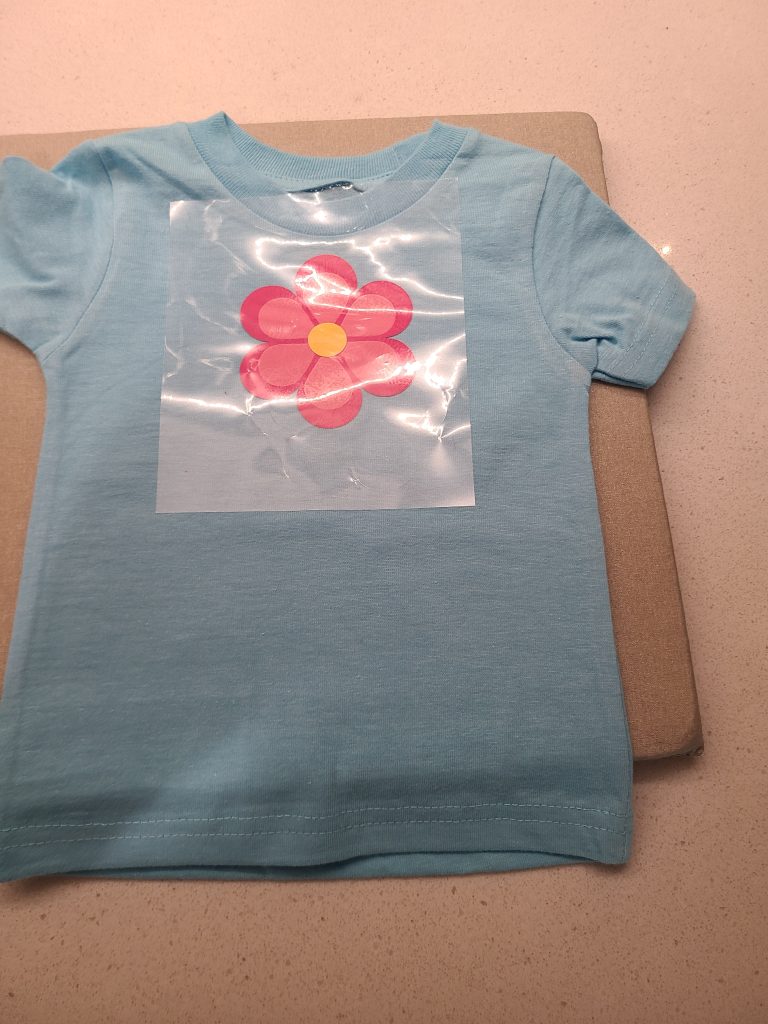
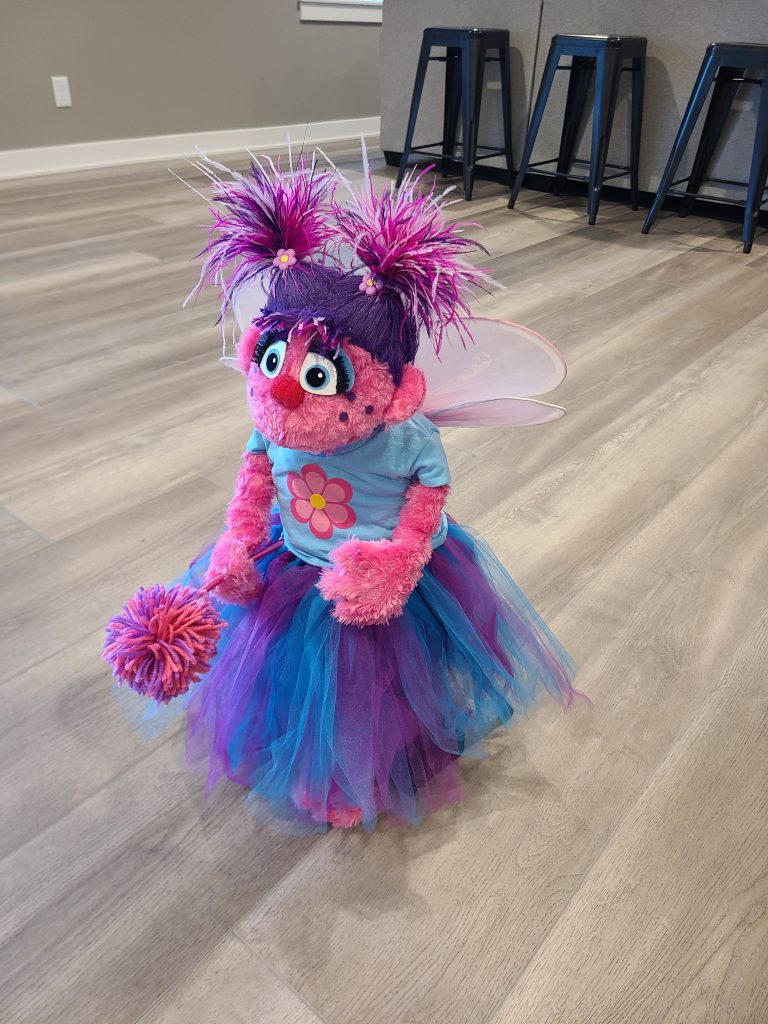
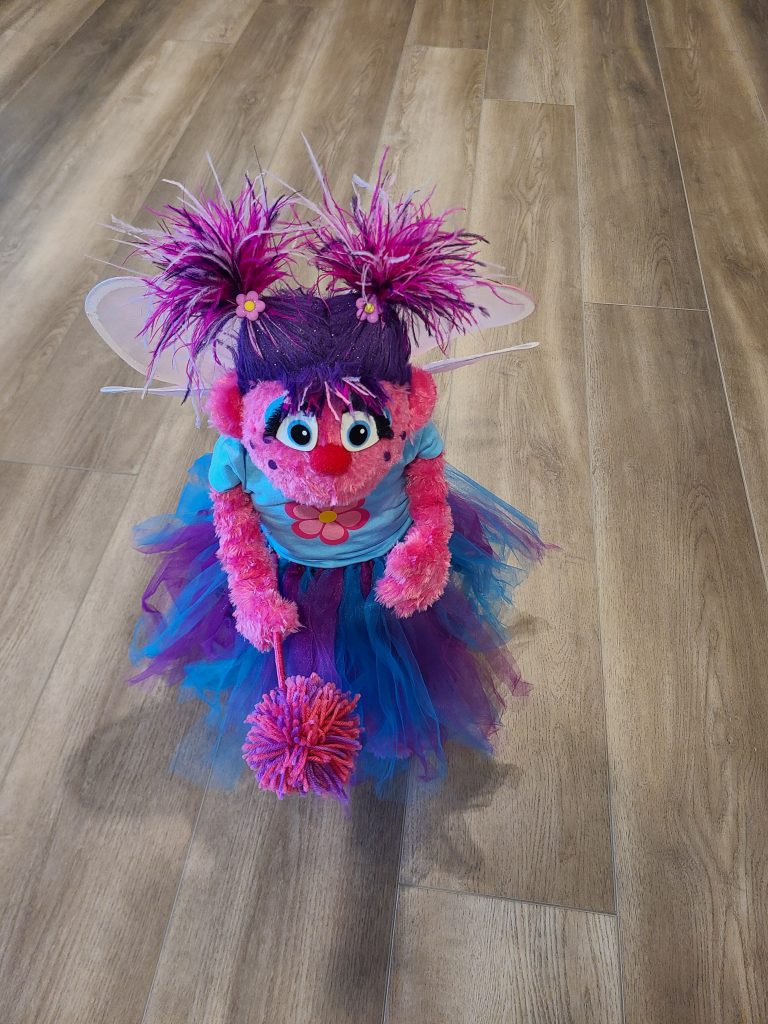
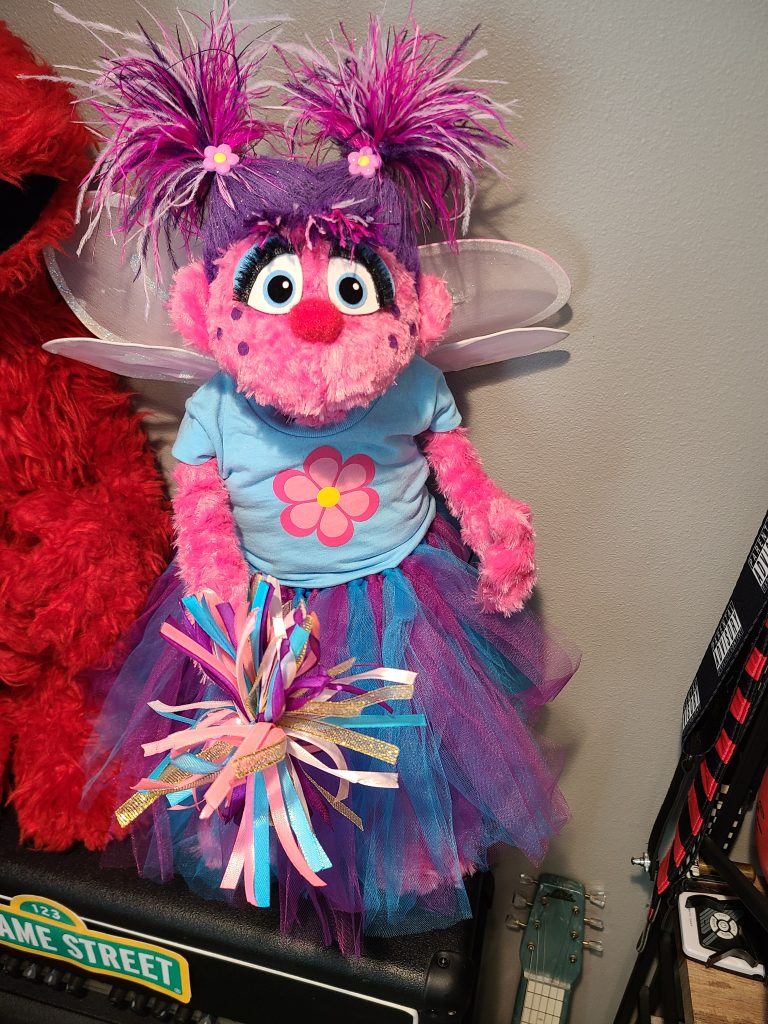
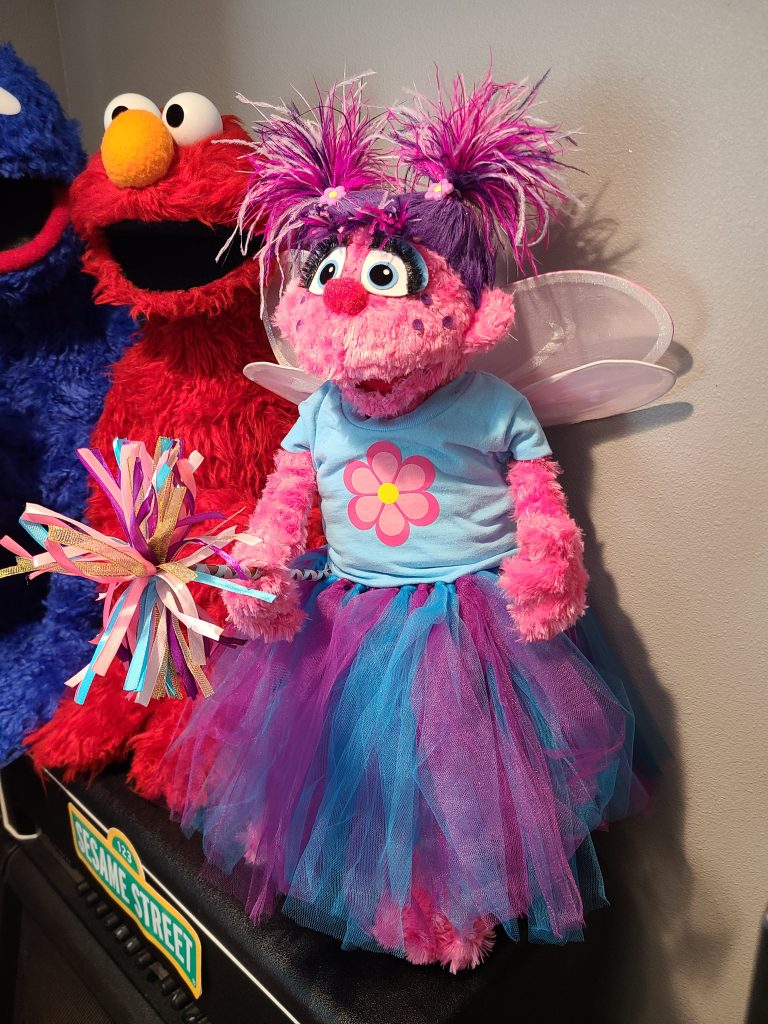
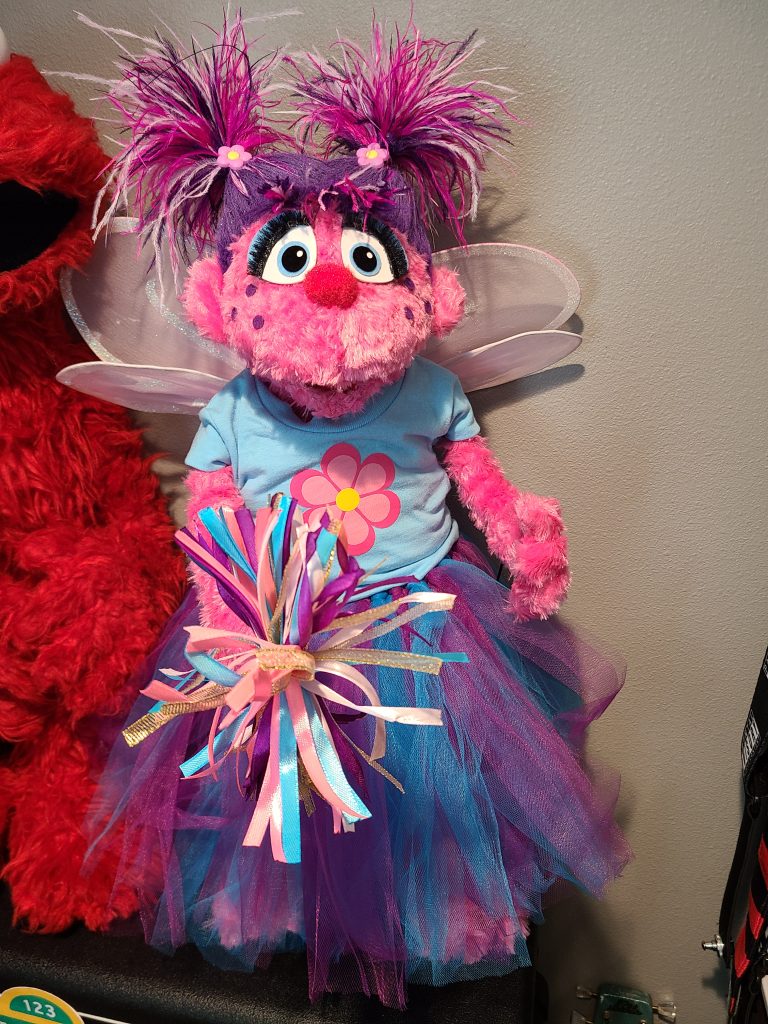
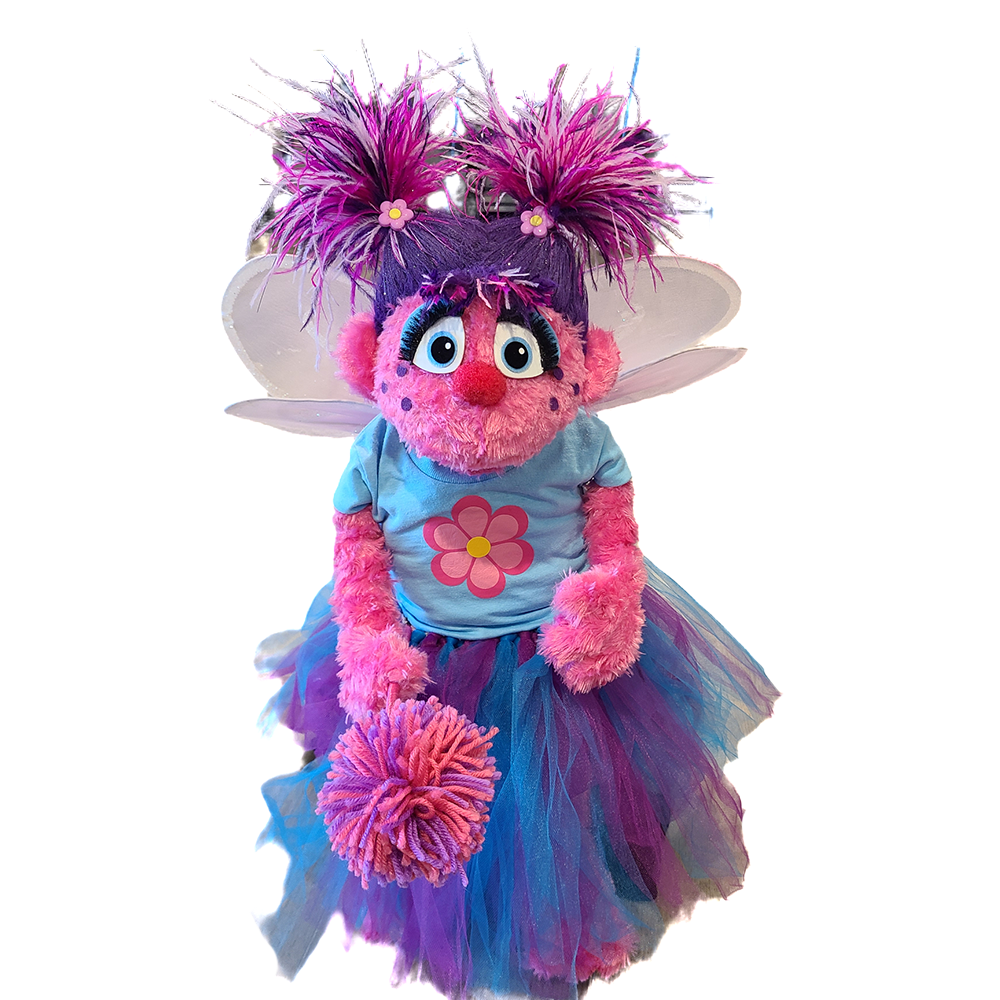
I slimmed the sleeves of the t-shirt to match her small arms. I purchased a pink and purple tutu skirt online as well as fairy wings and a wand. I altered the wings by cutting and bending them to make them smaller. I attached the wings to the shirt with some glue and sewing. I created and sewed up some ears to her head. I also attached the head to the body by attaching the neck sleeve to the bottom of the body. After dressing her and cleaning her up we had the final result.
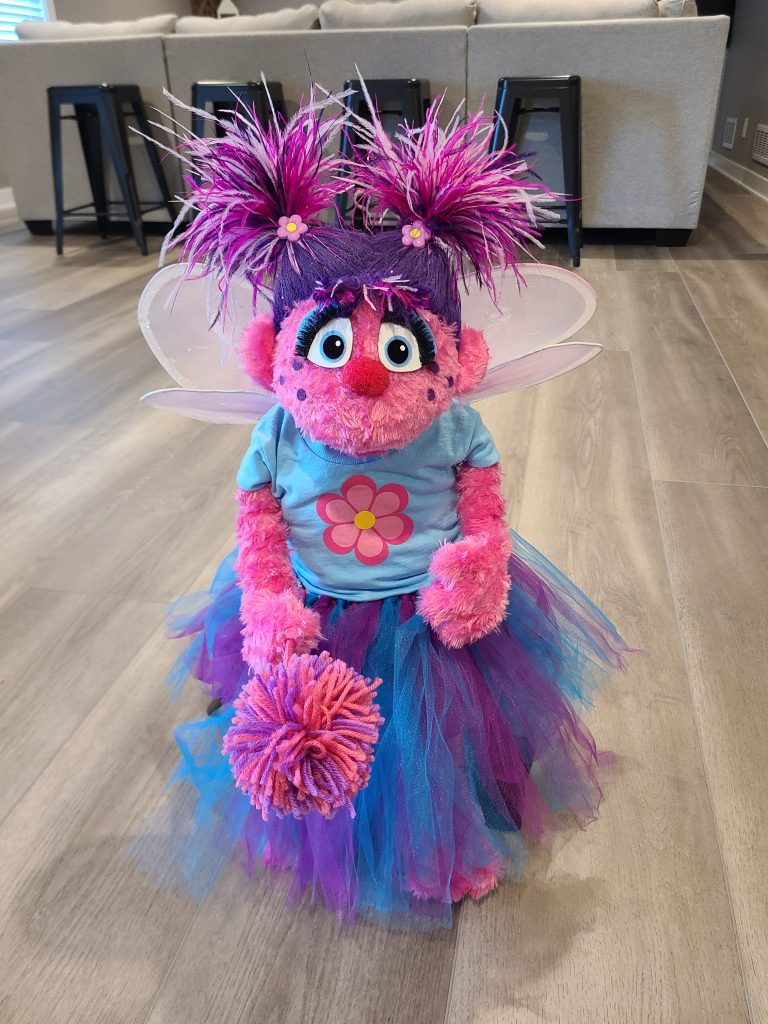
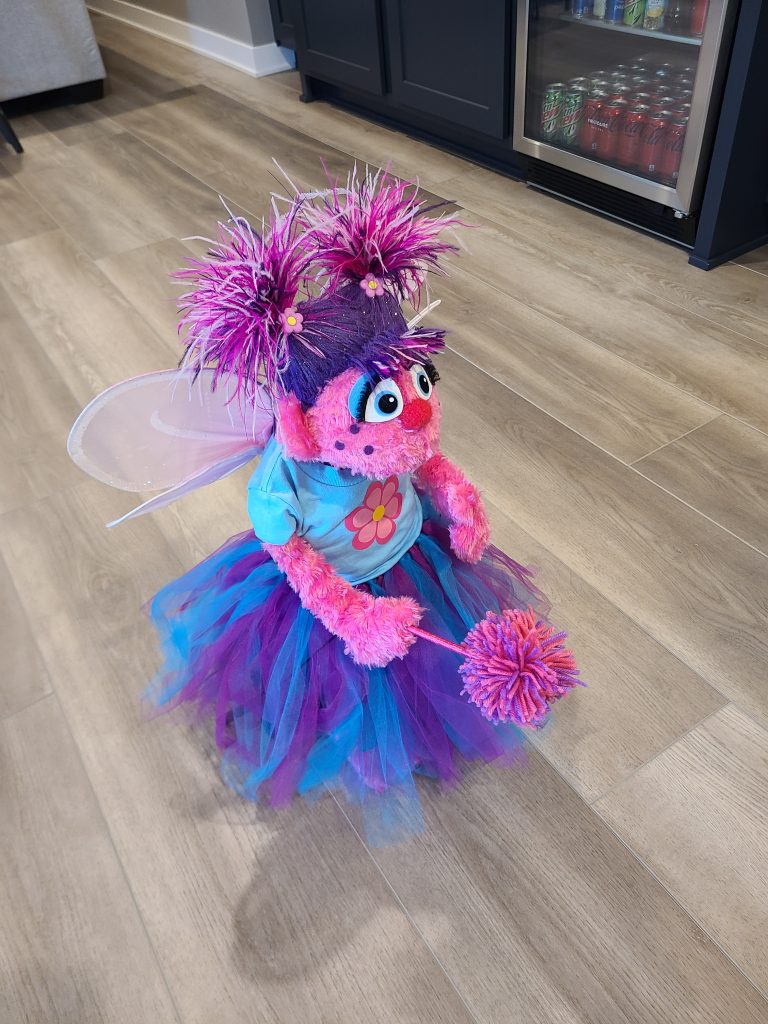
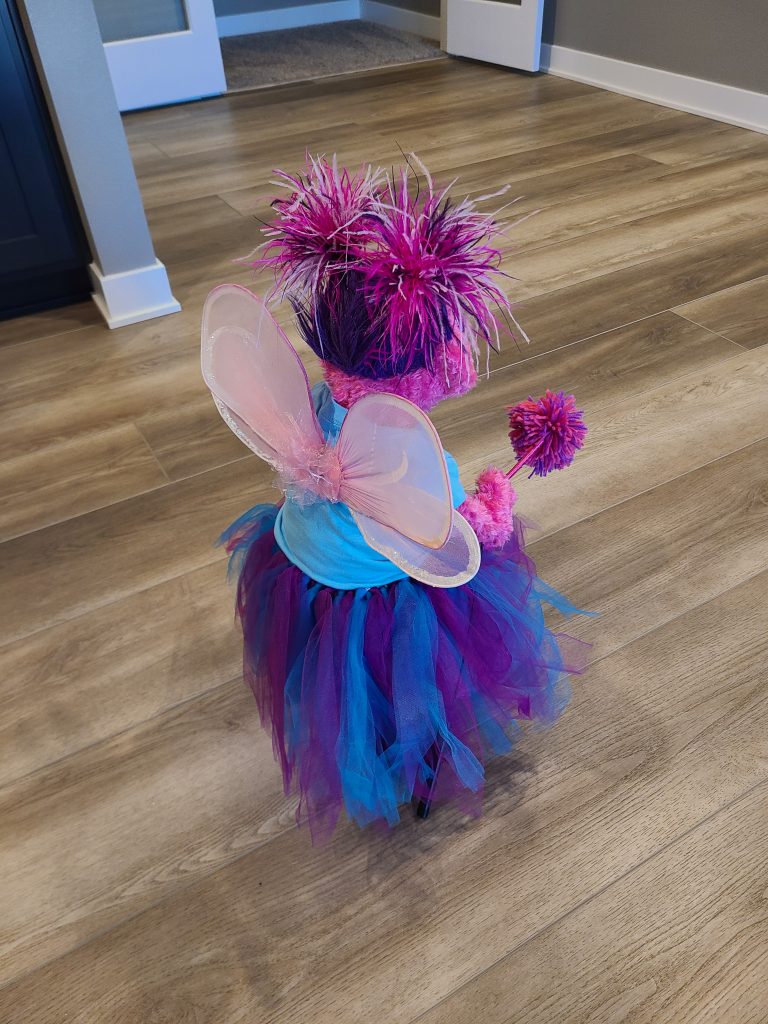
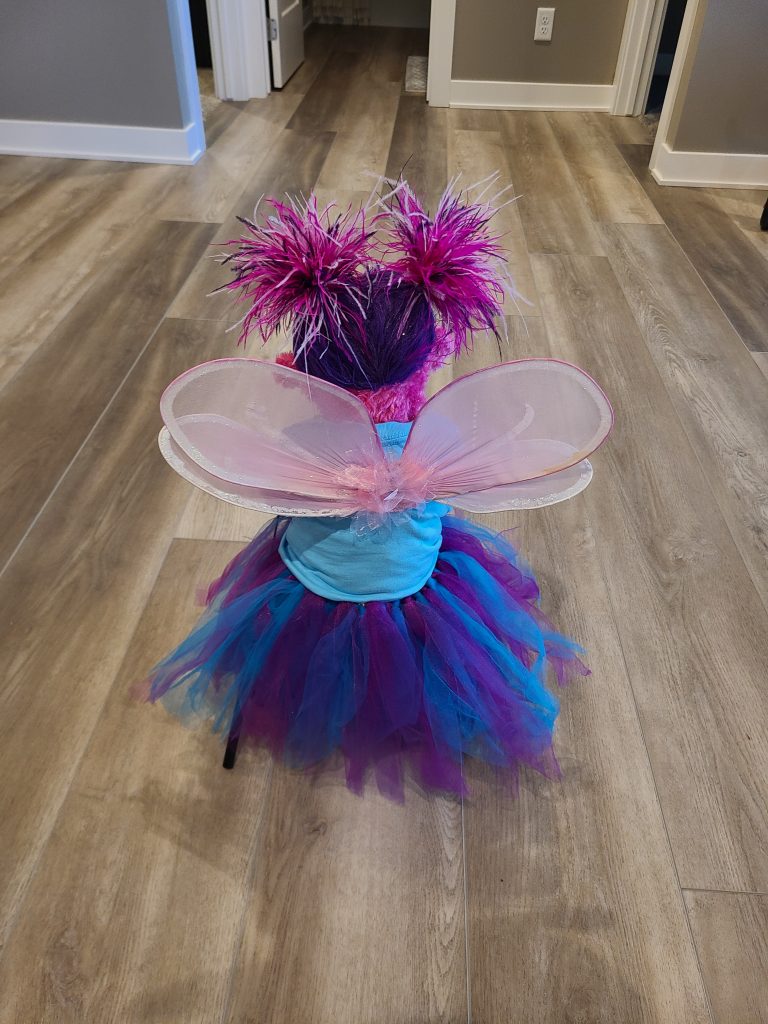
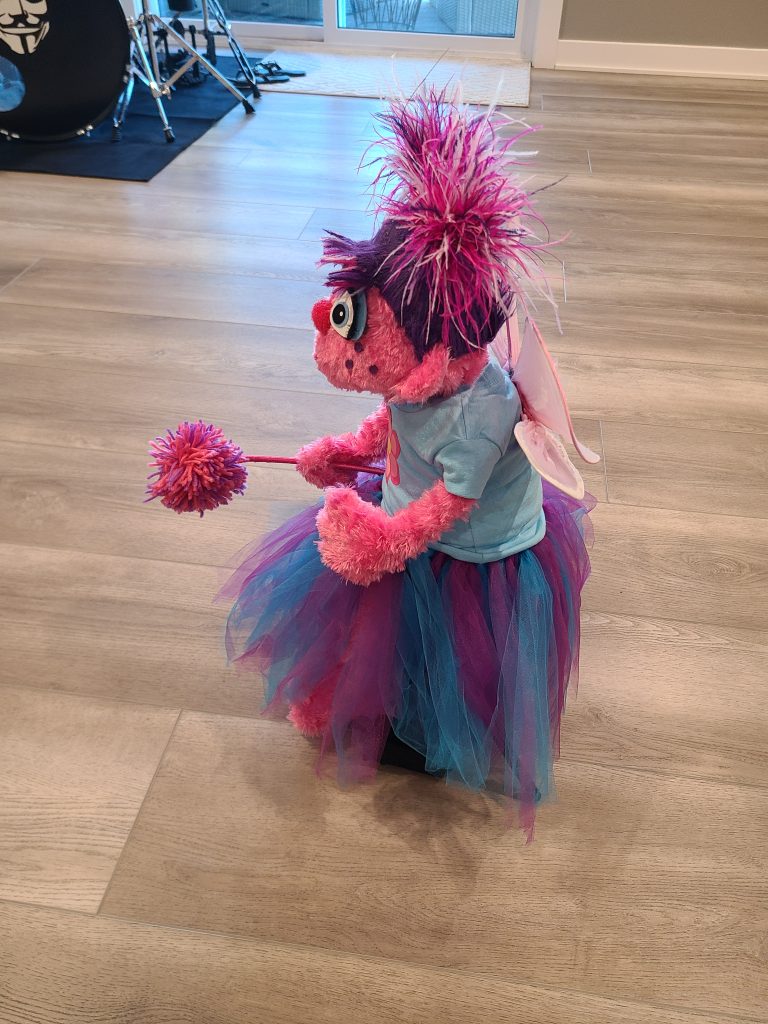

How did you build a Abby cadbby puppet replica from sesame Street TV series
The writeup shows how I built this with all the images for each step I took. Is there something specifically you want to know?
How did you make Bert?
Write up is here. If you want my patterns use the contact form.
Way to go👍😊
I’d like to have the Bert, Ernie, and Abby patterns from Sesame Street. How can I get them?
I want to make those puppets for myself. I await your response
I can share the Bert patterns since I made them. Use the contact form and I will get you a link with password. Ernie’s head is from https://projectpuppet.com/products/the-melonhead-puppet-pattern and Abby’s head I will need to scan in when I have time.